Mustang assembly progress…
It's been a while since the last post but progress is being made on the '66 Mustang.
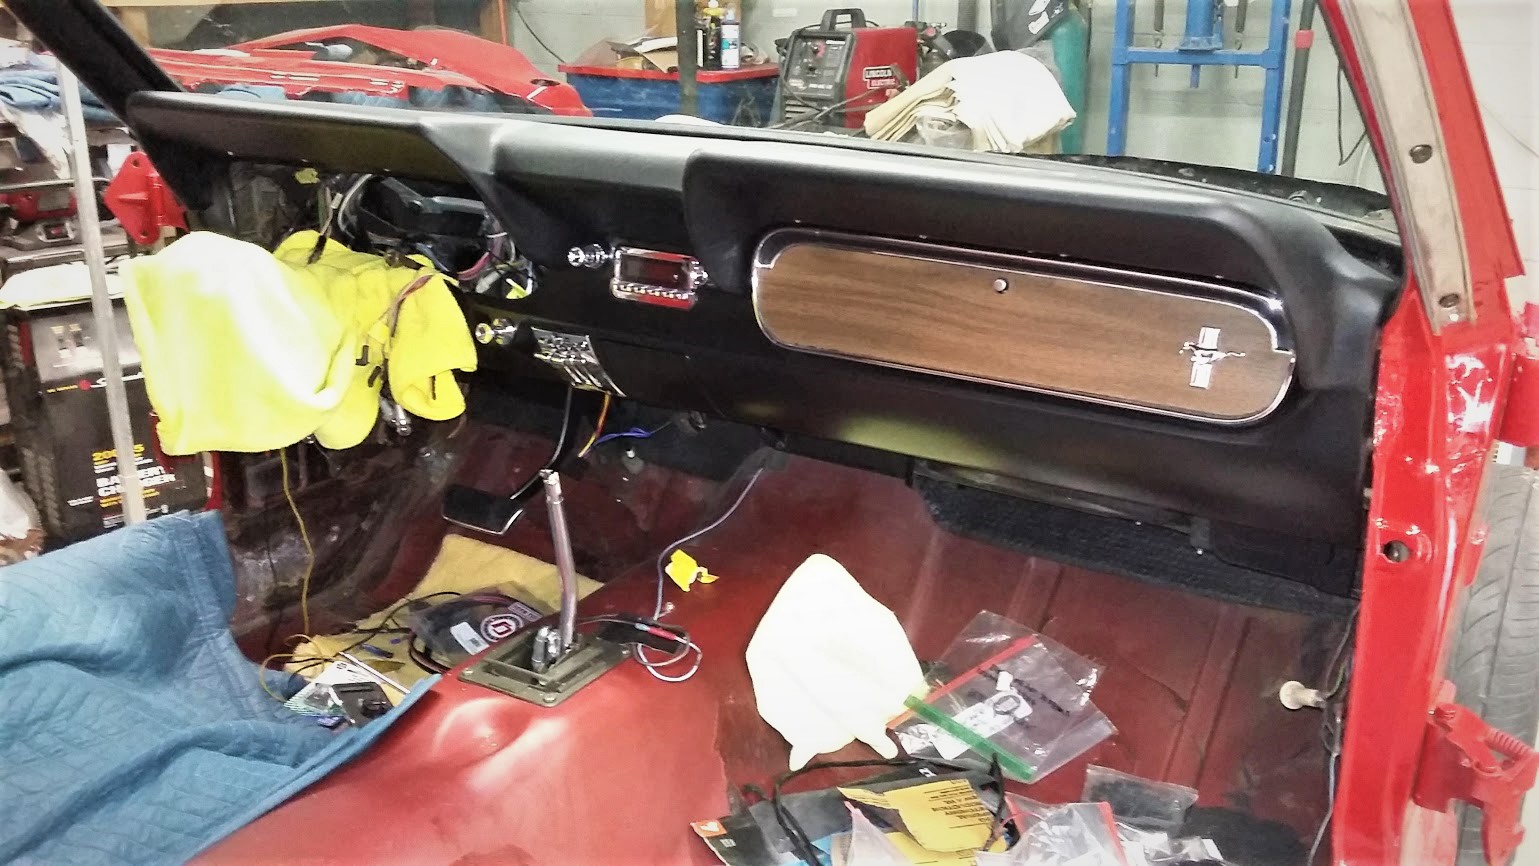
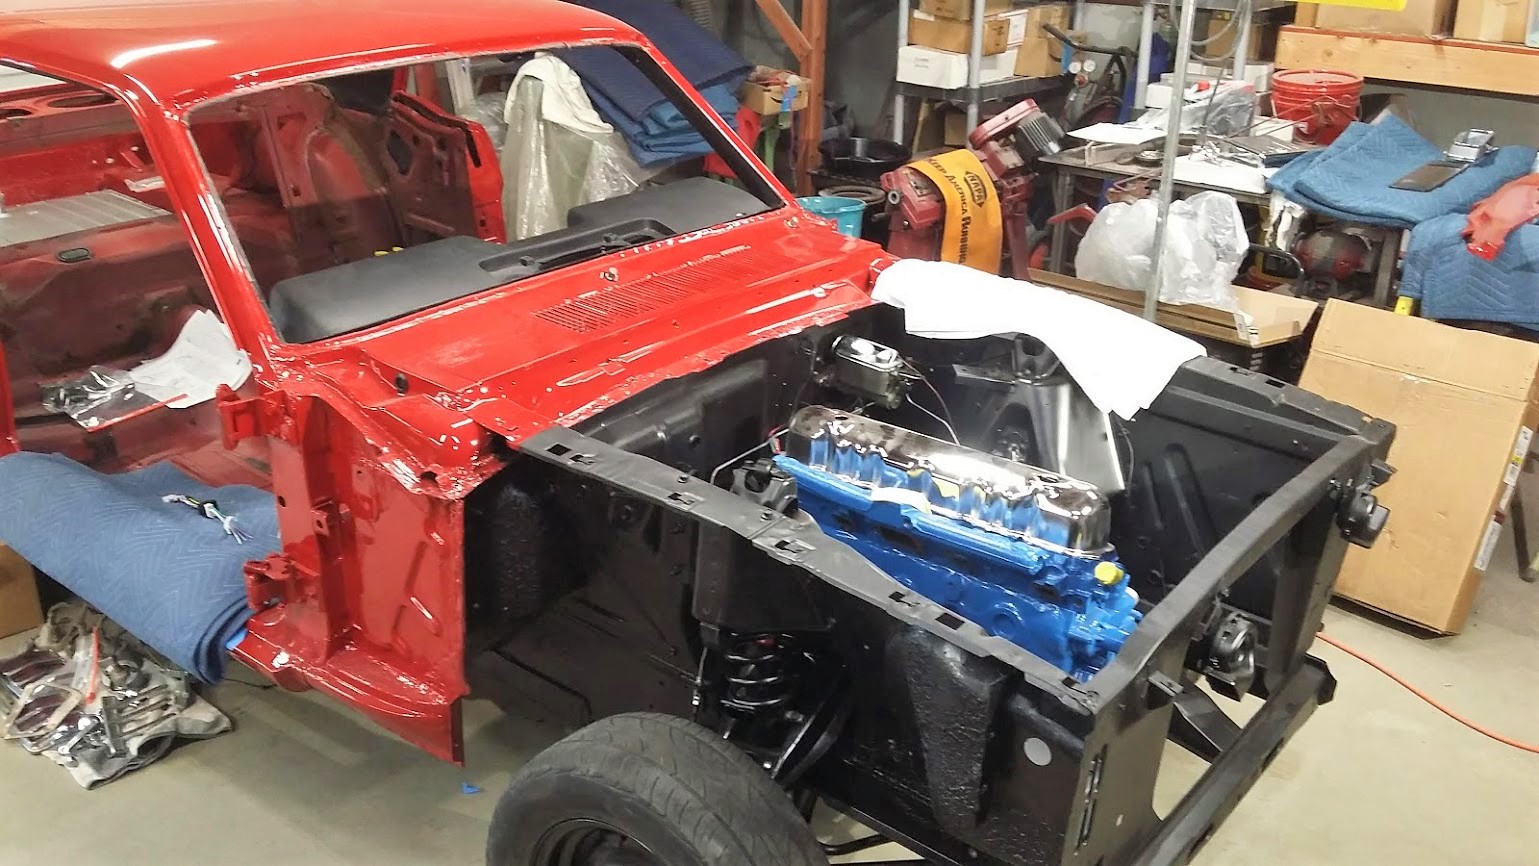
Most of the dash has been reassembled. Rear axle and suspension is back in. Engine and transmission installed. Fuel and brake lines plumbed.
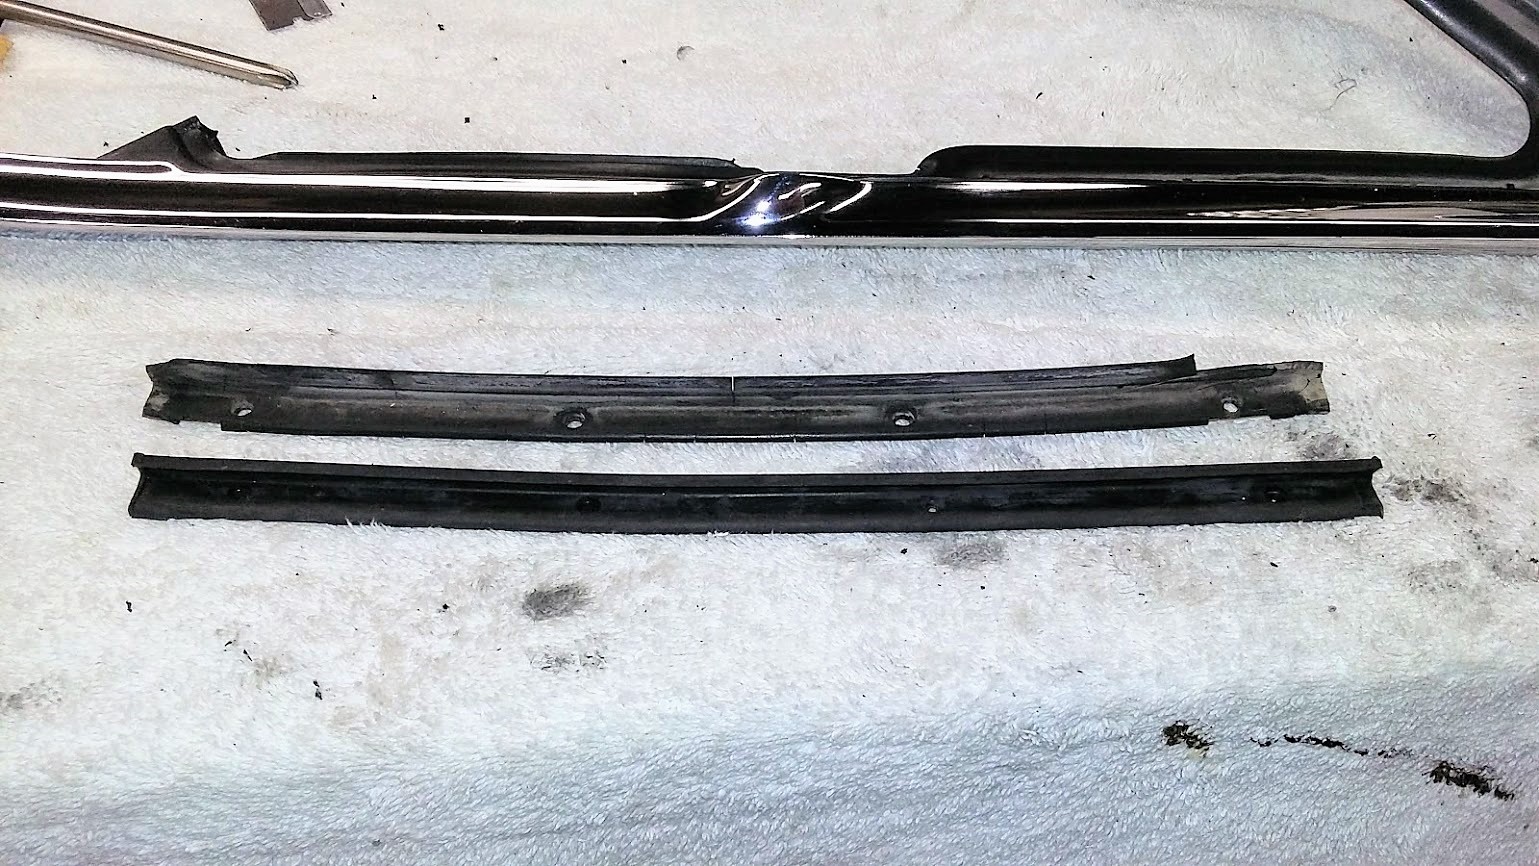
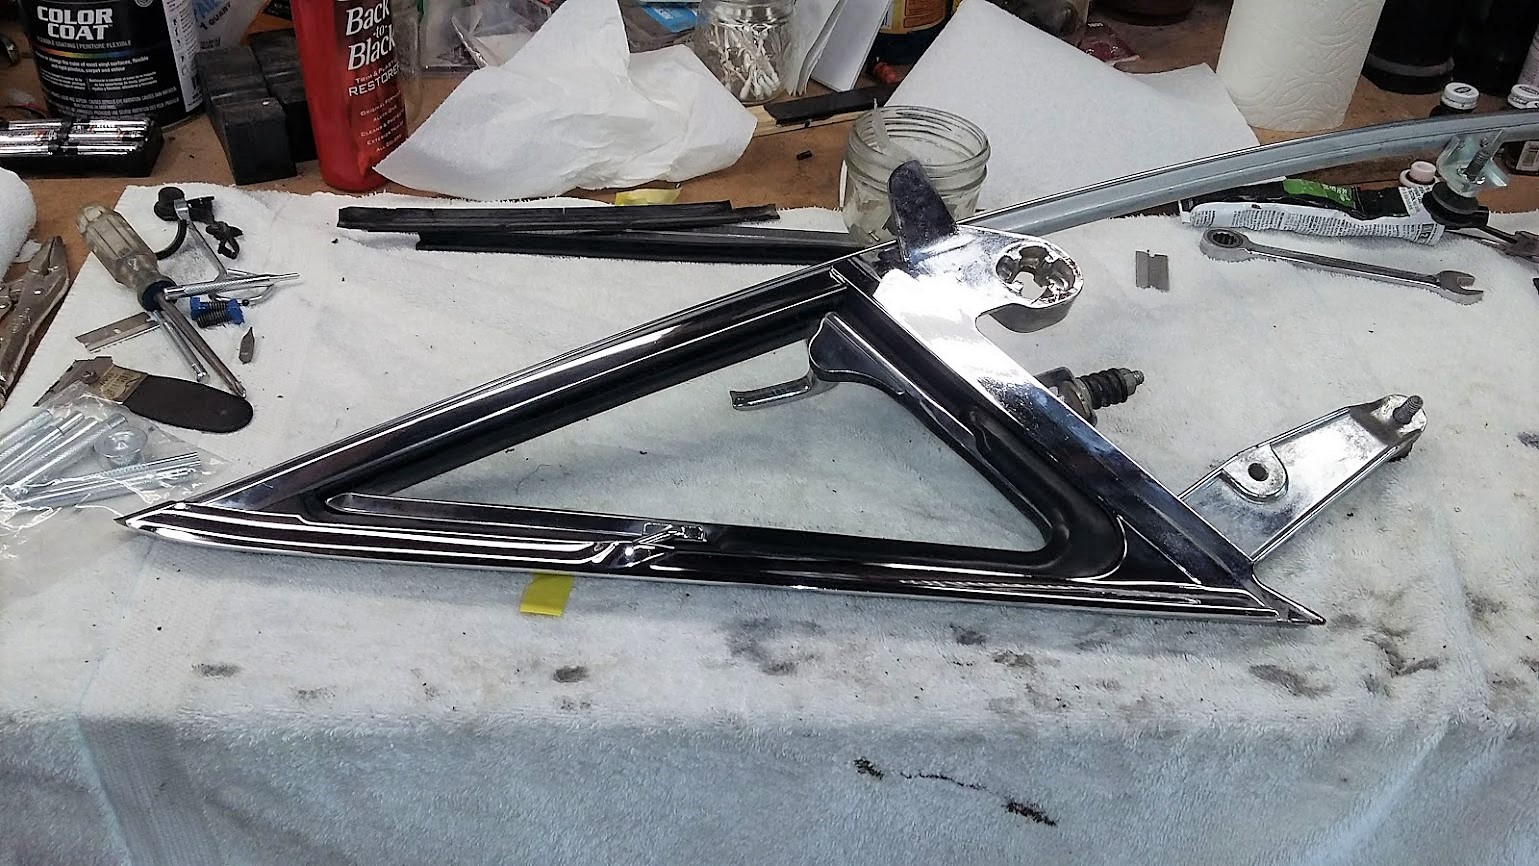
Door and rear quarter glass assemblies are almost ready to be installed. The vent windows have been disassembled and rebuilt. They're riveted together so everything had to be carefully taken apart, stainless polished, new divider bar seals riveted in and carefully put back together.
A new windshield was bedded in and soon the back glass will go in too.
See photo captions for more details.
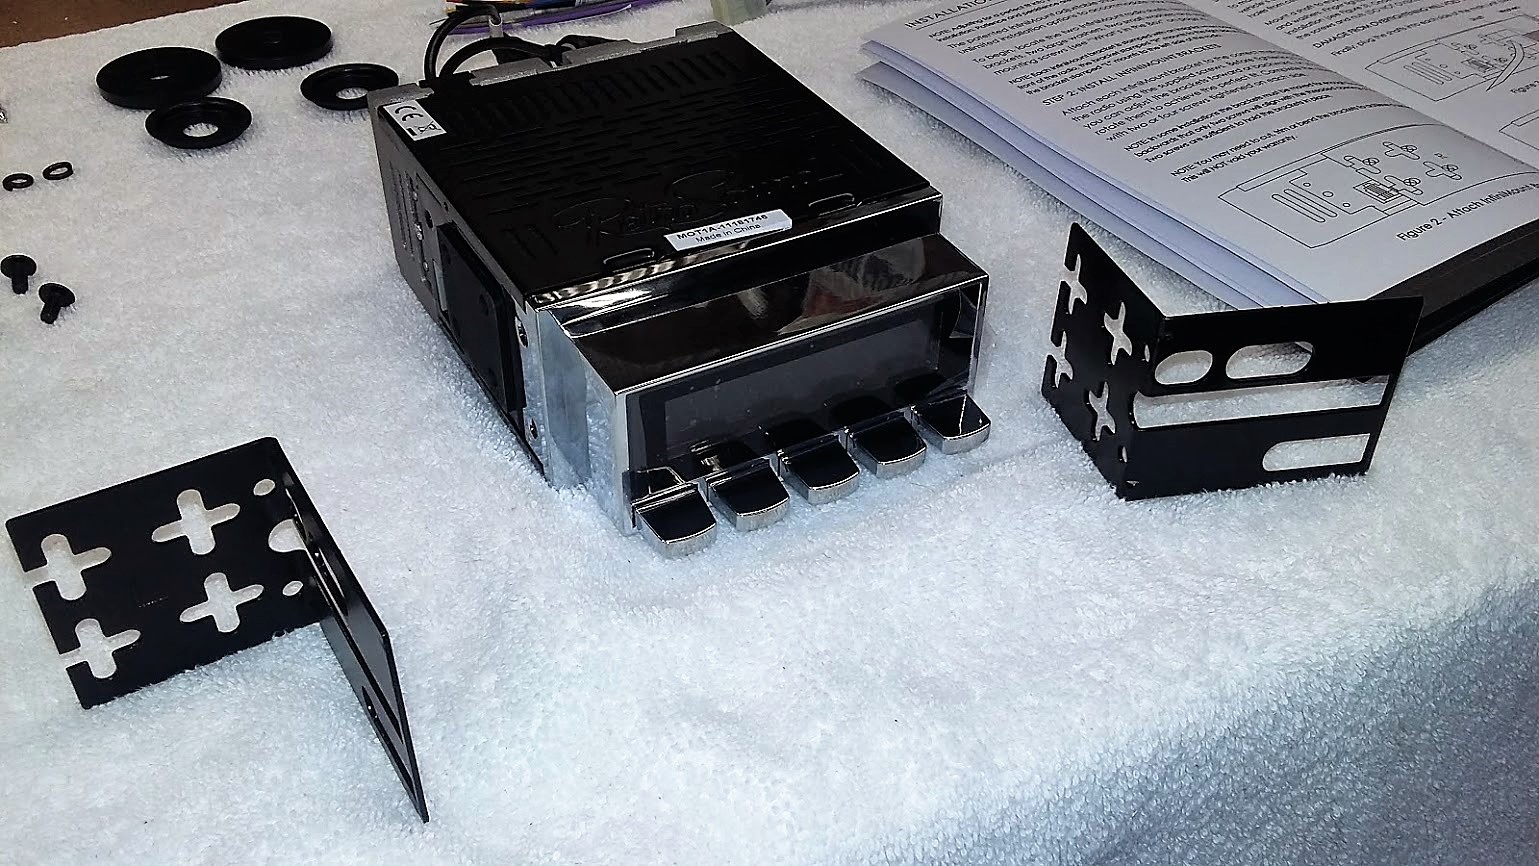
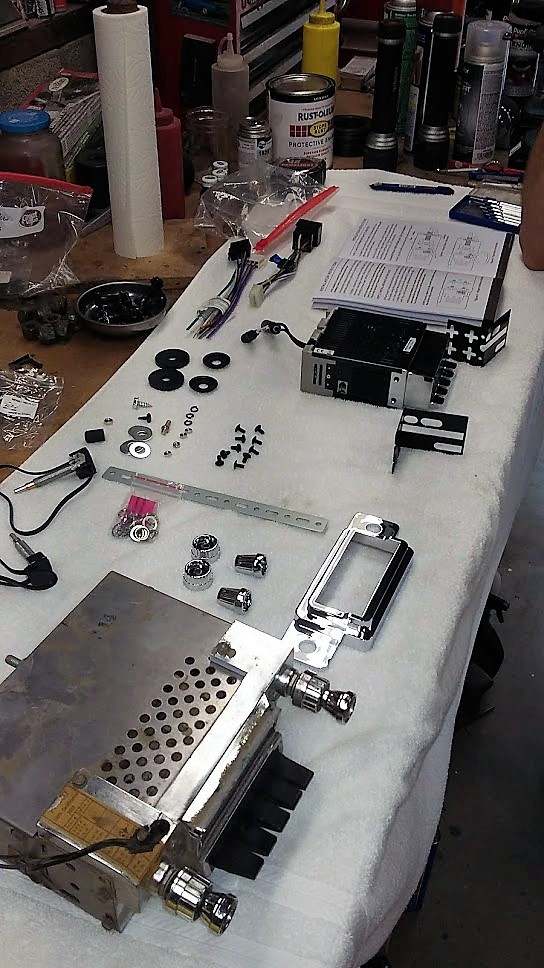
A 'RetroSound' radio replaces the stock AM radio. It's designed to look and fit much like the original but uses modern electronics. The unit features an external input for so you can connect your iPhone or other device for tunes.
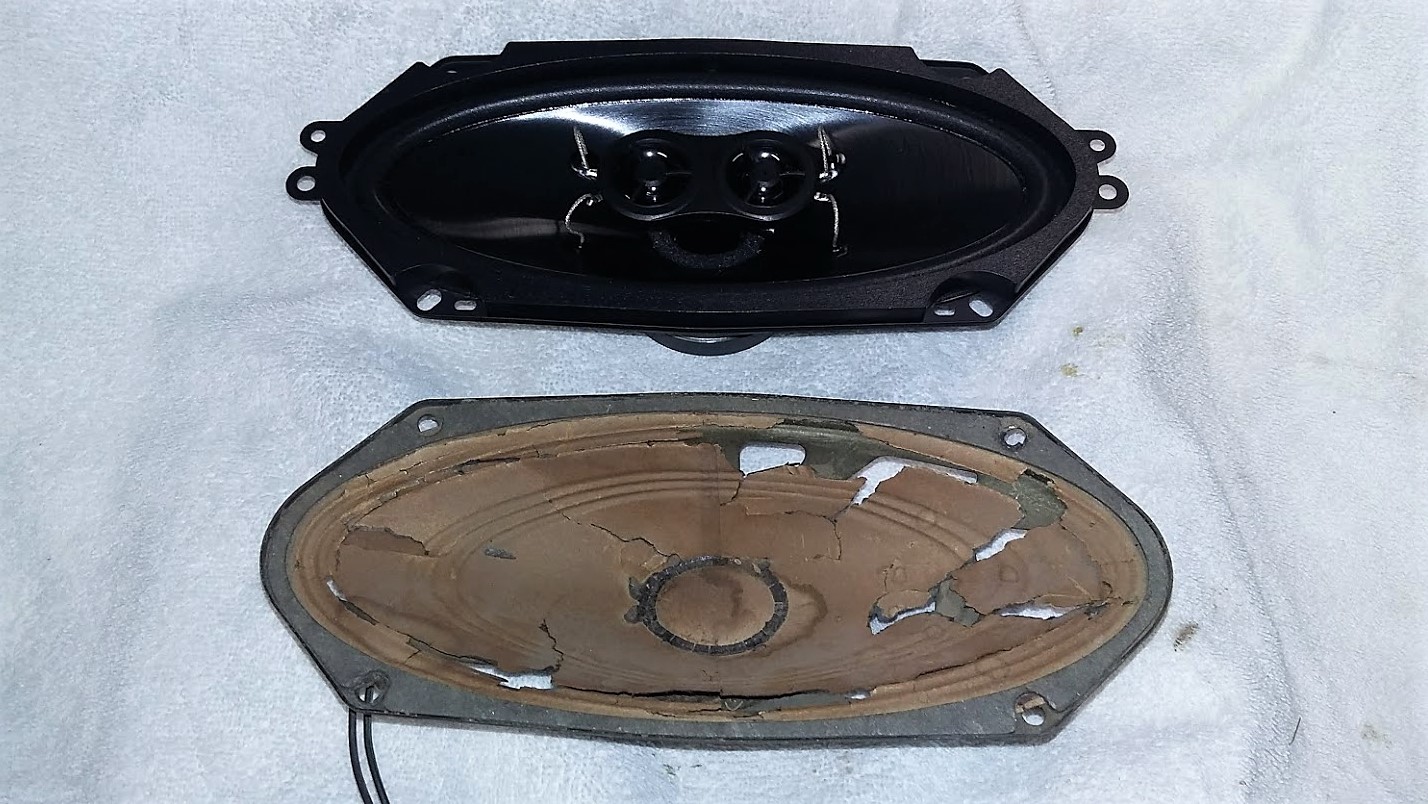
The original dash speaker is disintegrating. Sound will be piped through a modern one designed to fit the dash opening. A pair of Rockford Fosgate 6x9's will go in the package tray out back.
The dash is restored and reassembled with a new pad - just need to connect the instrument gauge cluster. The steering column is also in (covered) and it will get a brand new wood grip wheel. The original was broken and in bad shape.
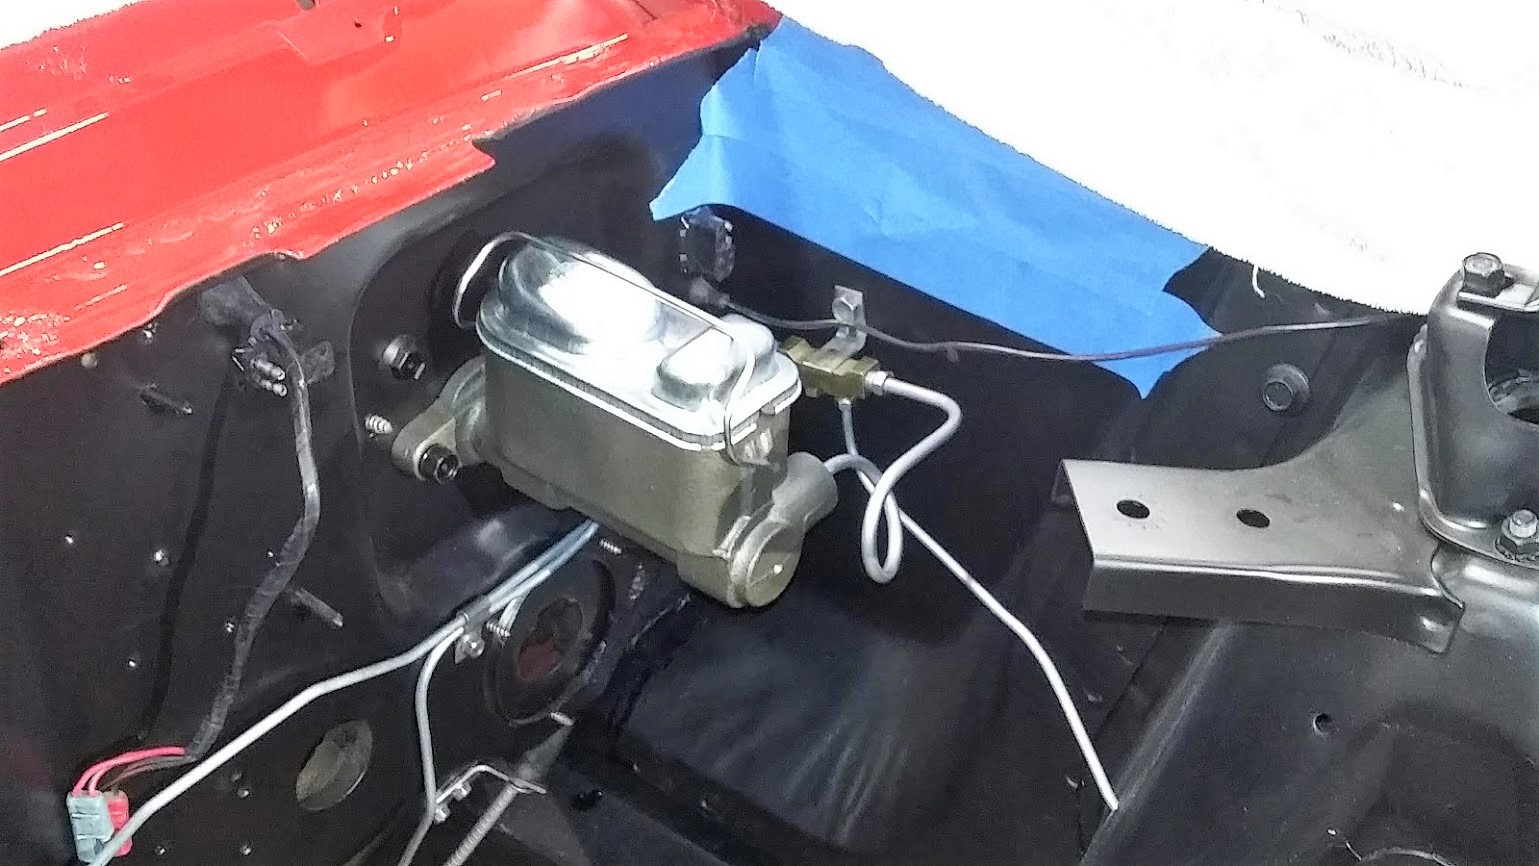
A manual disc/drum brake master cylinder (for a Maverick) is fitted and plumbed with all new brake lines. This will be safer than the old single reservoir 'jelly jar' style unit.
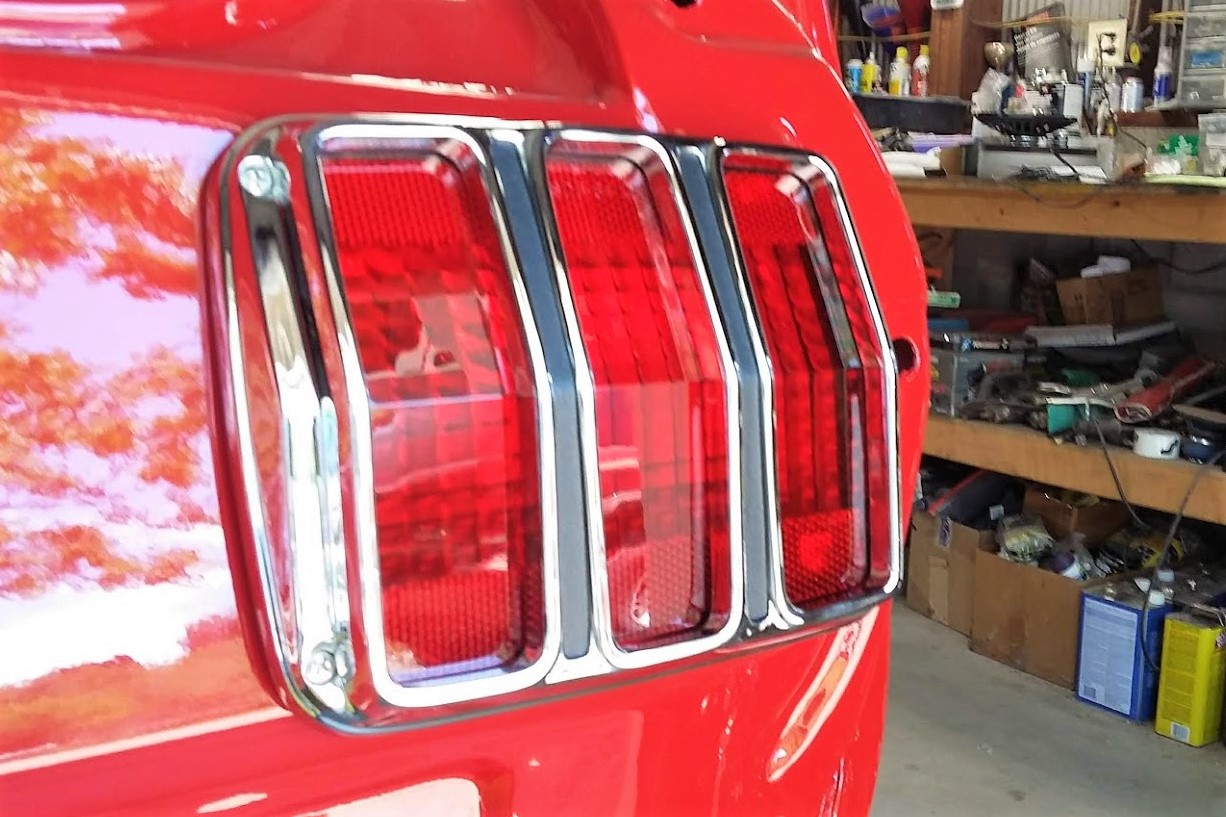
New chrome bezels and tail light lenses make a big difference out back.
The vent wing windows are disassembled so that rotten, cracked weatherstrips can be replaced with fresh rubber. They and other parts must be riveted together - a tricky, time consuming job. But, unless you want water leaking in, it's necessary.
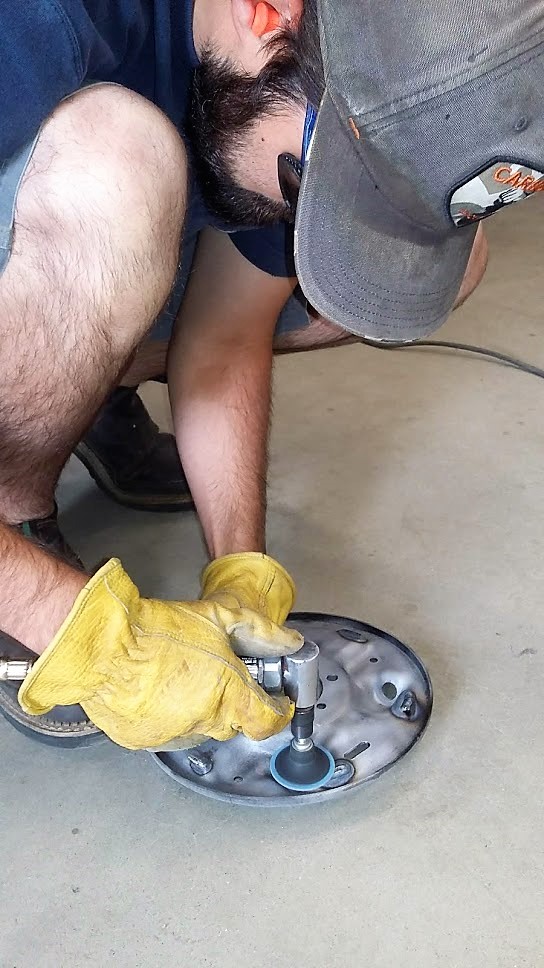
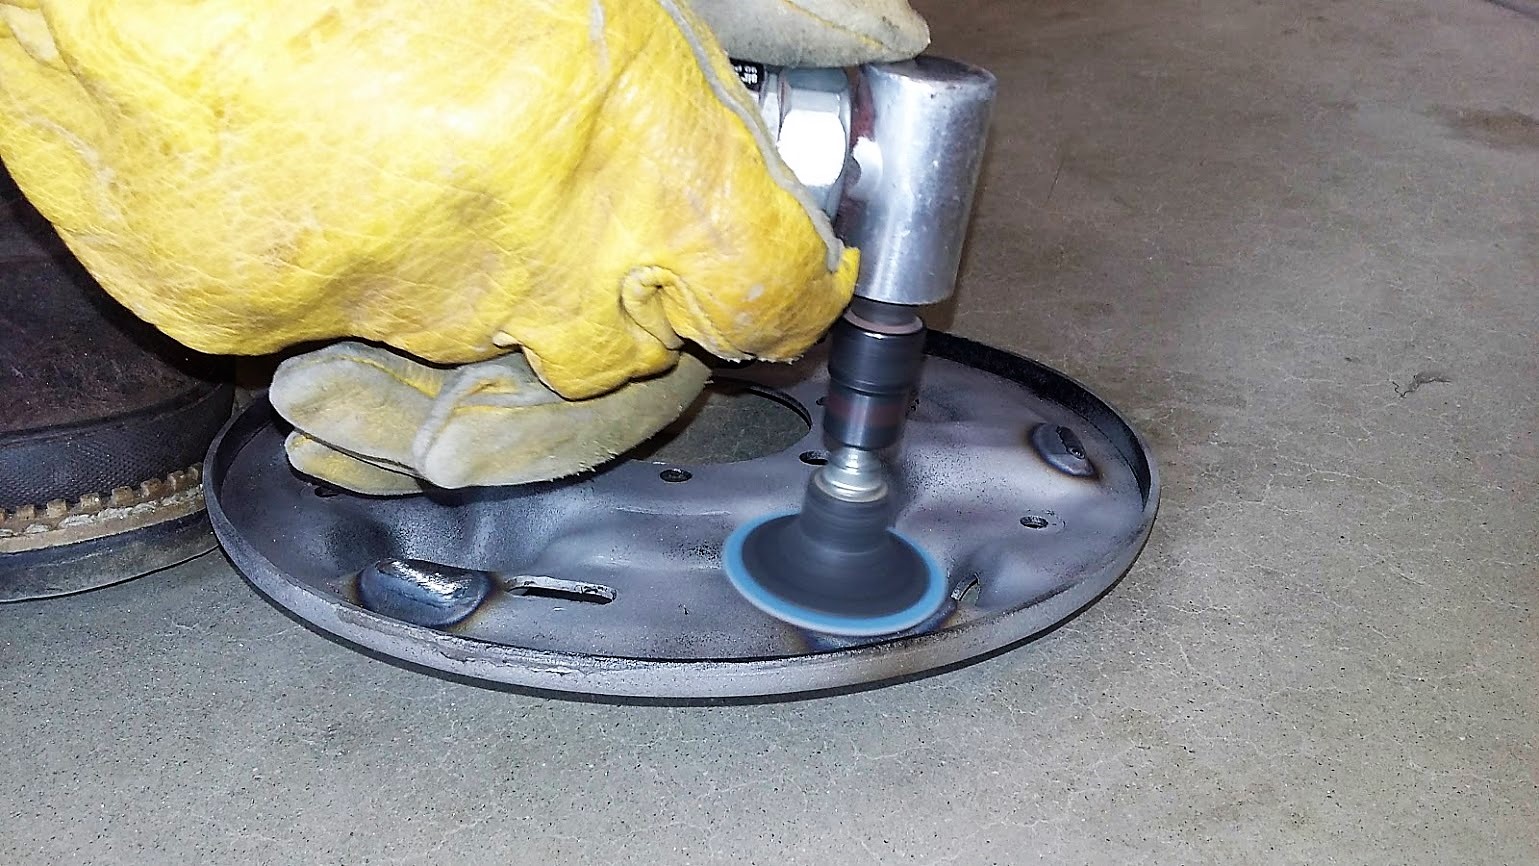
Some of the stainless was badly scratched with age. It's progressively sanded, then polished on a buffing wheel.
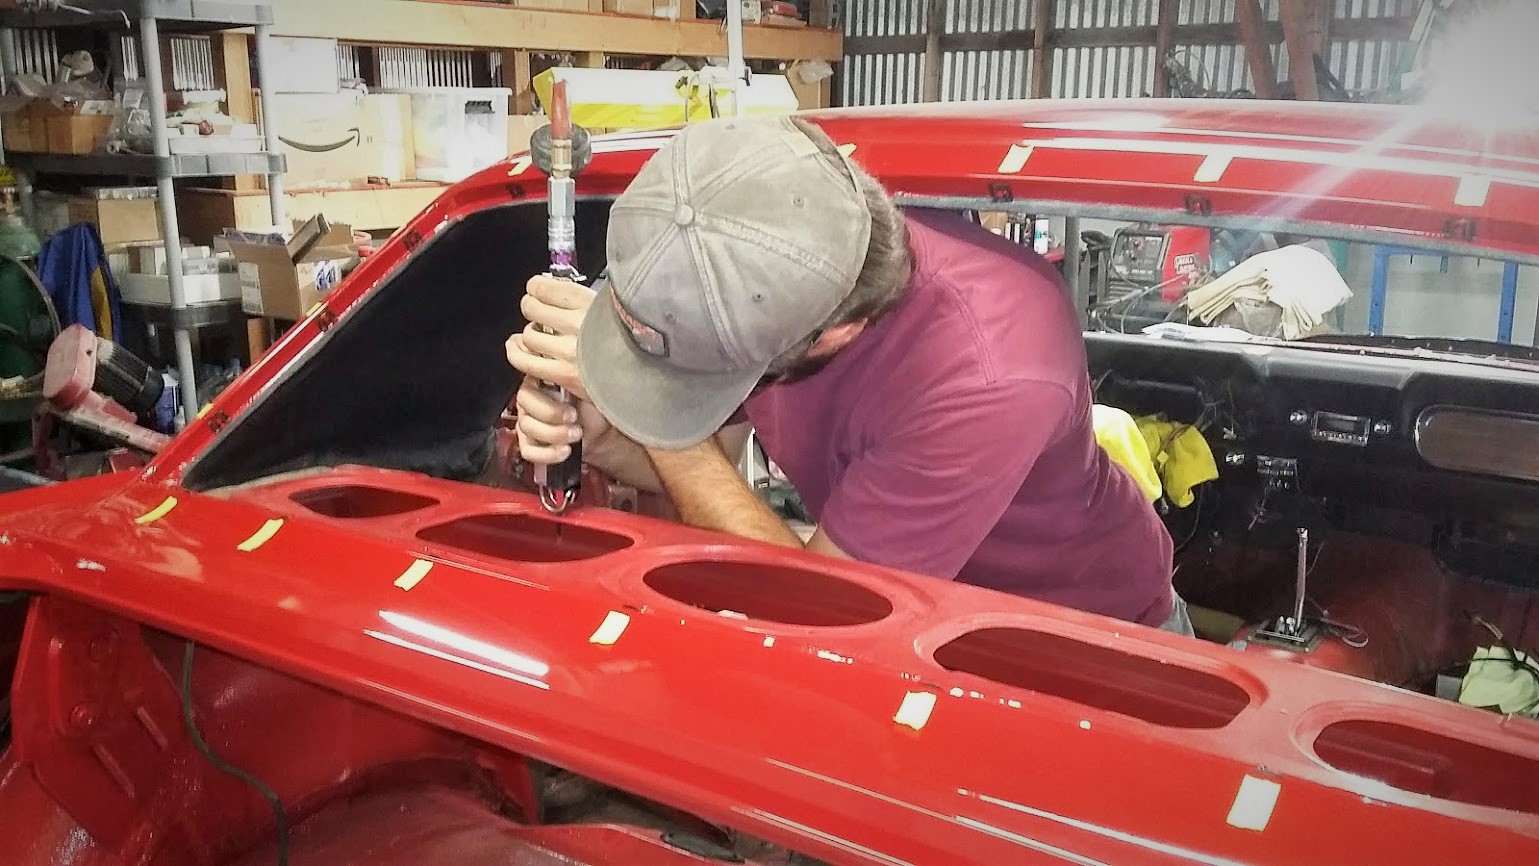
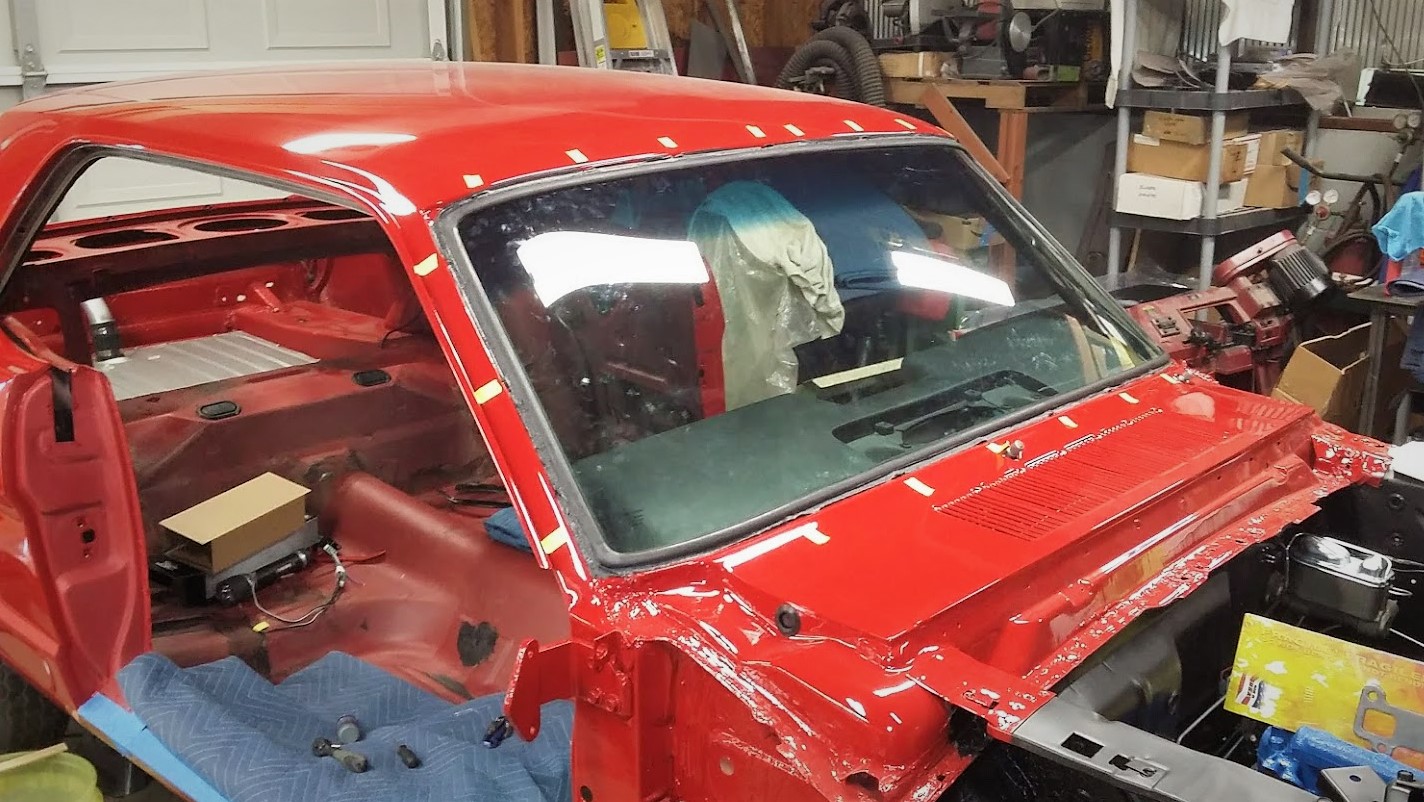
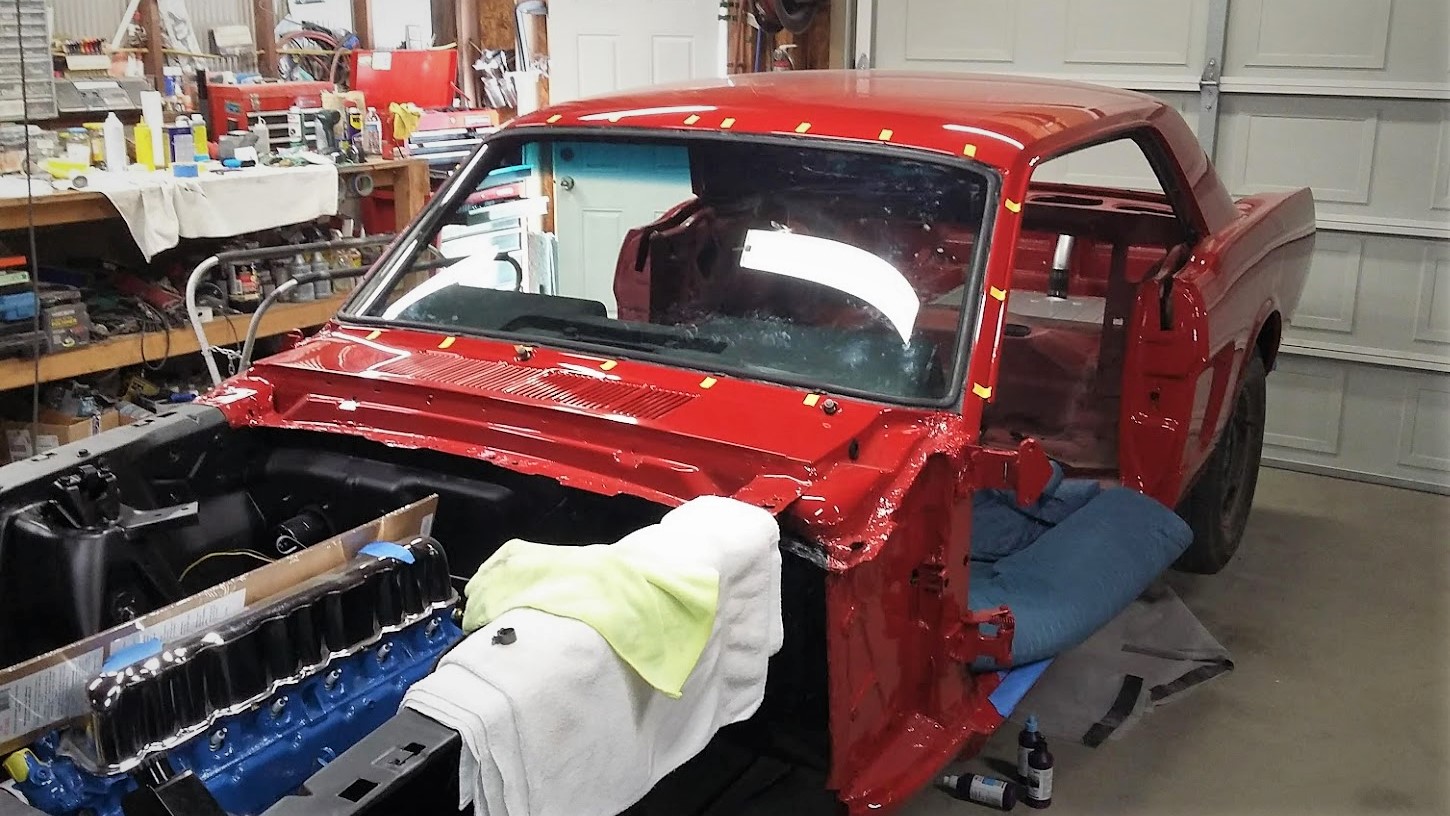
Windshield installed. Always a little nerve racking - and messy with the bedding compound.The tape marks where the retainer clips are for installing the stainless trim.
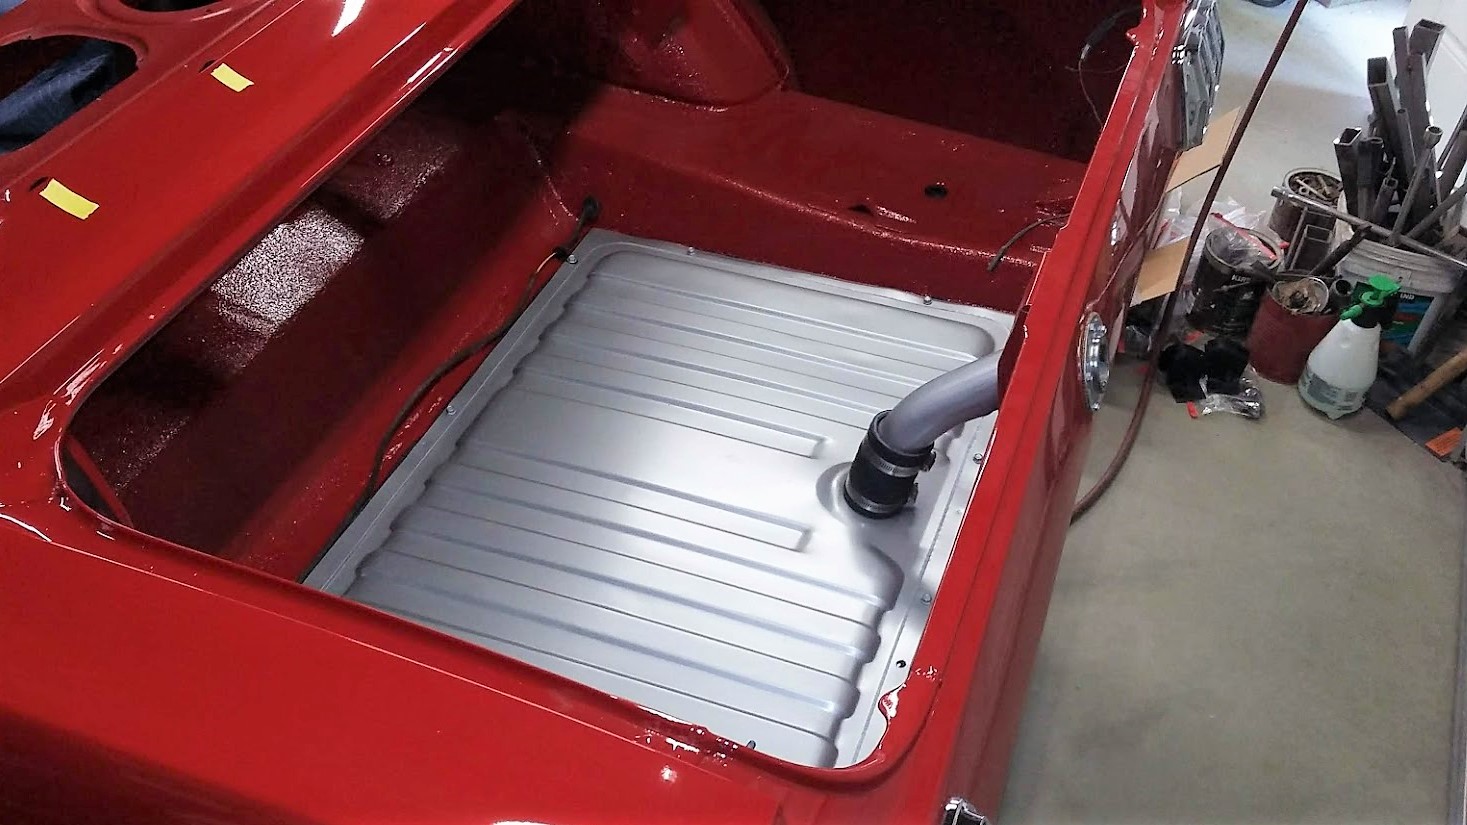
Gas tank is cleaned up, painted, and reinstalled. It's been replaced once already and was in good shape. We discovered the plastic float on the sending unit had a hole though so a new brass float was installed. A problem like that will give you erroneous fuel level readings.
