The Final Countdown…
It's the final countdown on the '50 Chevy pickup. Our last post ended with hanging the front clip sheet metal. Guys that work on these trucks will tell you aligning everything in the front clip can be a real challenge. They're not kidding.
I spent the better part of three days pushing, prodding, and coaxing to try and get things to line up as it should. For me, I encountered two or three major issues - so, you do the best you can and let the rest go.
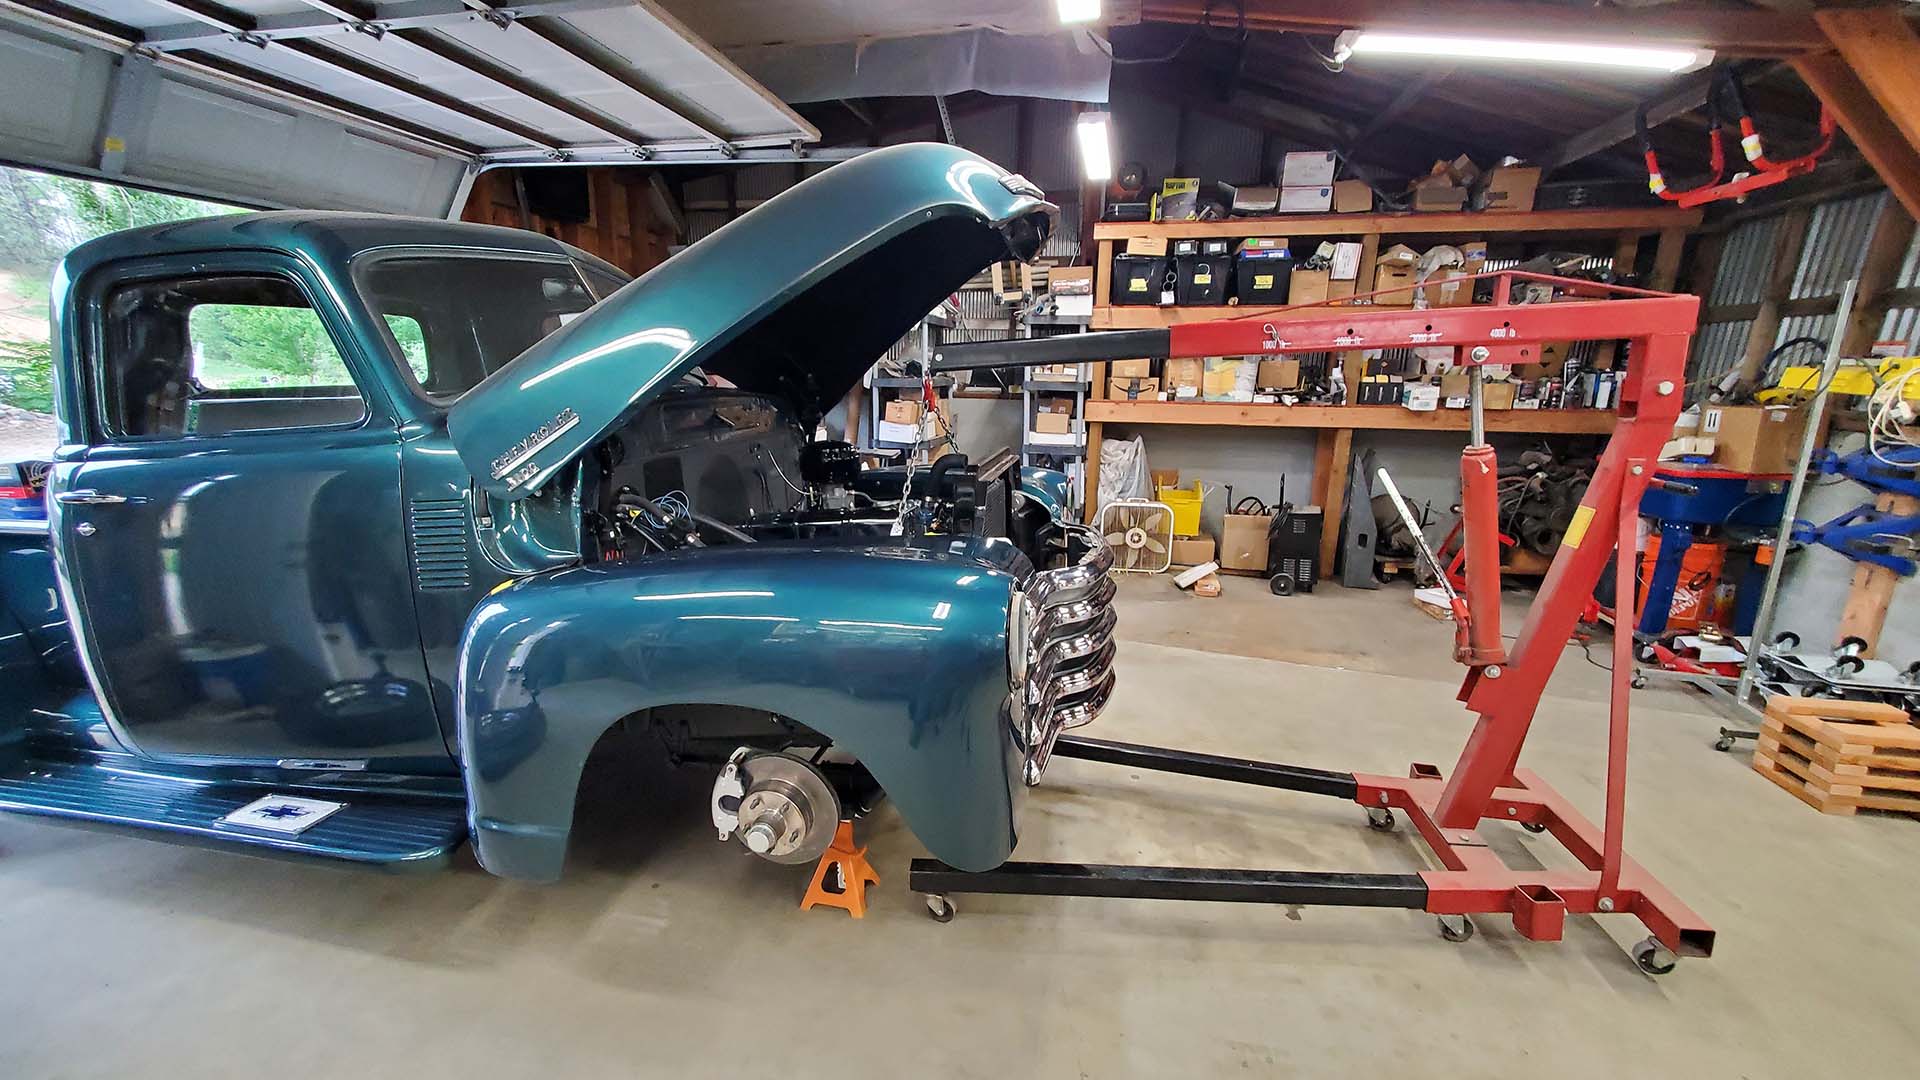
The first step is the hood. It's got to be aligned to the cowl and body and everything else aligns to the hood. Our hood was a little 'fubared'. From what I could tell, at some point, the entire truck was sand blasted. There was evidence of a very aggressive 'tooth' left behind on the inside of the fenders and underside of the hood. (Sand still falls out of cab seams). There's nothing wrong with media blasting as part of the restoration process but you've got to be very careful. Panels can be warped, damaged, and even ruined pretty quickly.
I believe warpage occurred on the bed sides and, unfortunately, on the hood. There's no flange at the rear of the hood - it's just flat metal. The rear edge on the drivers side was warped downward (and built-up with body filler to restore some crown) and the passenger side warped upwards. There was no fixing that side. The metal was stretched and there's too much crown.
The adjustment procedure is to get the hood to fit as tight as possible against the anti-squeak rubber strip across the cowl and have an an even gap all around. I did the best I could, considering the damage.
The fenders and grille align to the hood depending on a number of things, including shims under the radiator core support. Every bolt (and there are a lot of them) needs to be loose so panels can be pushed around if even only a little bit. On day three I found the next issue.
There's a factory spec for how high the cab sits off the frame at the front and rear cab mounts. It's basically 3/4" to 13/16" (the factory specified in 64ths of an inch!) measured from the cab floor or floor brace and the top of the frame rail. The last time someone set the cab on the frame they used a rubber pad/shim at the front mounts (putting them within specs), but used nothing at the rear mounts. The cab was basically tilting down in the back a good 1/4". Seven feet away, where the front clip mounts to the frame below the radiator, that angle translates into inches of misalignment.
The fix was to unbolt the rear of the cab, jack it up, and insert 1/4" rubber shims to raise and correct it.
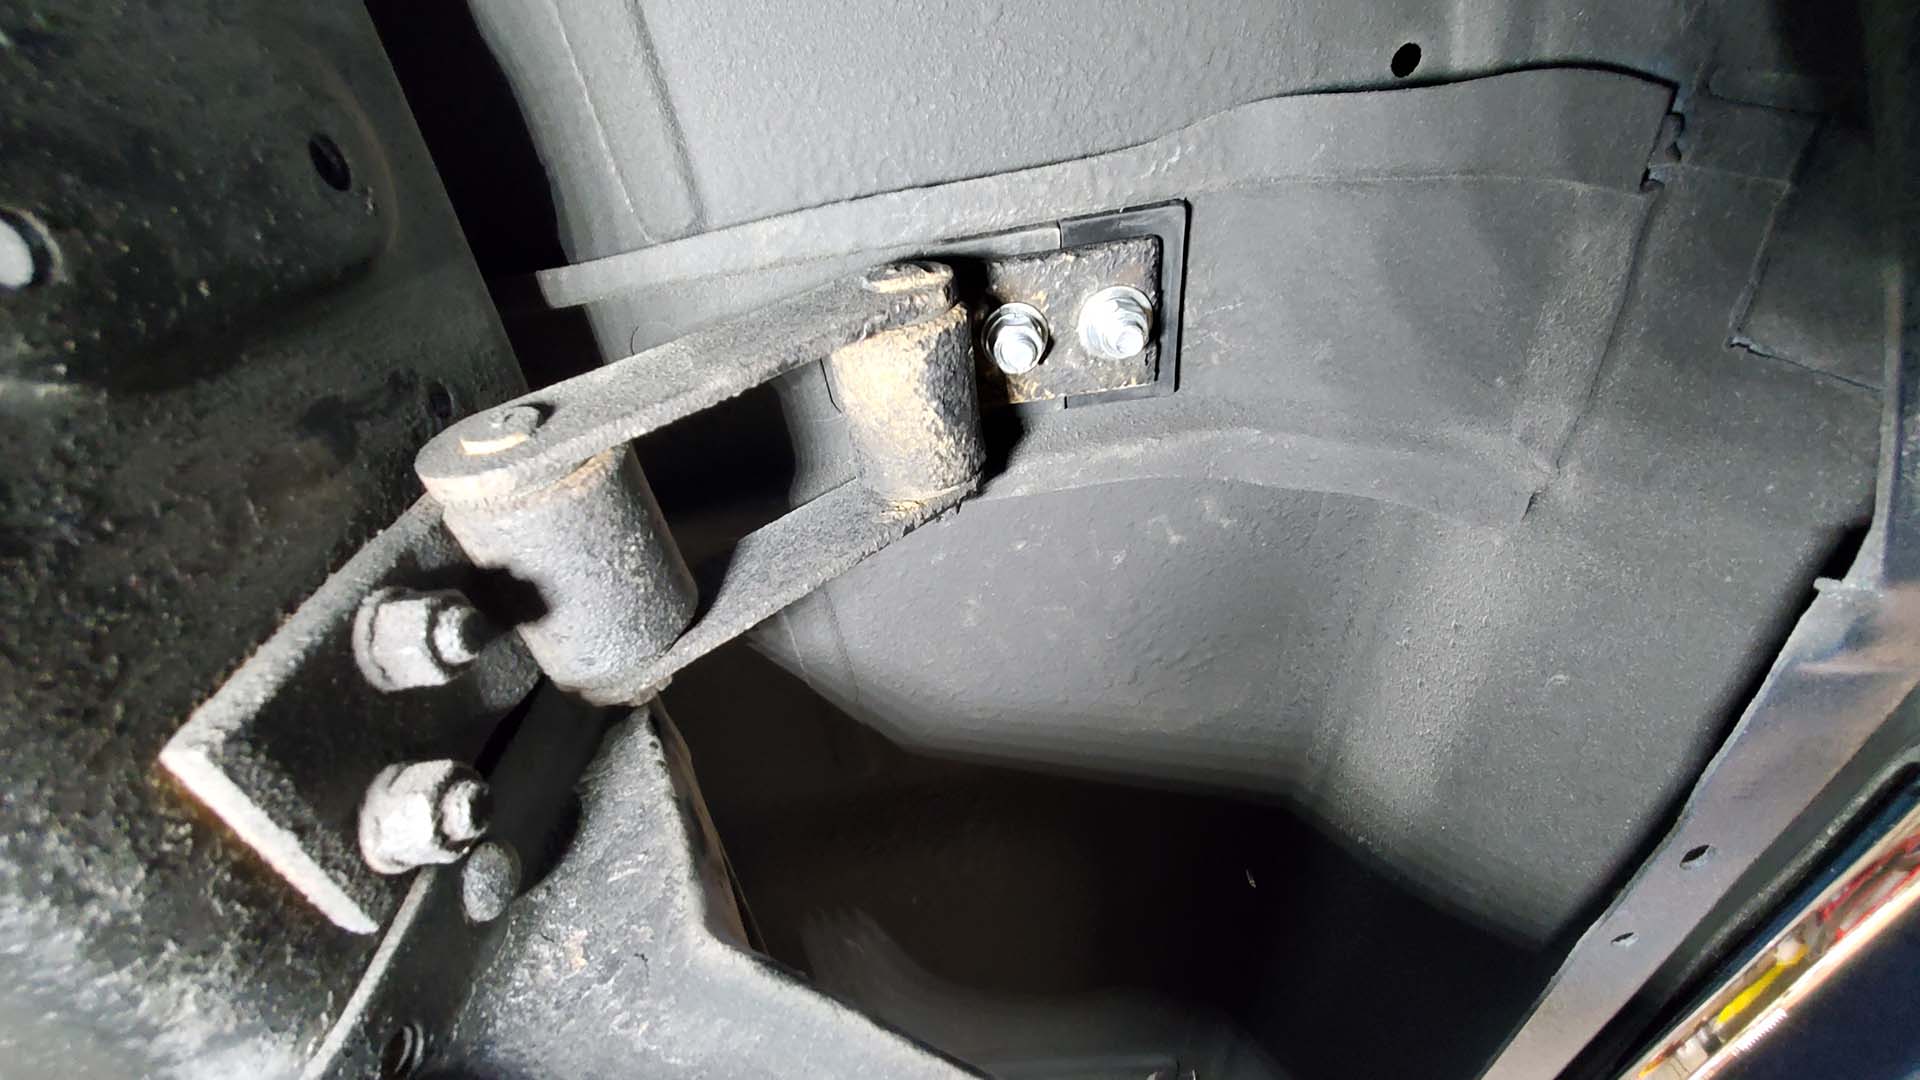
The driver side fender aligned easy-peasy. I had to all but remove the passenger side inner (splash) fender to push the passenger side fender back where I wanted it. It took two of us - one to push and the other to tighten a couple of bolts to hold it in place.
The firewall to fender support rods were missing from the parts collection. These are crucial in supporting and positioning the fenders - they kinda pull back and up on the fenders. The rear of the fenders are then pushed up (they only move a tiny bit) to close up the gap to the hood.
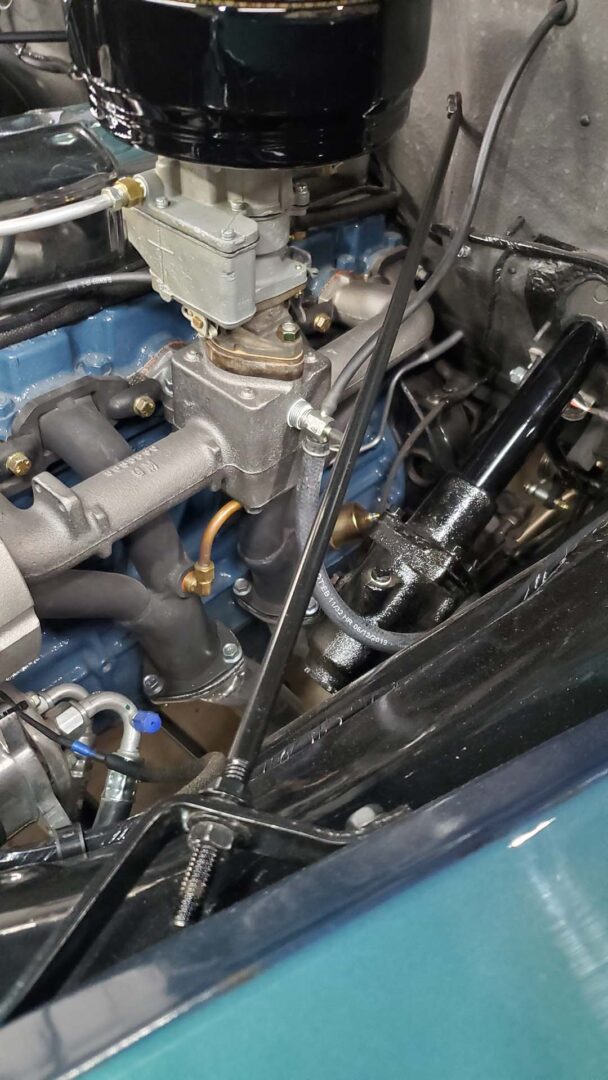
With the fronts of the fenders aligned with the leading edge of the hood, all the bolts are tightened. Incidentally, someone had used common zinc plated bolts and washers from the hardware store - which looked totally out of place to me. I swapped in nearly 50 black body bolts (SEM style) with integrated washers. They look much better, IMO. A couple of large fender braces were found in the collection and also installed.
The final piece of the puzzle is to set and adjust the hood latch.
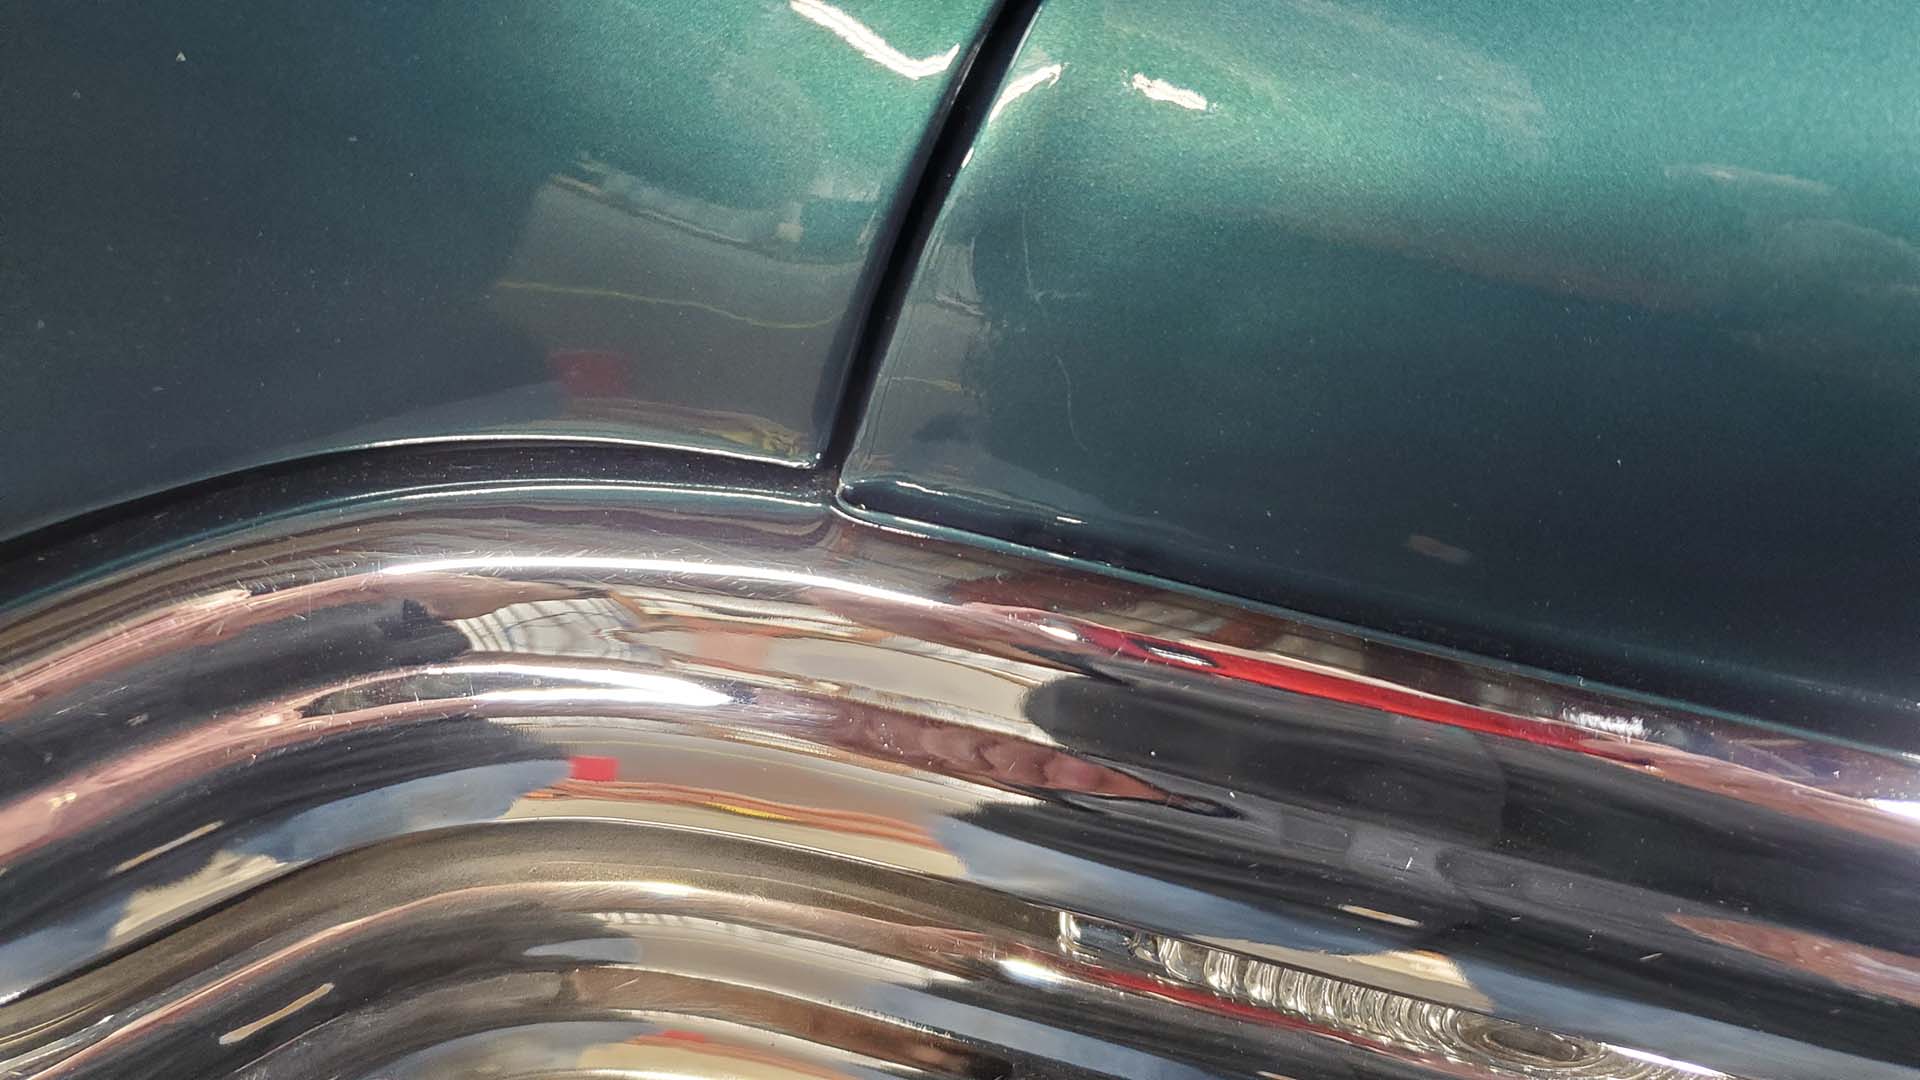
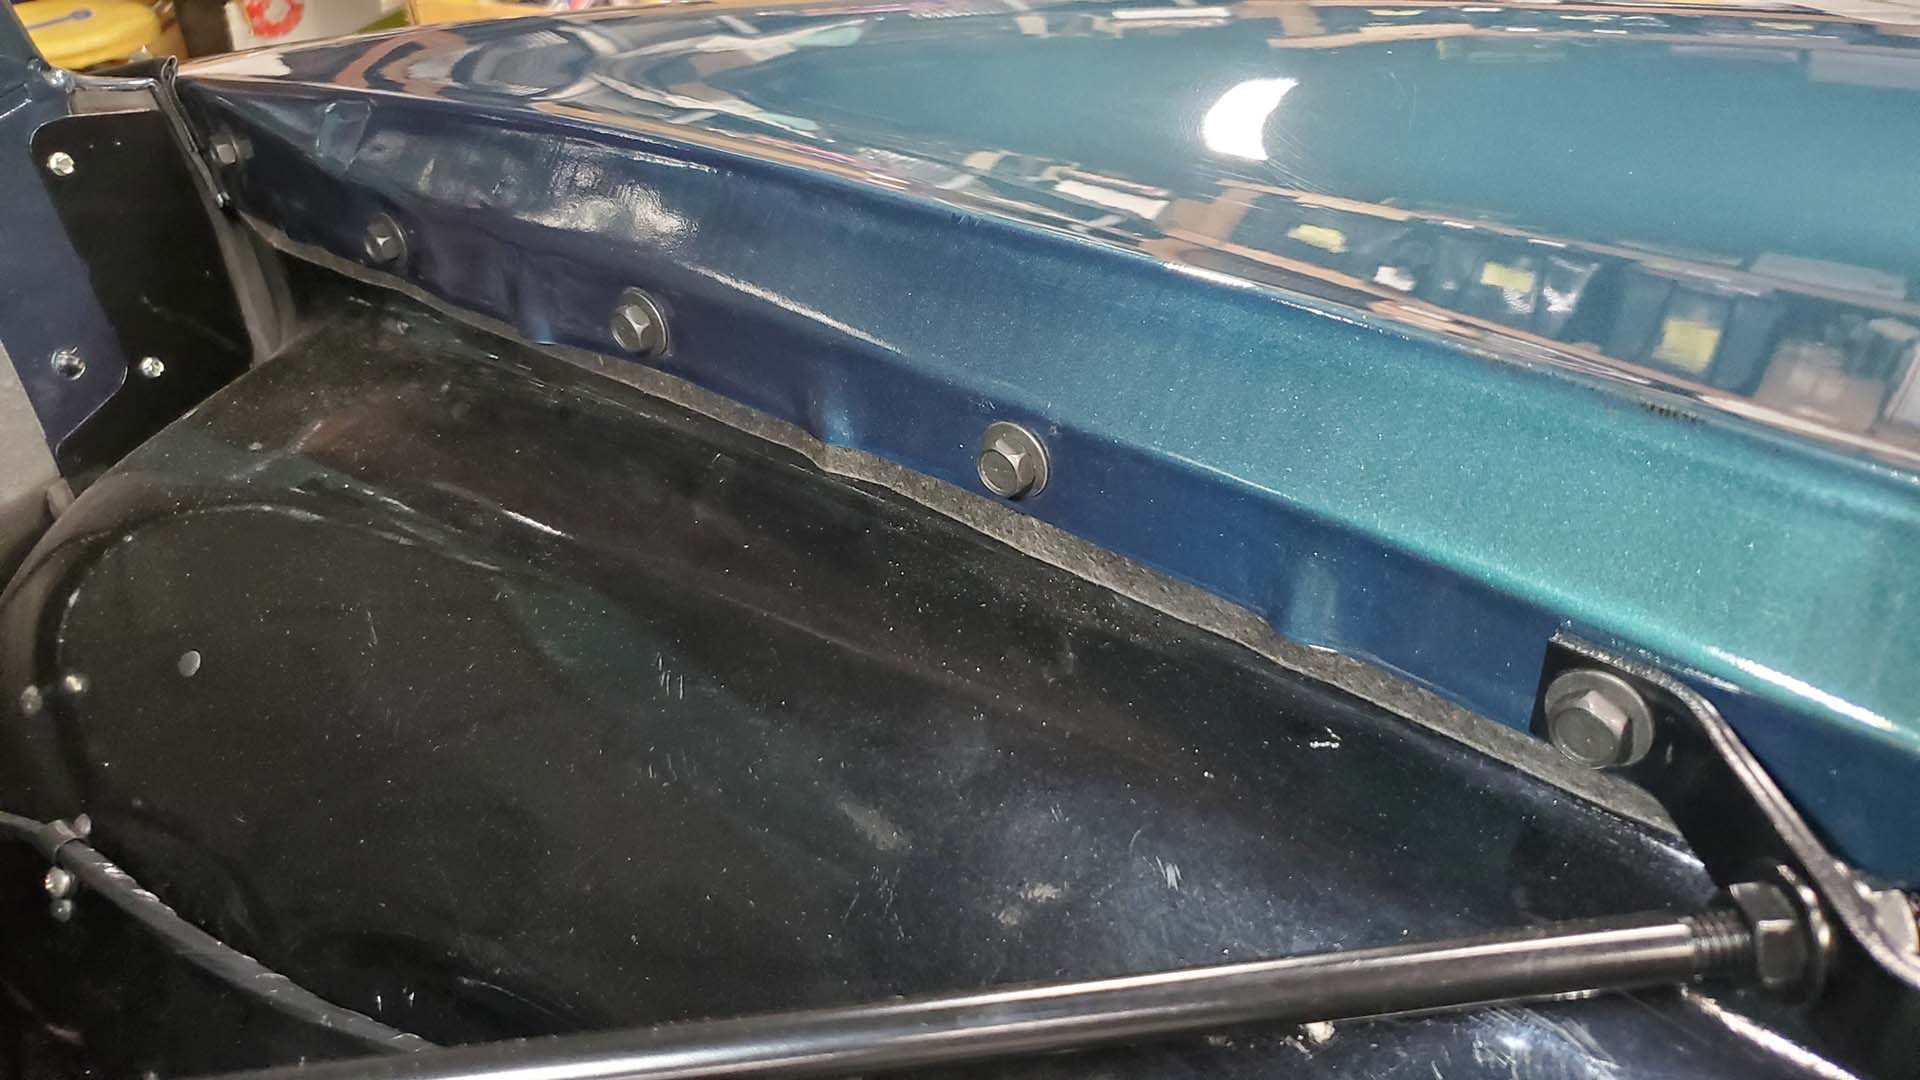
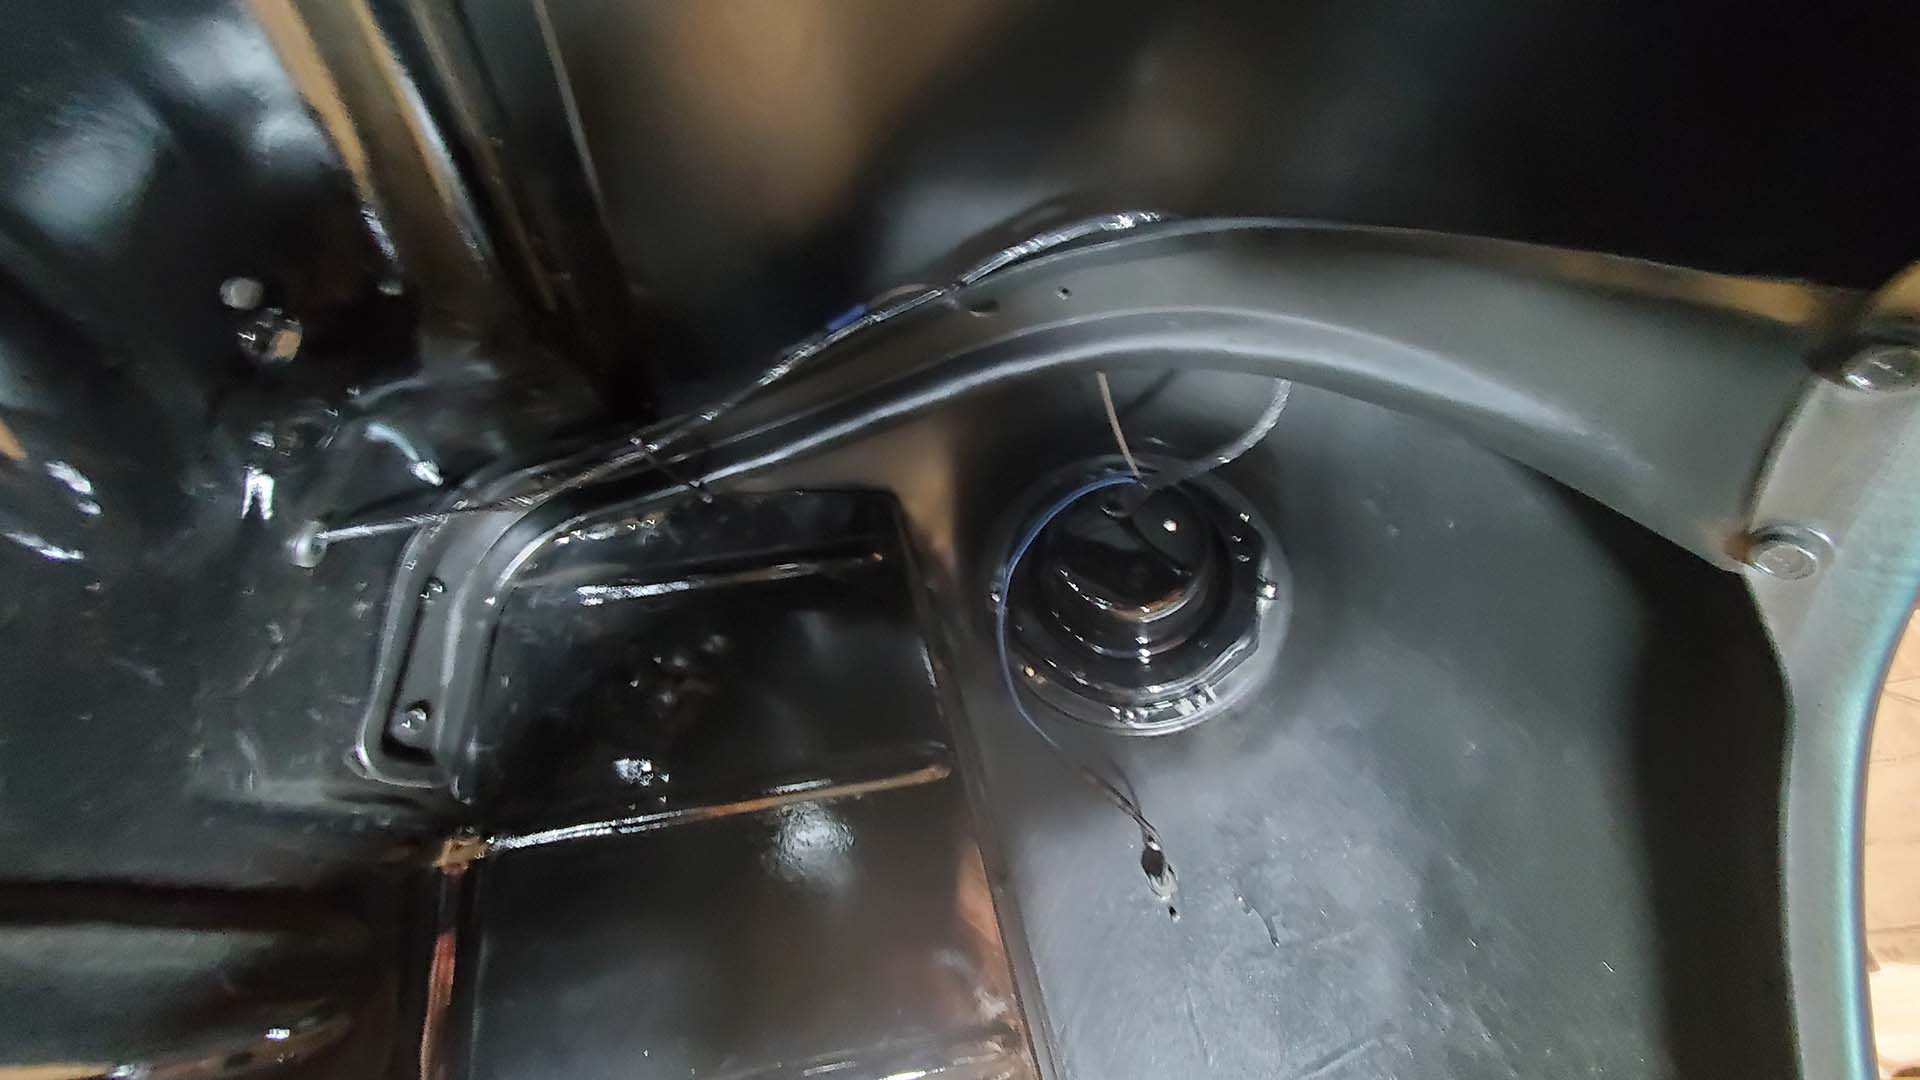
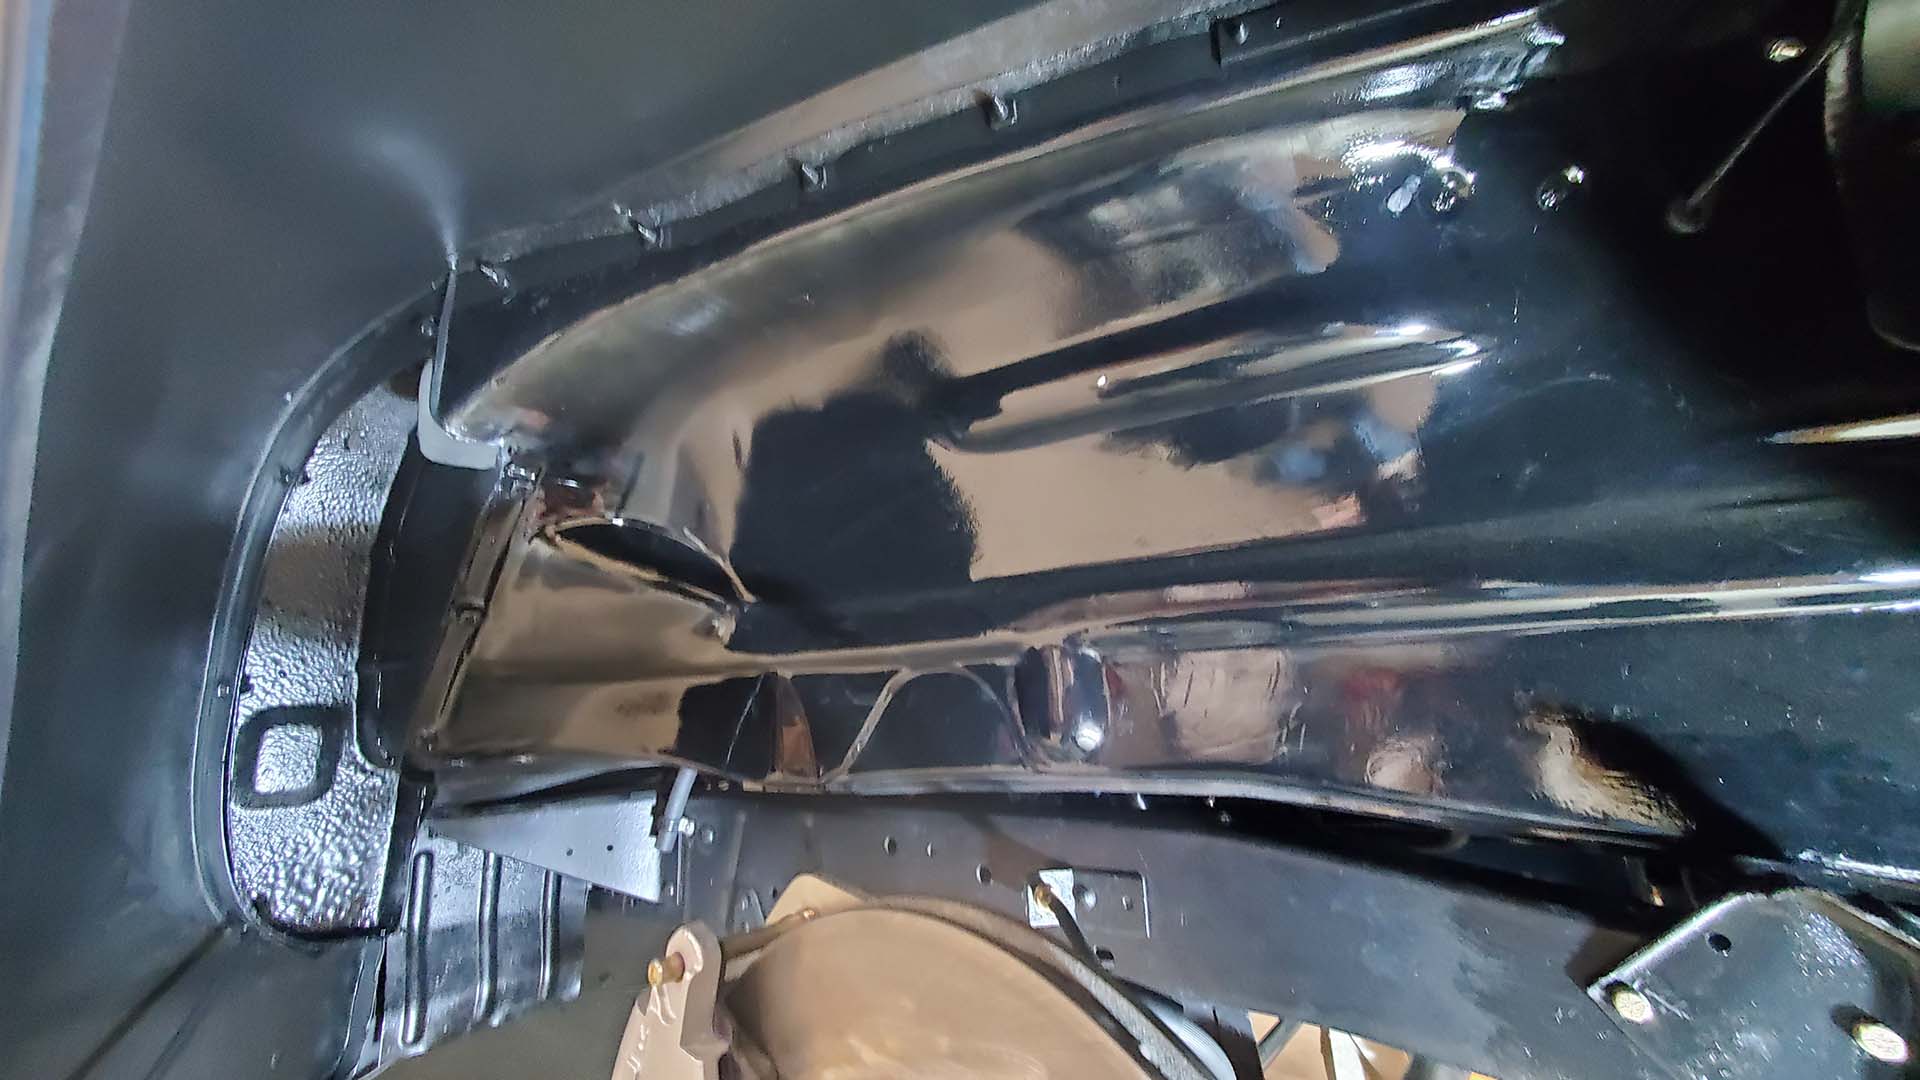
Since they were never really finished, the inside of both front fenders got the blackout treatment.
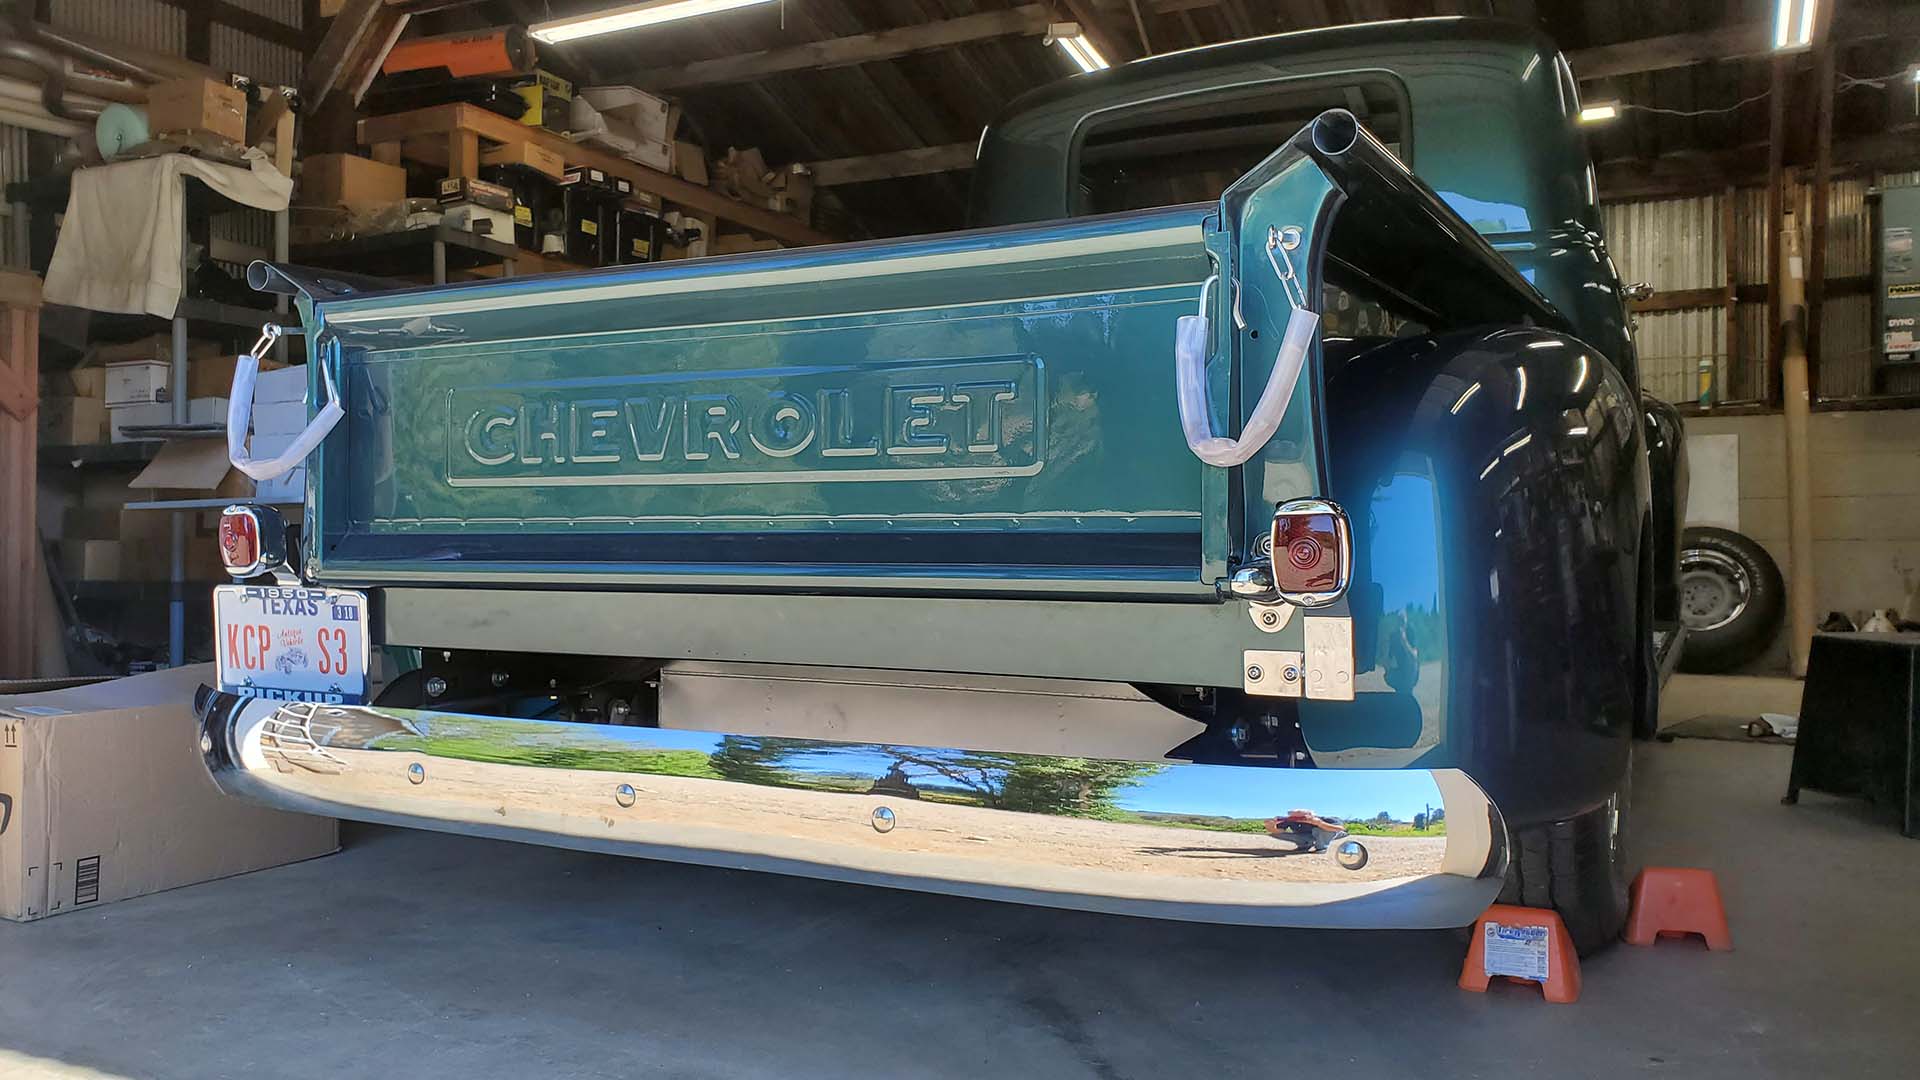
Wiring for the front and rear lighting was completed and tested A-OK. Yaaaay! The rear bumper was bolted back in place. These were parts found in the collection and reused. Though the chrome is marred in a few spots, it looks good. The large gap between the bumper and truck bed is a little funky. An aftermarket panel is available to fill this in but it's not something that came on the trucks originally.
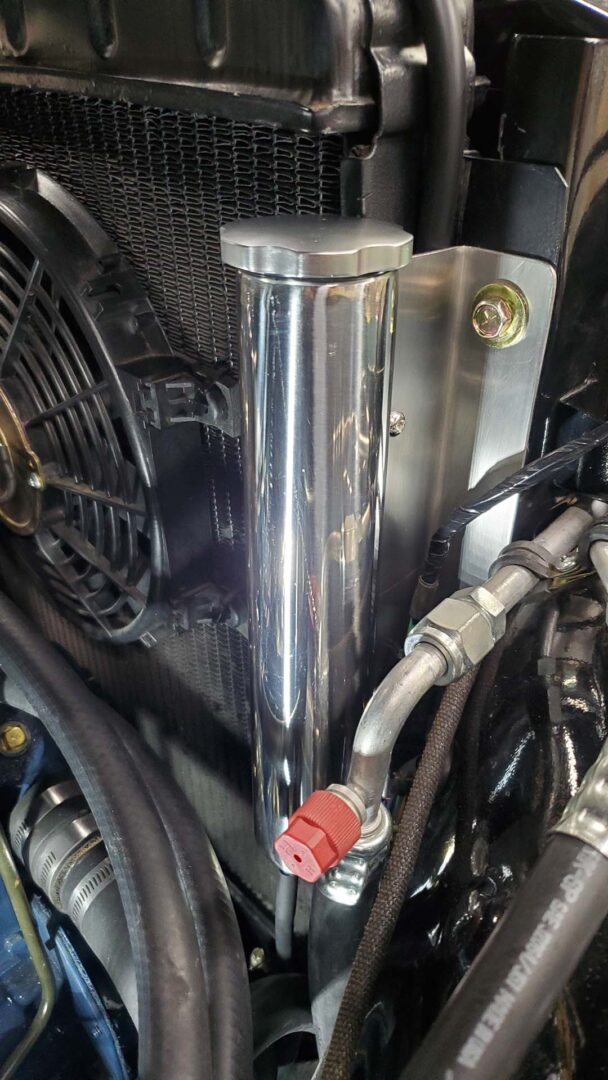
I fabricated a bracket to install a stainless steel coolant overflow/recovery tank. As you might recall, someone had installed a plastic jug on the firewall that was just plain ugly. This tank will collect anything the radiator might burp out and return it as needed.
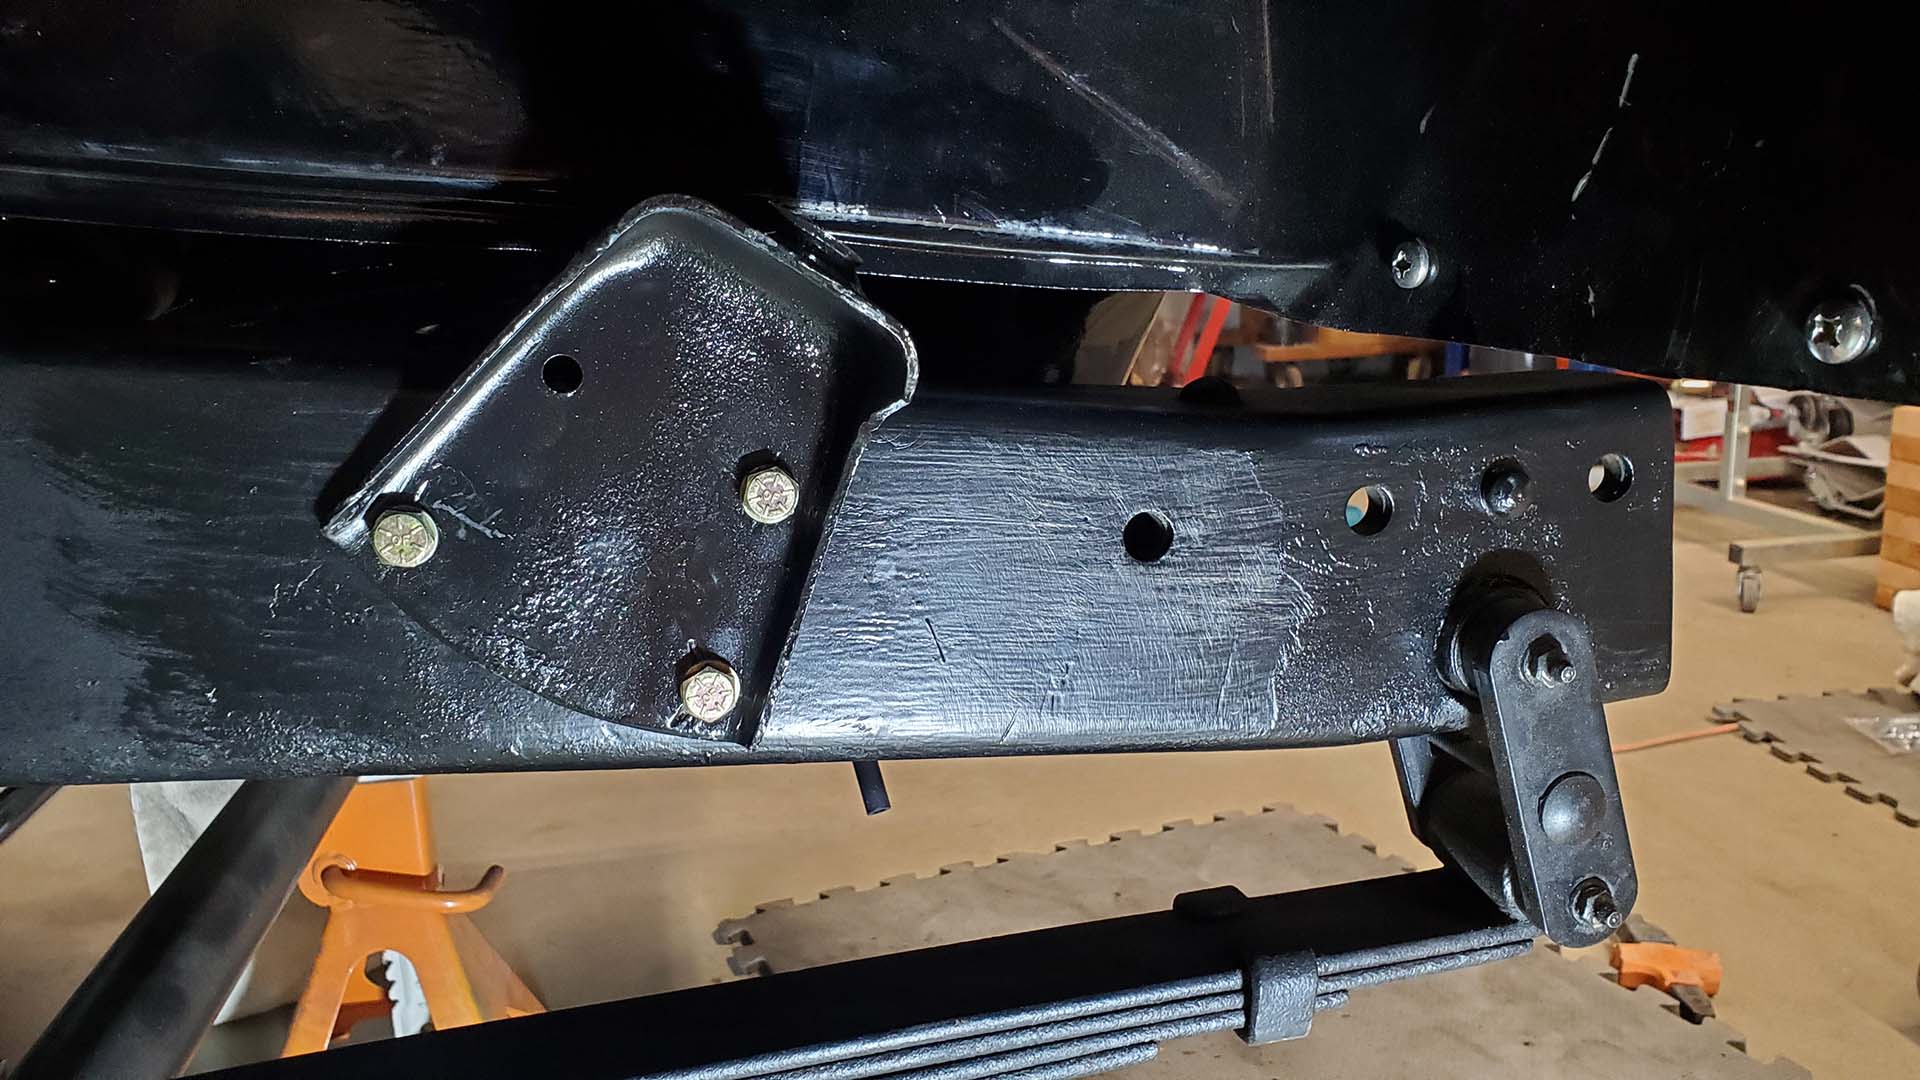
When I went to install the front bumper brackets I found that they interfered with the front upper shock mounts.
One of the first things I removed from the truck when it came in was a failed attempt at rack and pinion steering. Apparently, part of that installation involved moving the shock mount forward on the frame presumably to make room for the R&P tie rods. Now the bumper brackets won't fit.
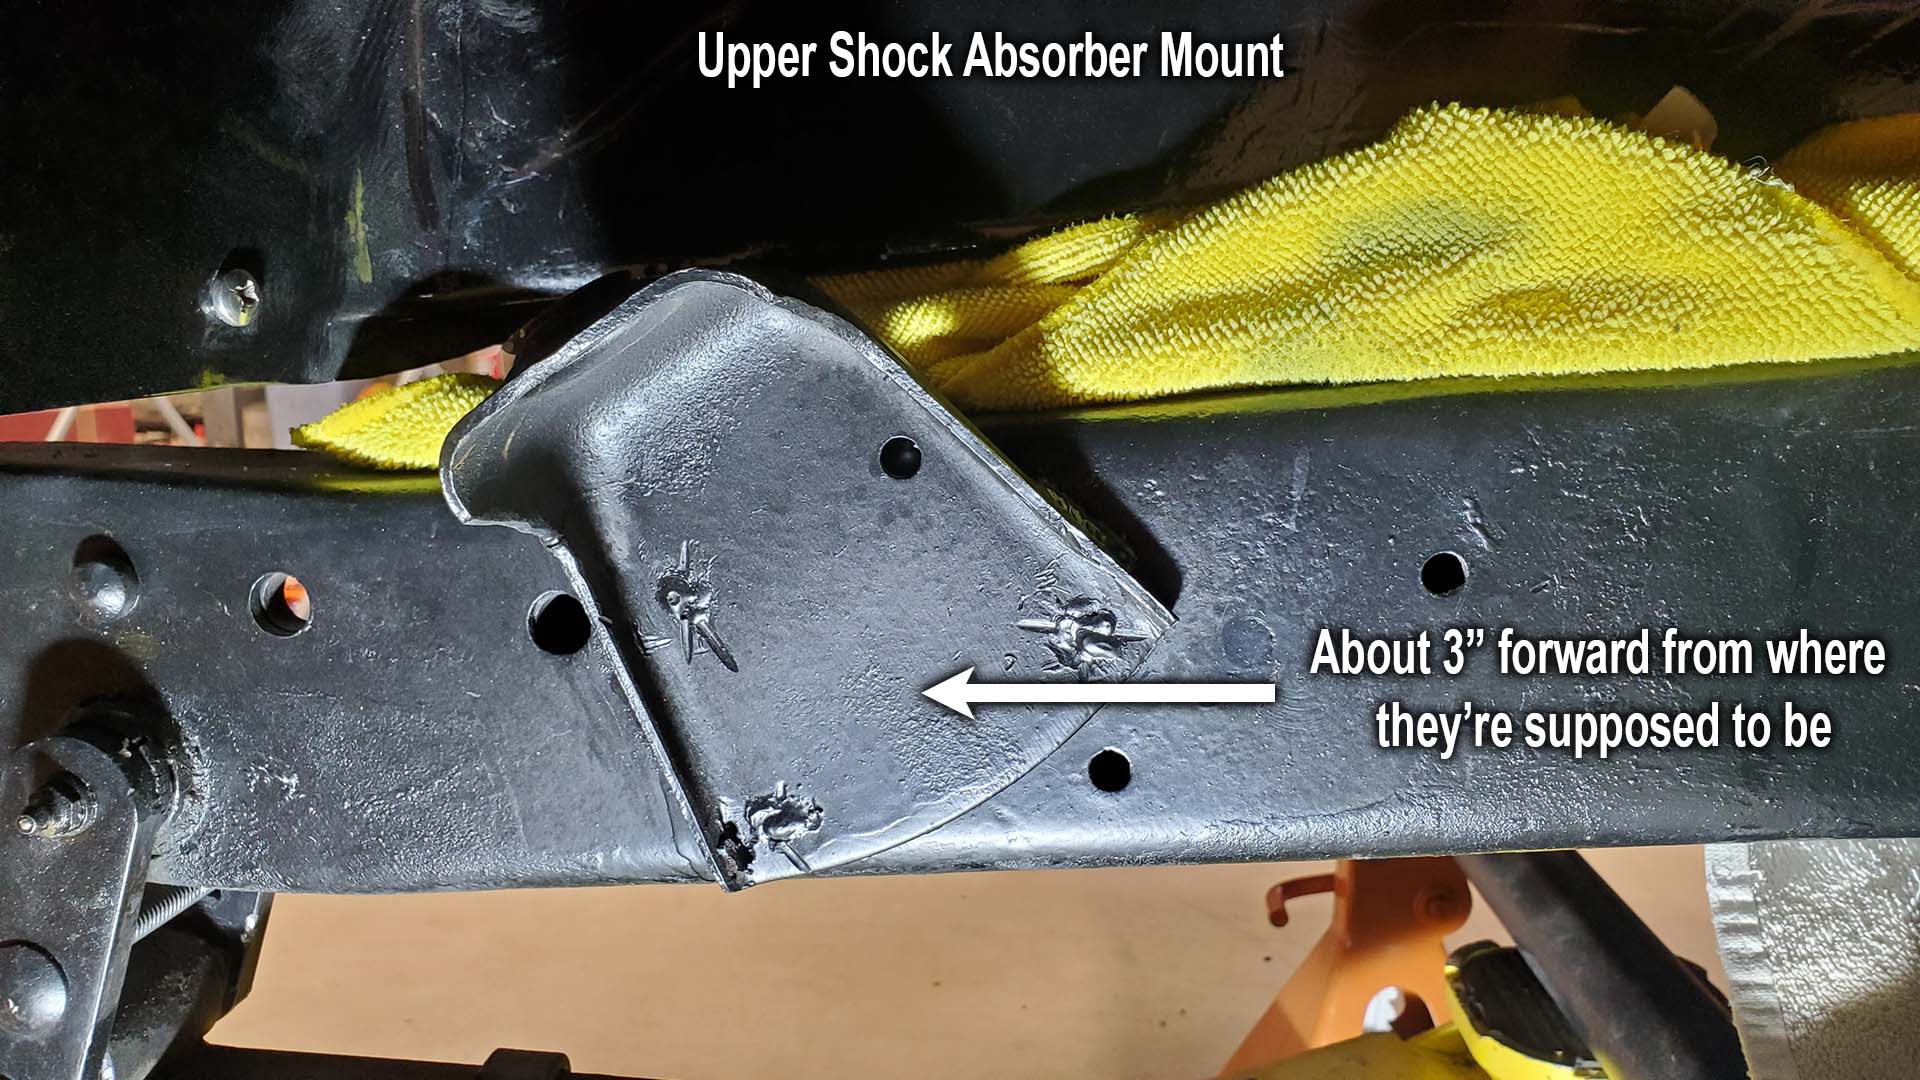
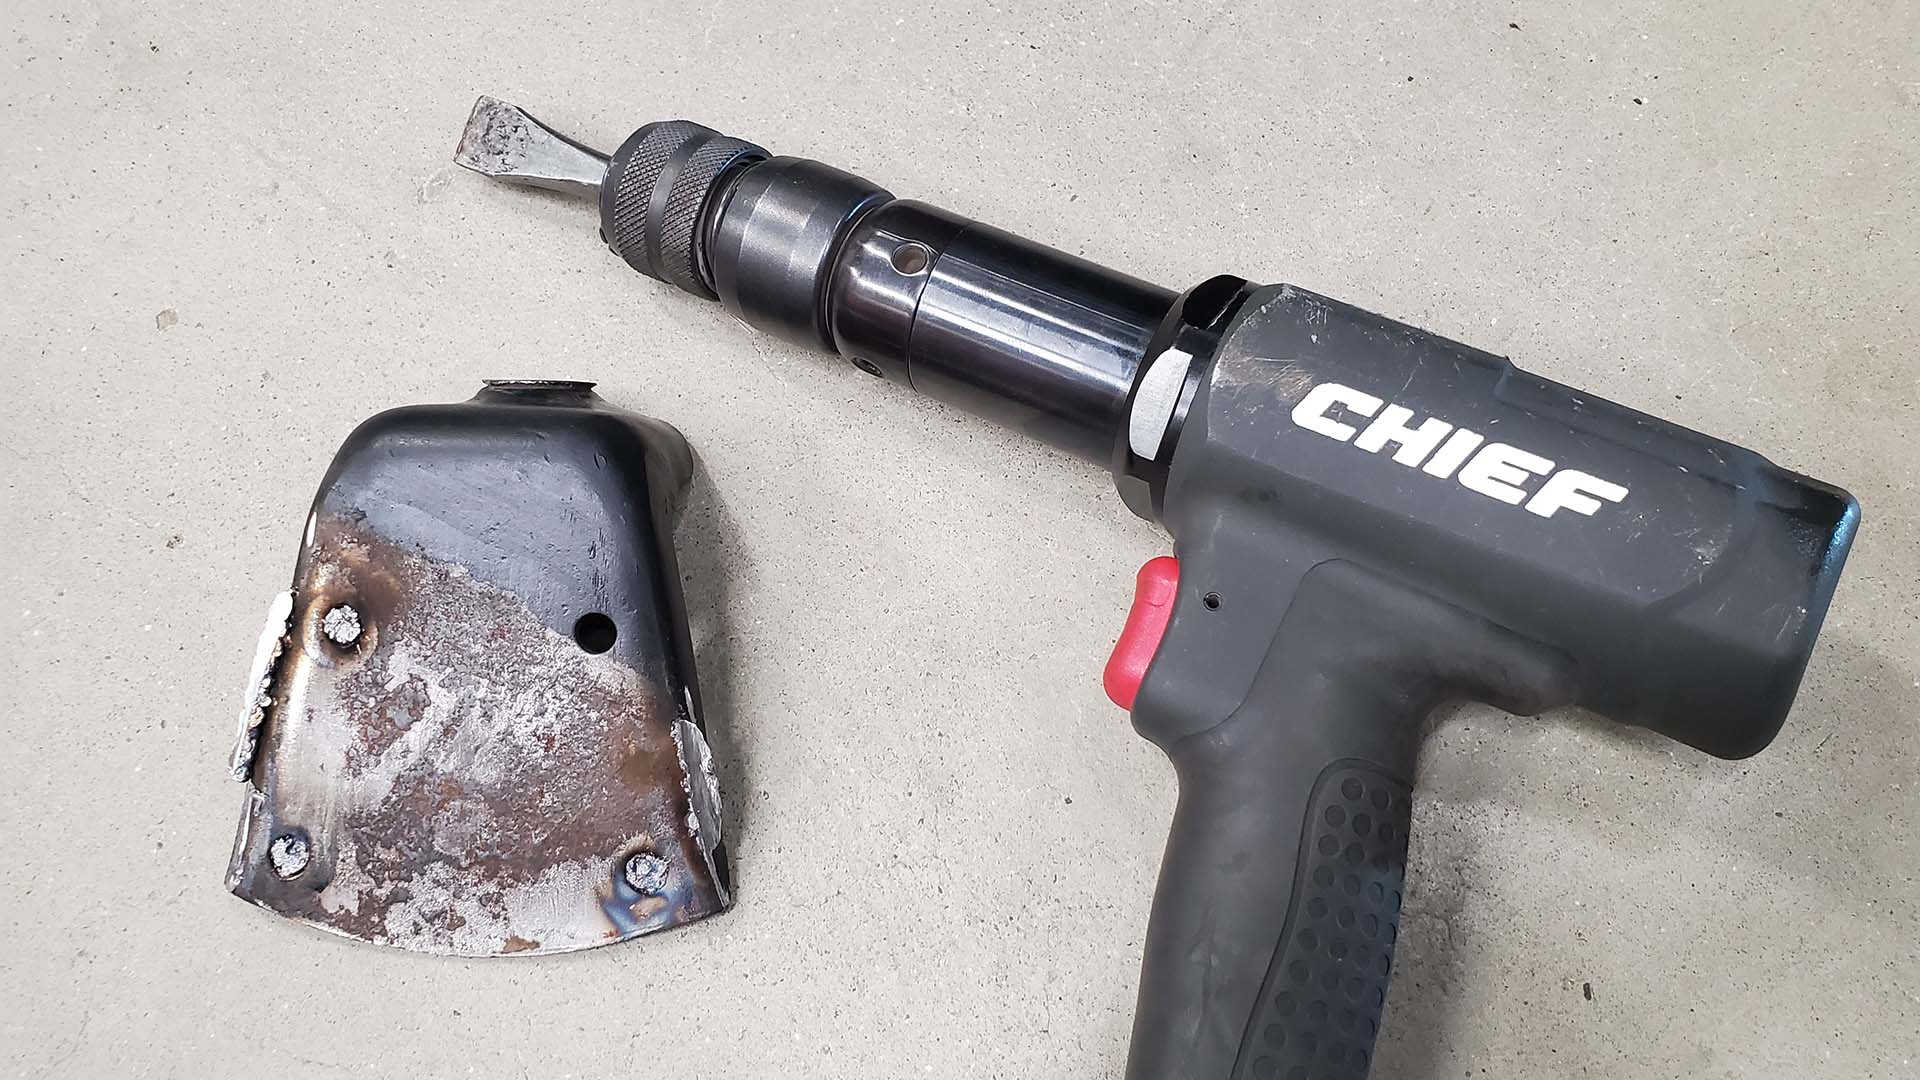
Someone had cut and knocked out the rivets that originally held them to the frame. Fortunately, their boogery welds didn't put up much of a fight. I sliced a couple of weld beads and the good 'ol 'Chief' air hammer knocked the brackets off with ease.
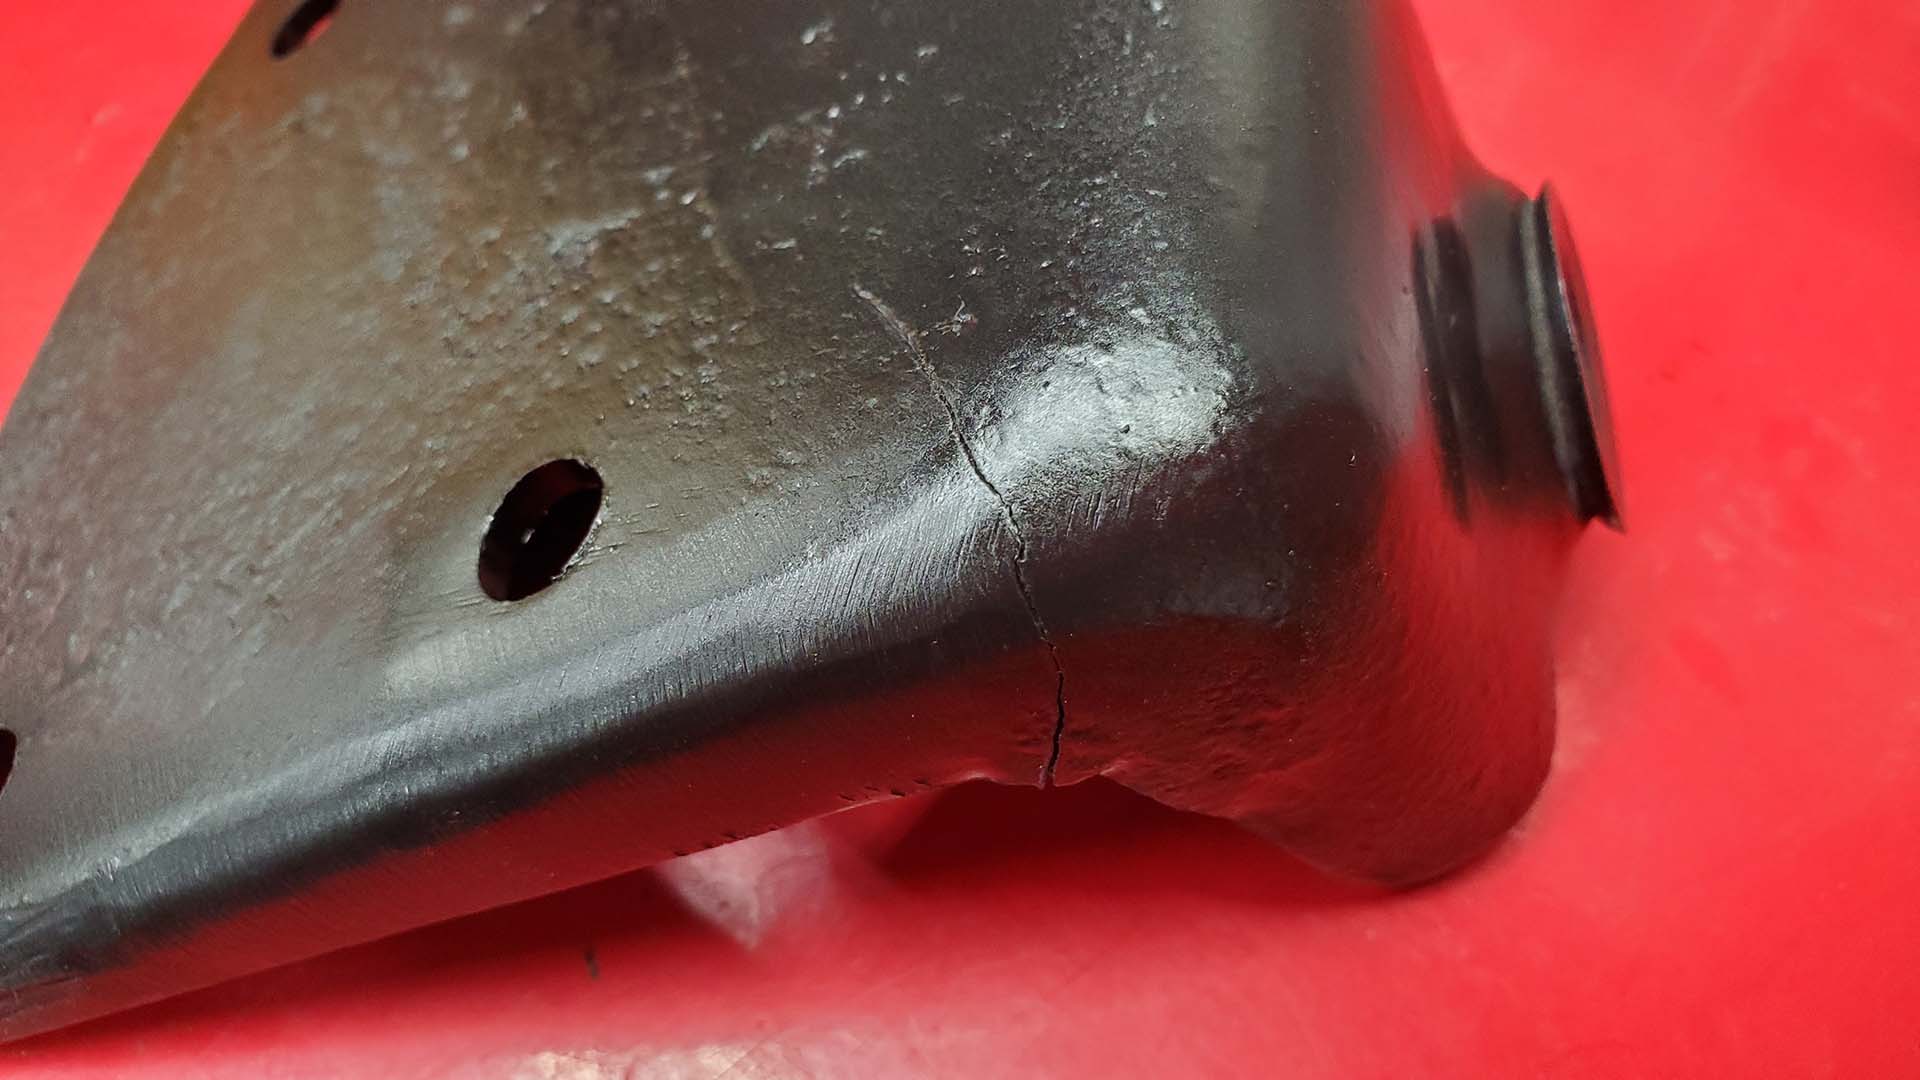
One of the mounts had a bad crack in it that I didn't notice till after spraying a little paint on it. It was welded up and repainted.
Both mounts were bolted back onto the frame in their original position using grade 8 fasteners. We're good, right? Not so fast. The shocks they installed were now too long. Couldn't install them without them bottoming out. The correct length shock was ordered. But hey, now I was able to install the front bumper brackets.
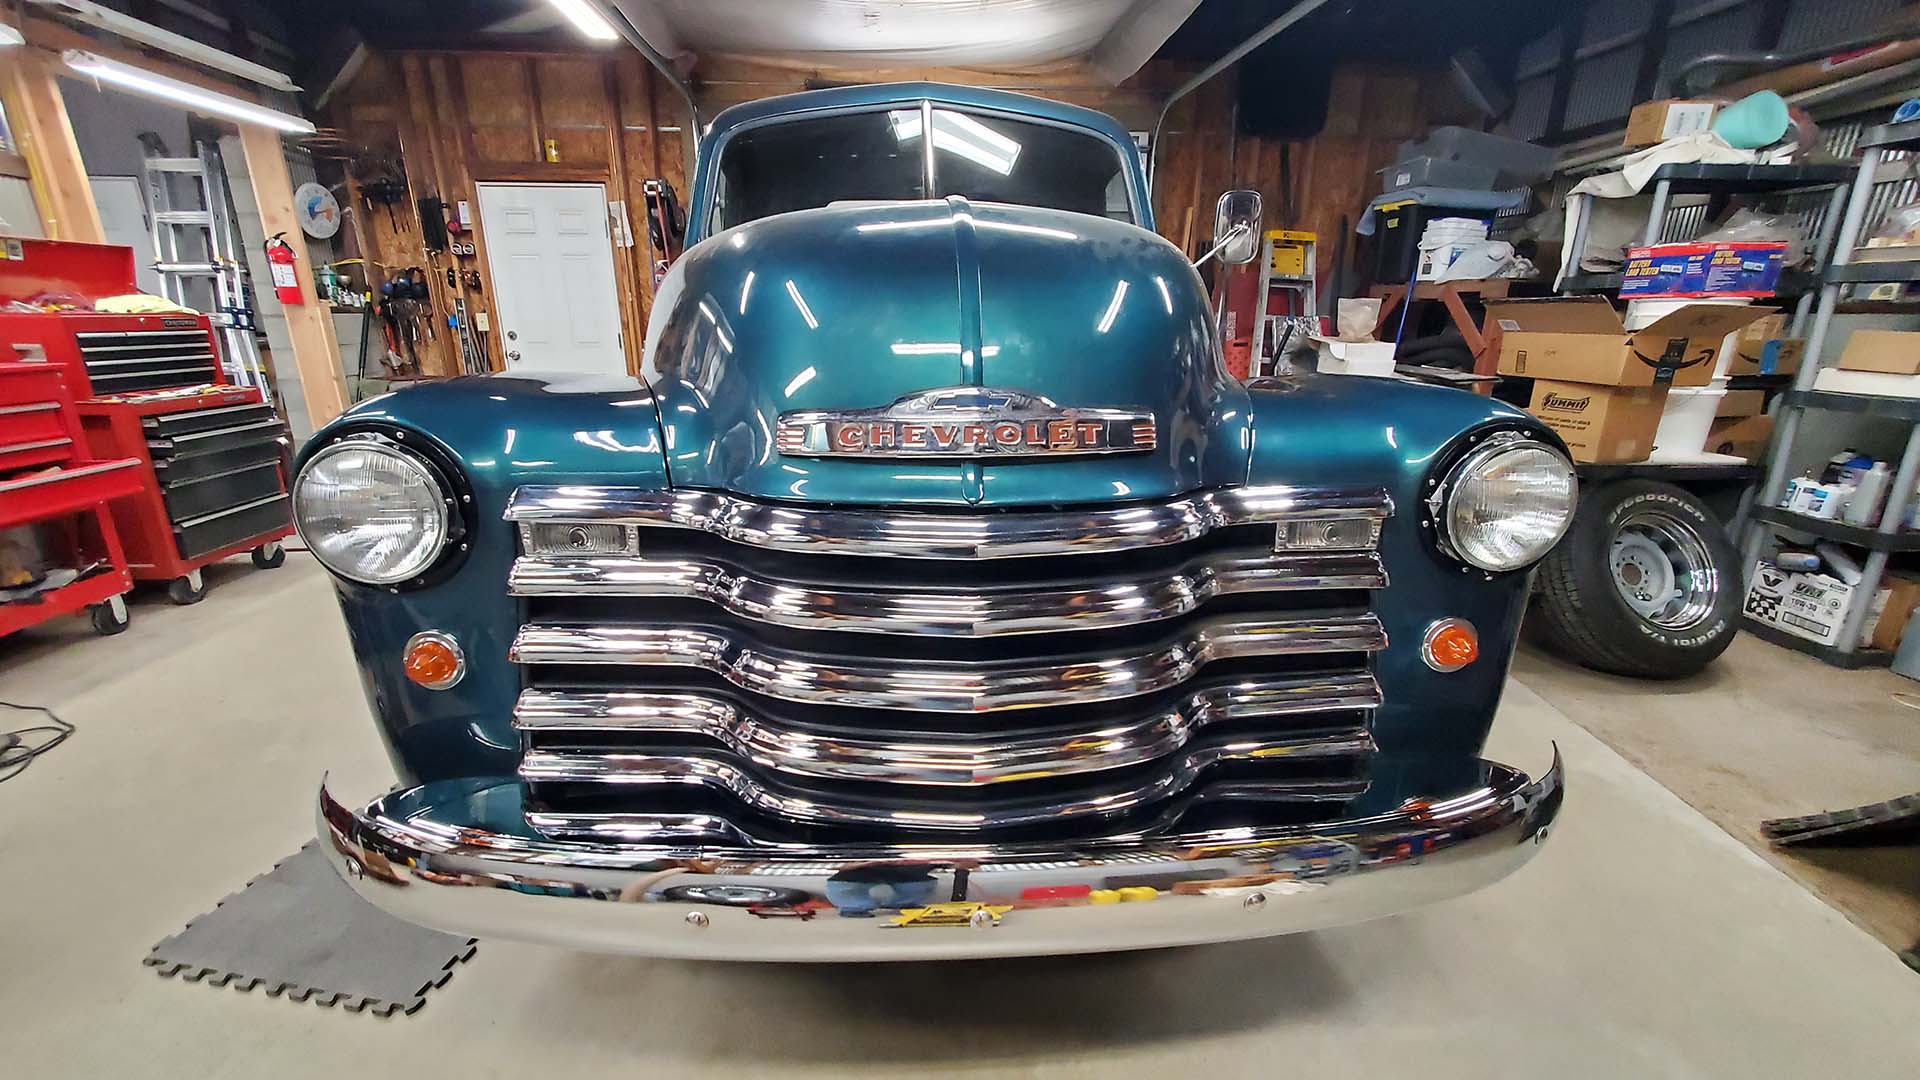
Bumper brackets, bumper, and a chrome plated filler panel (from the collection) went on smoothly. The front is nearly complete except for the headlamp trim.
The original stainless headlamp trim rings were a little worse for wear: dings, scratches, broken welds. Some time was spent repairing and improving their appearance without going overboard. You could spend a lot of time working on them and it doesn't appear these are being reproduced. Just polishing them on the buffer wheel made a big difference.
There's supposed to be a special rubber seal with a wire core that goes around the inside of each bezel and some funky spring retaining clips hold them in place and to the fender. They were ordered and installed but the rings refuse to fit as they should. I believe it's because a rubber seal is missing behind each headlight bucket (shocker). The seal would also space the bucket out from the fender a little, allowing the rings to fit correctly. We'll see when the seals arrive.
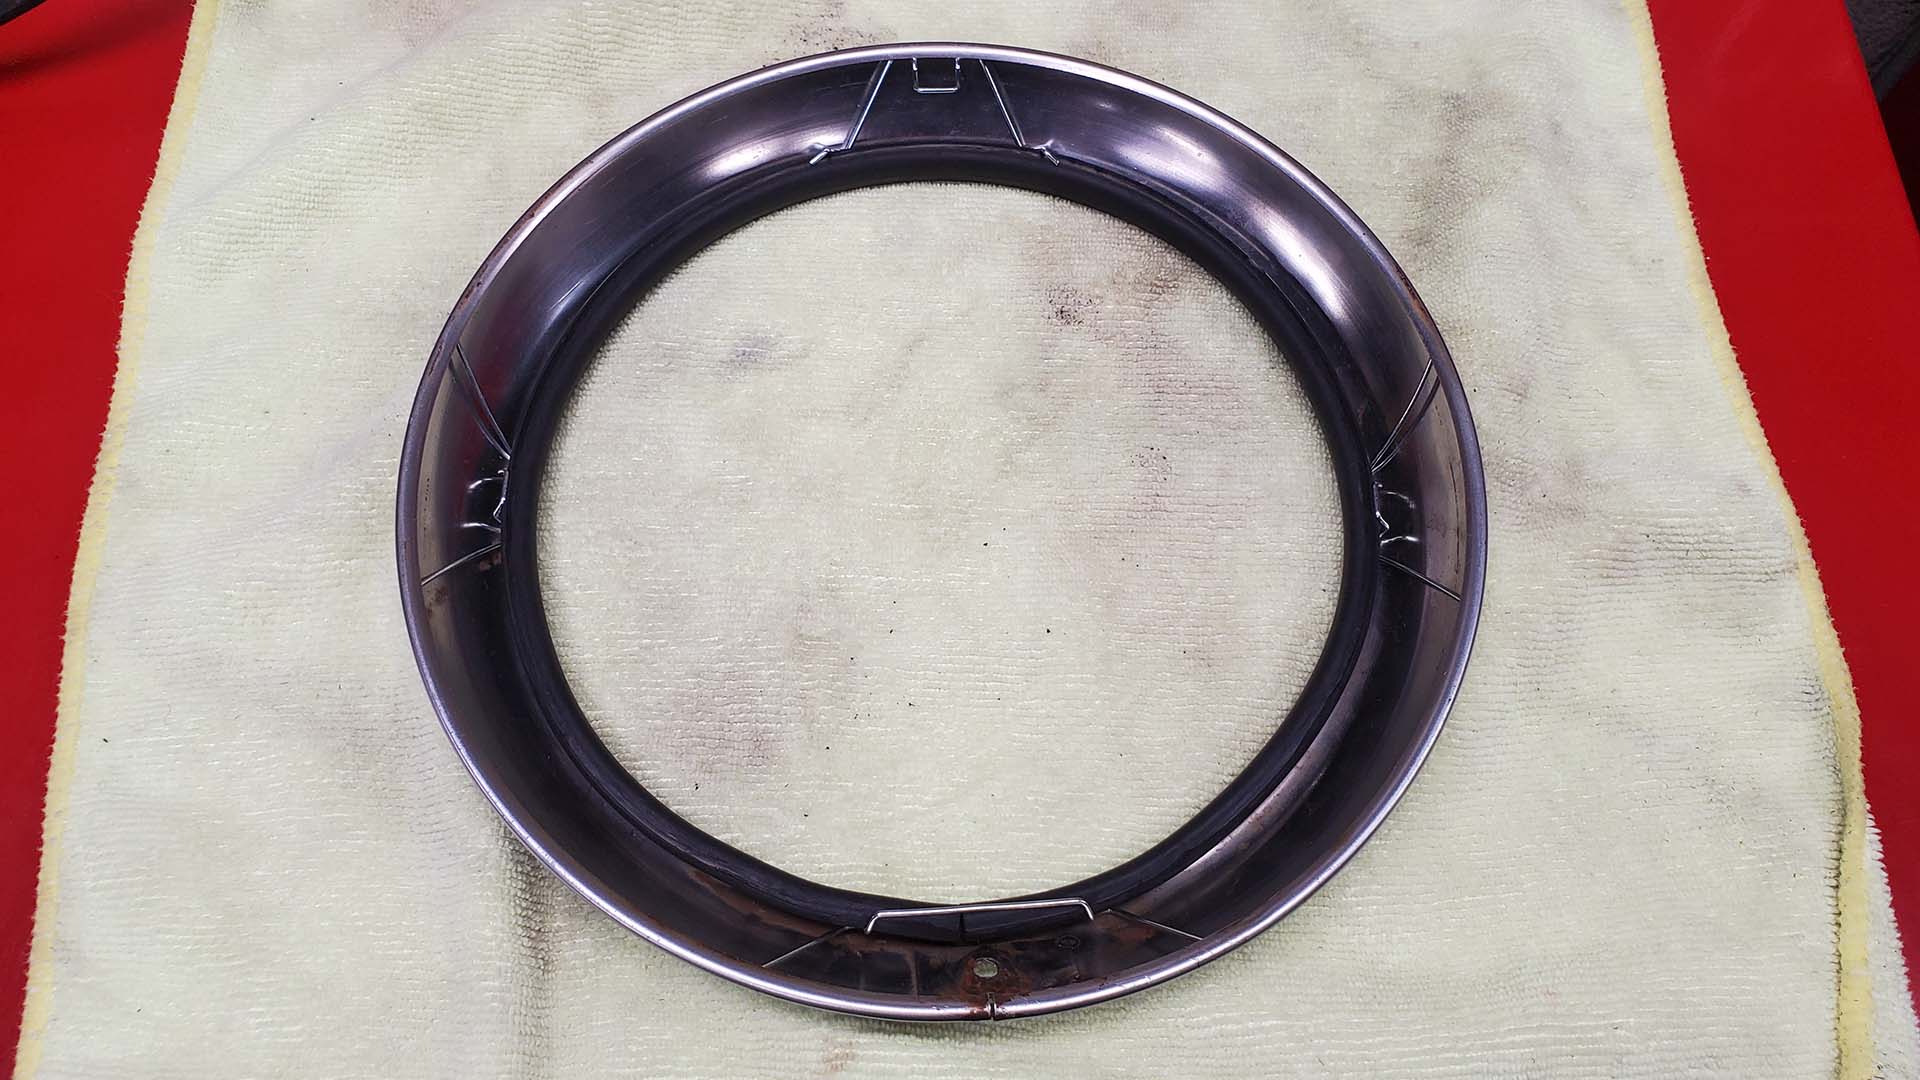
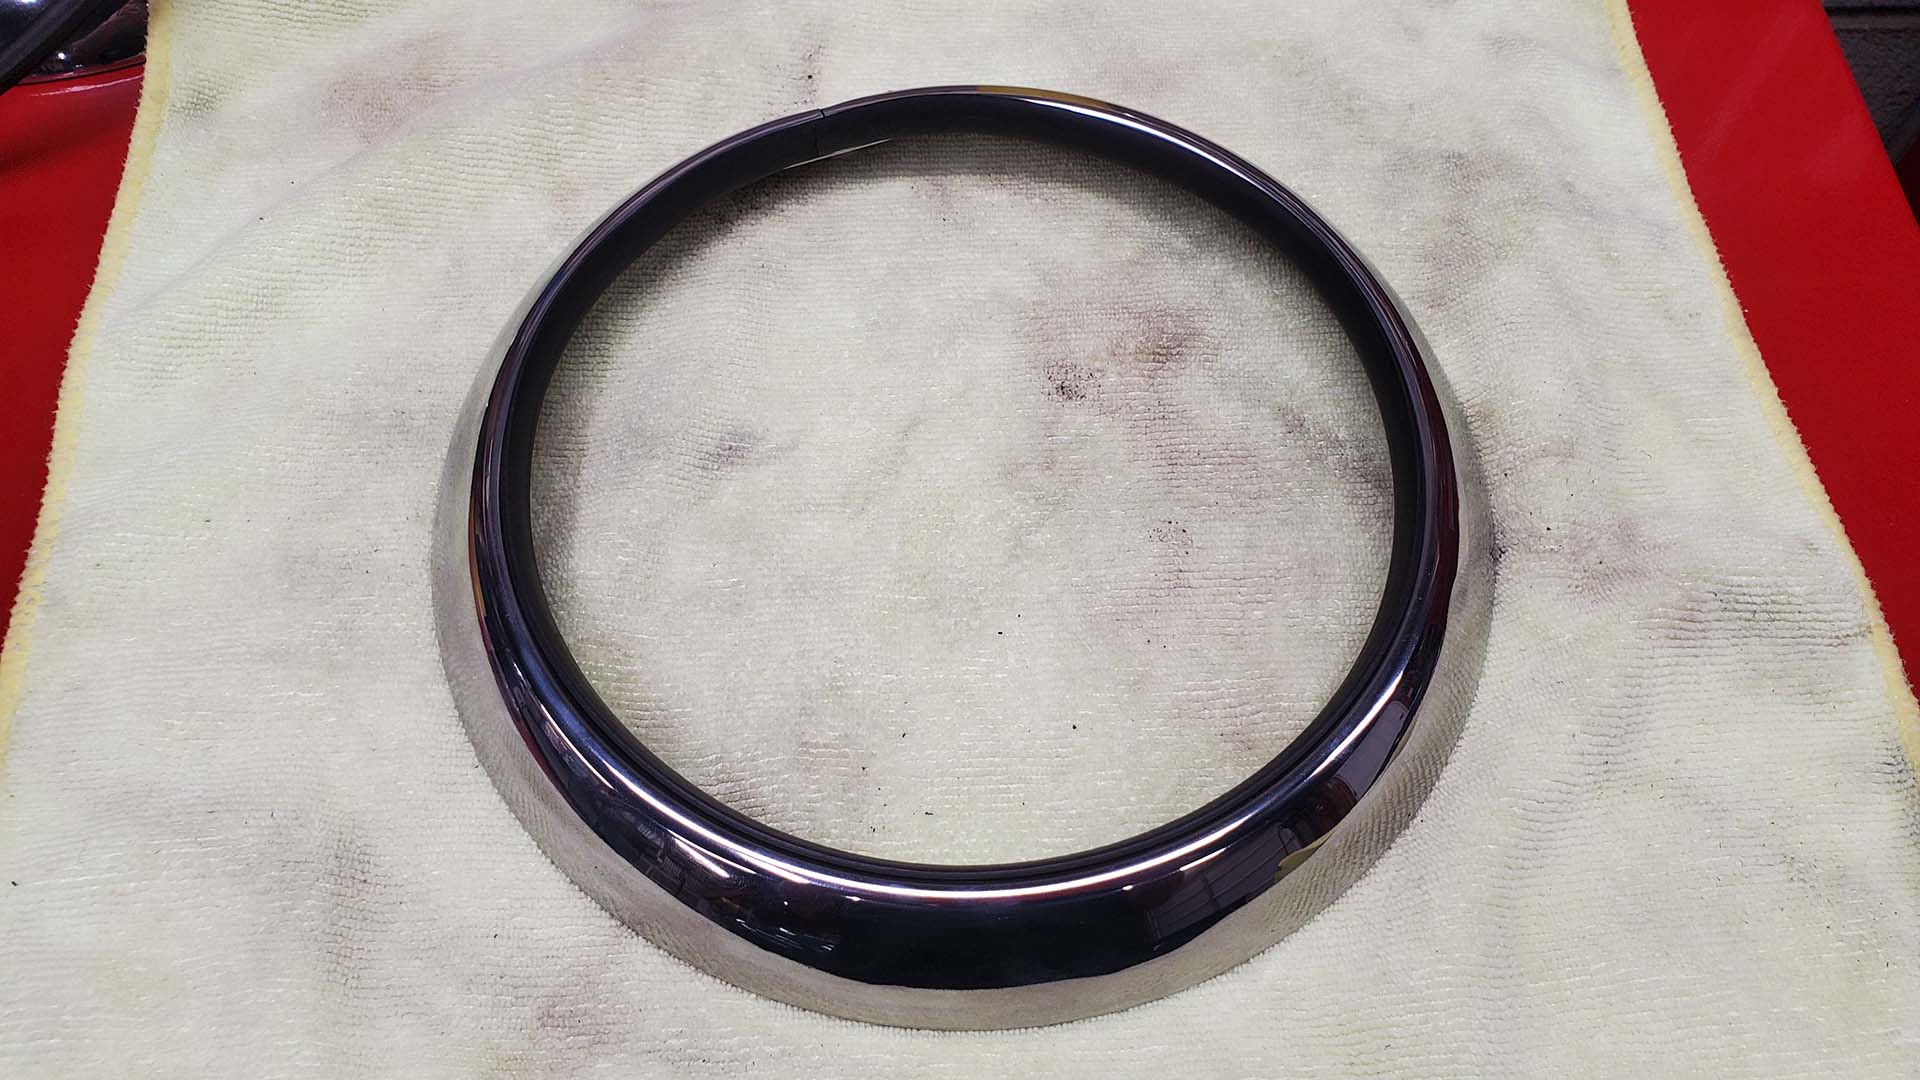
Really, all that's left is to finish the exhaust (a tail pipe), paint the center of the wheels (came in primer), and finish a few little details.
