“Are we there yet? Are we there yet…”
Next up was to prepare the front clip (fenders, grille, etc) to be bolted back on. All the front sheet metal aligns to the hood so it has to be fully adjusted in the right spot first. Until now the hood was very loosely bolted to the cowl on its hinges.
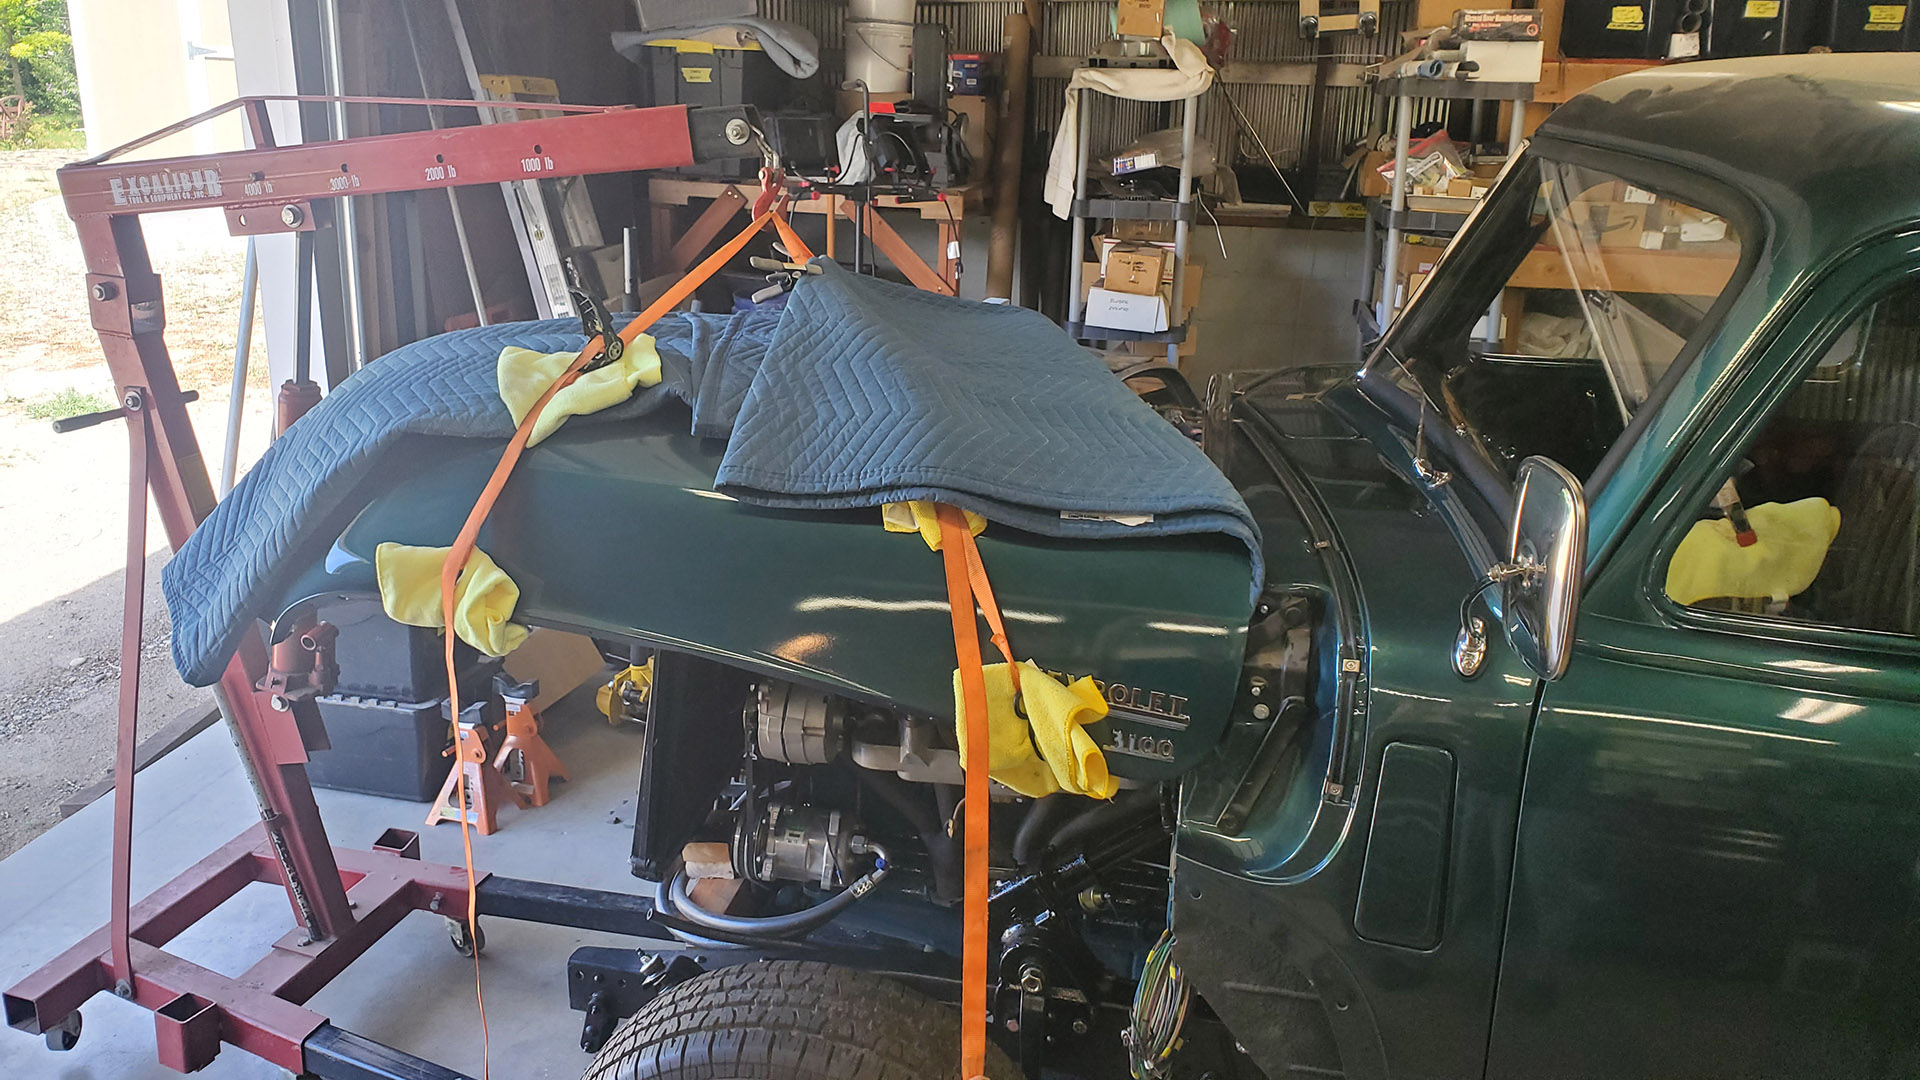
A rubber 'anti-squeak' strip needs to be in place so that the hood can be pressed tightly against it in the closed position - part of the adjustment procedure. And for that, the hood needed to come off temporarily for the strip to be installed. I rigged up a sling arrangement on an engine hoist which worked well. Otherwise it's a three person job.
The anti-squeak pieces can then be screwed to the cowl. It supports the rear edge of the hood, prevents chafing, and, well... prevents squeaks.
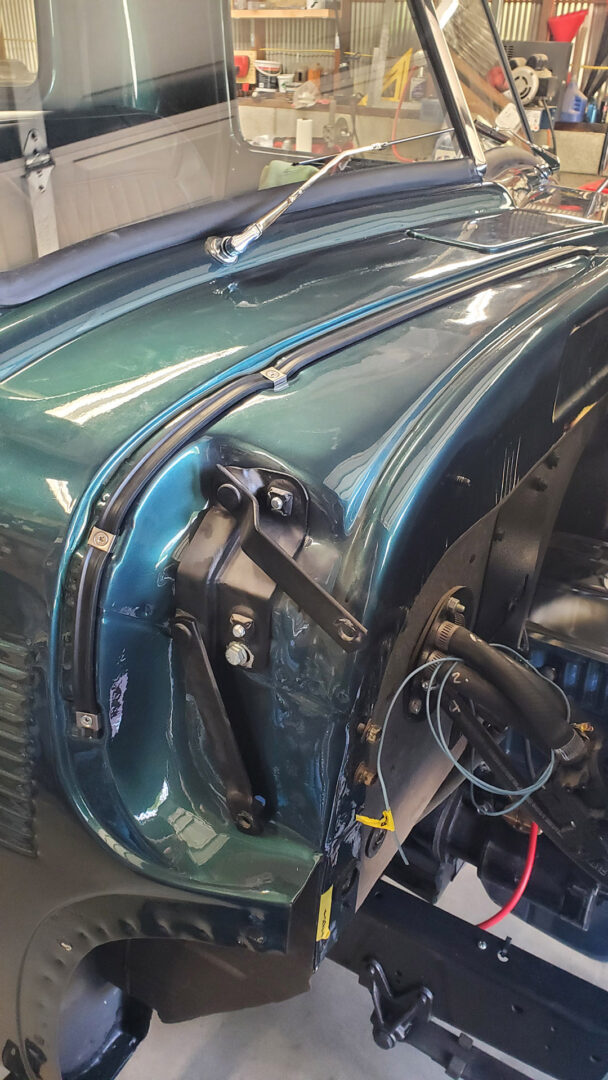
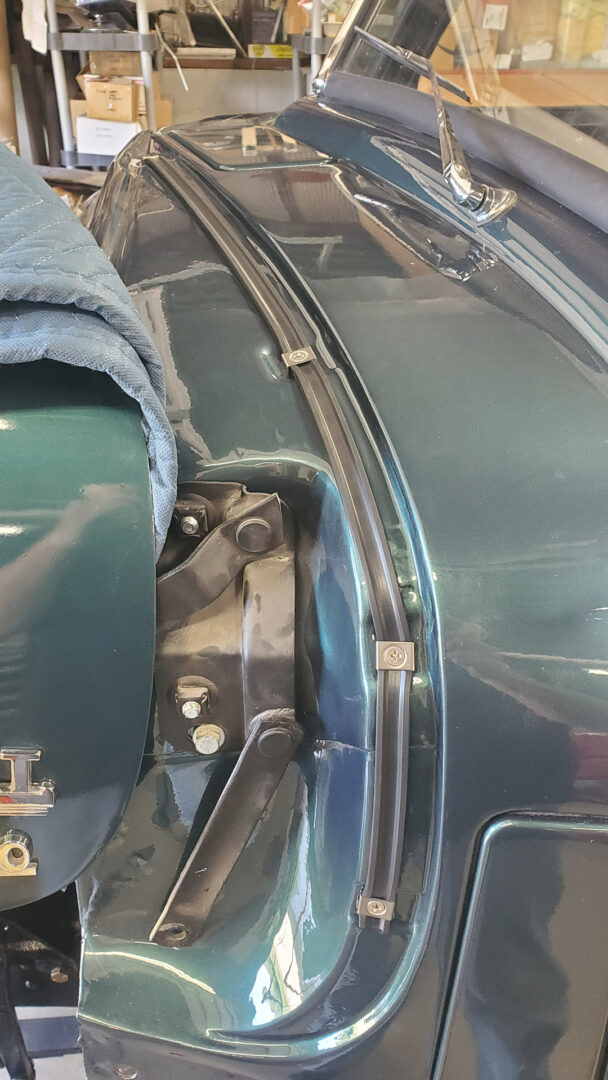
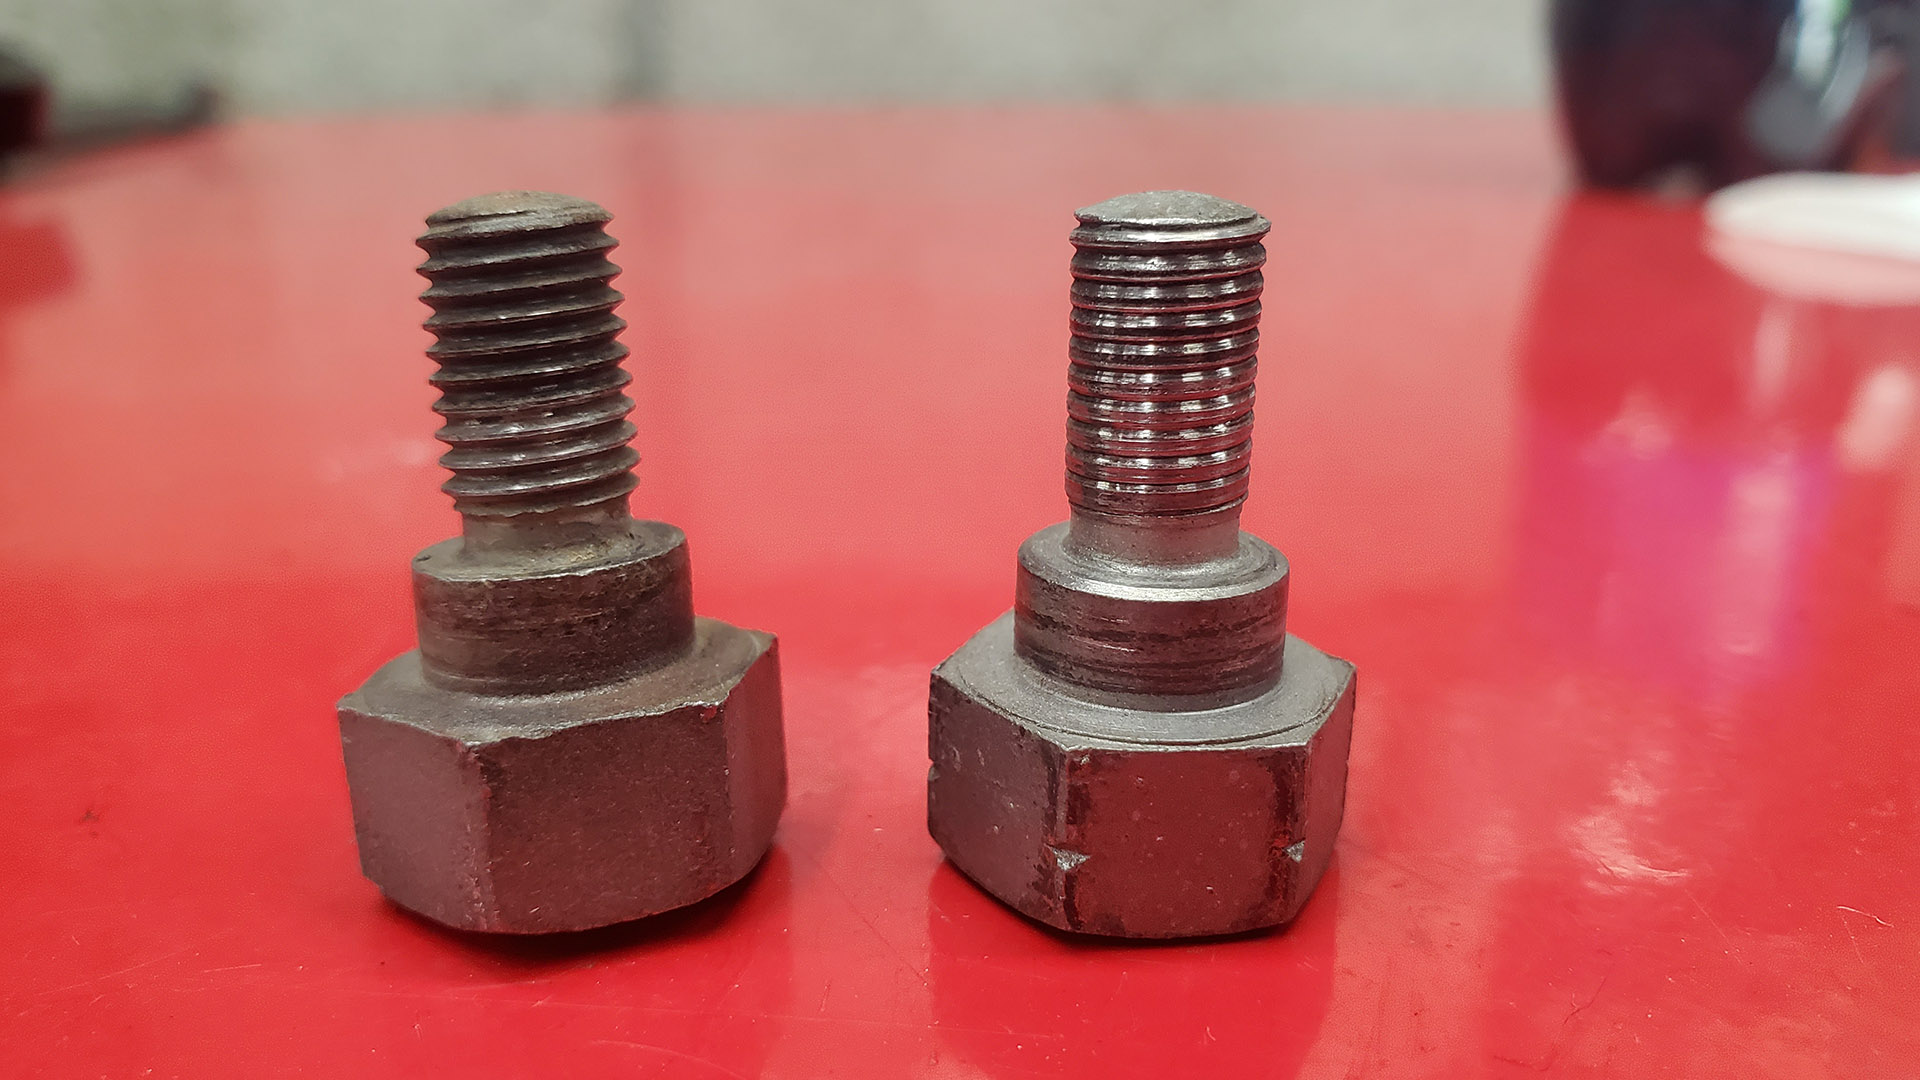
The hinges attach to the hood using special bolts with a shoulder built-in. This is a pivot point. Unfortunately, someone had cross threaded one of the them the last time they were installed. It did not come out easy.
Thank goodness for taps, dies, and other thread repair tools! I ran a tap through the hood and a thread repair die over the bolt and restored them to usable condition - easily threaded in by hand.
My plan was to get the truck to be able to move under its own power so I could take it to a muffler shop for an exhaust system. Not critical, but it would be nice to be able to quietly move the truck around before it's fully assembled. For that, it needs to start and run. Someone had already plumbed the dual carbs on a Fenton intake manifold.
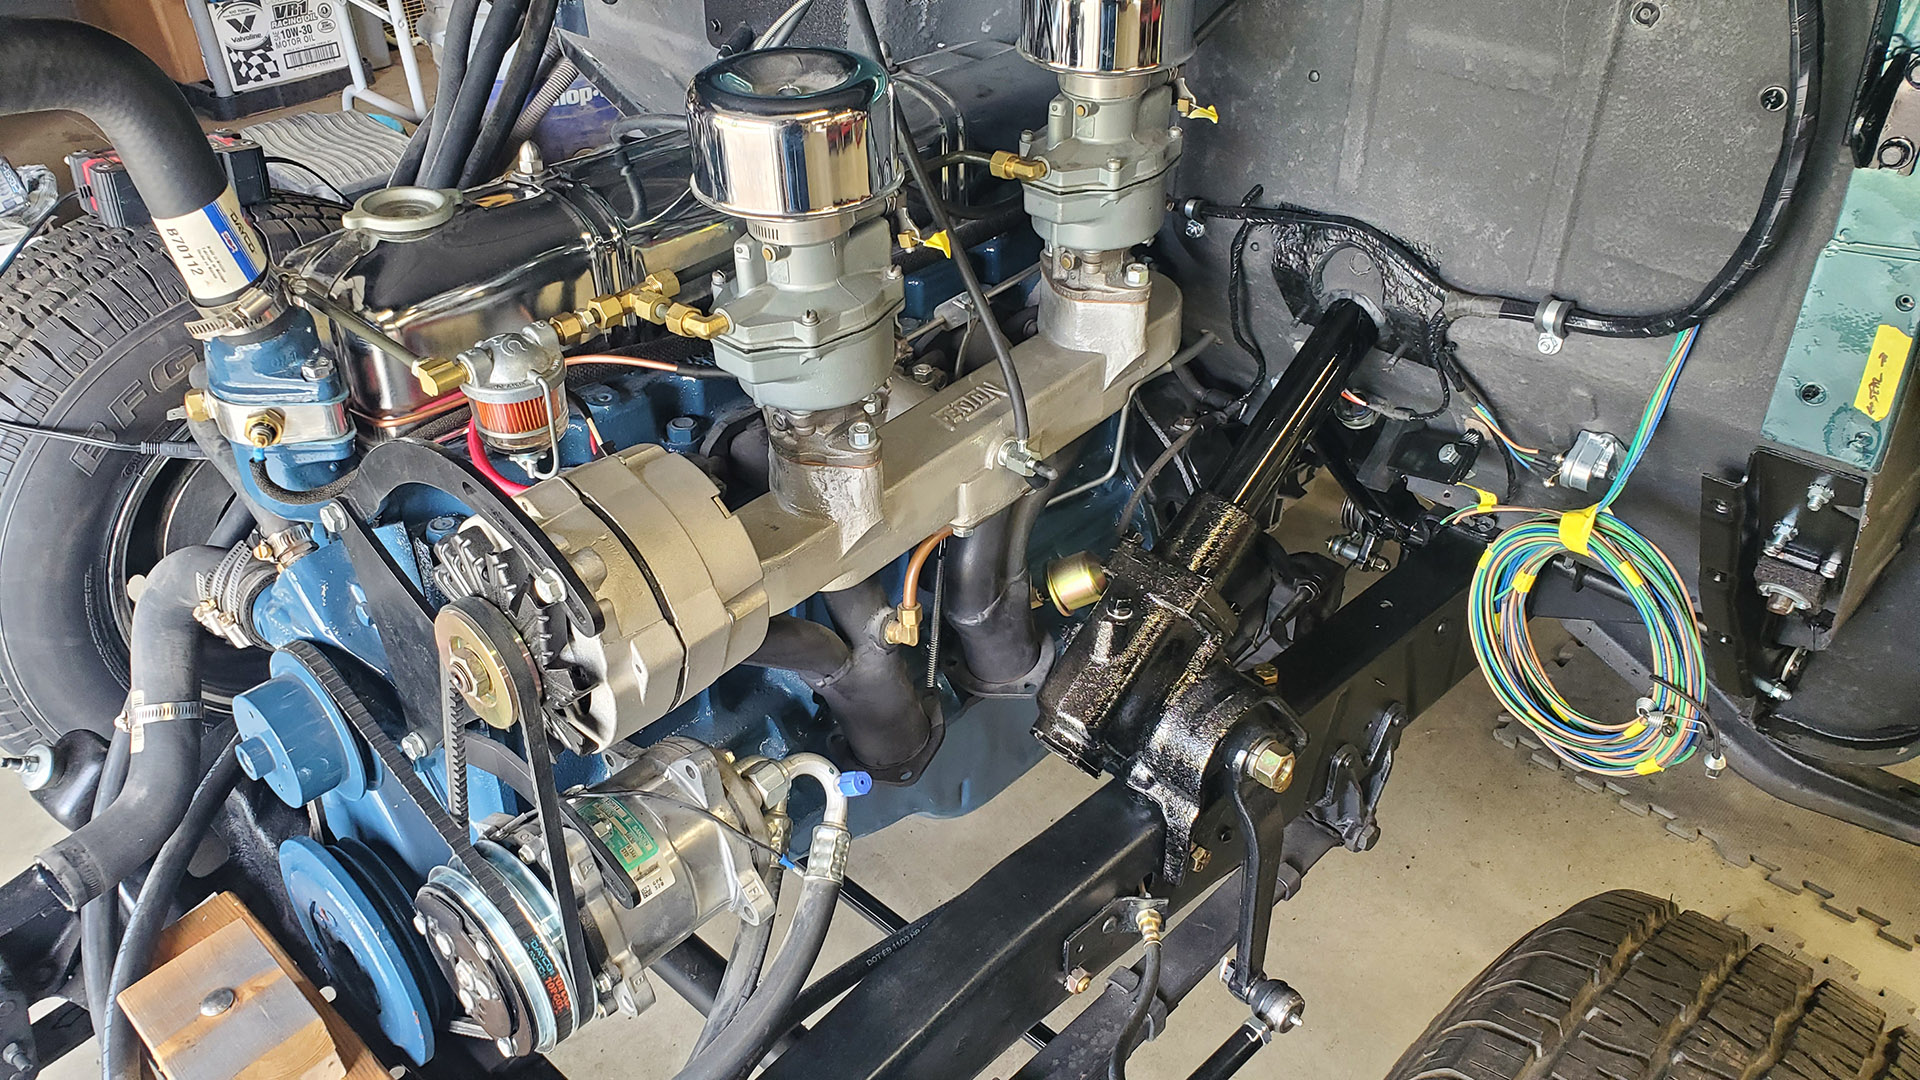
I got the engine to fire with starting fluid. The fuel pump worked great at getting fuel to the carbs where it promptly revealed leaks in the system. One was at the rear carb in which someone ran a brass fitting a little too far in and damaged it.
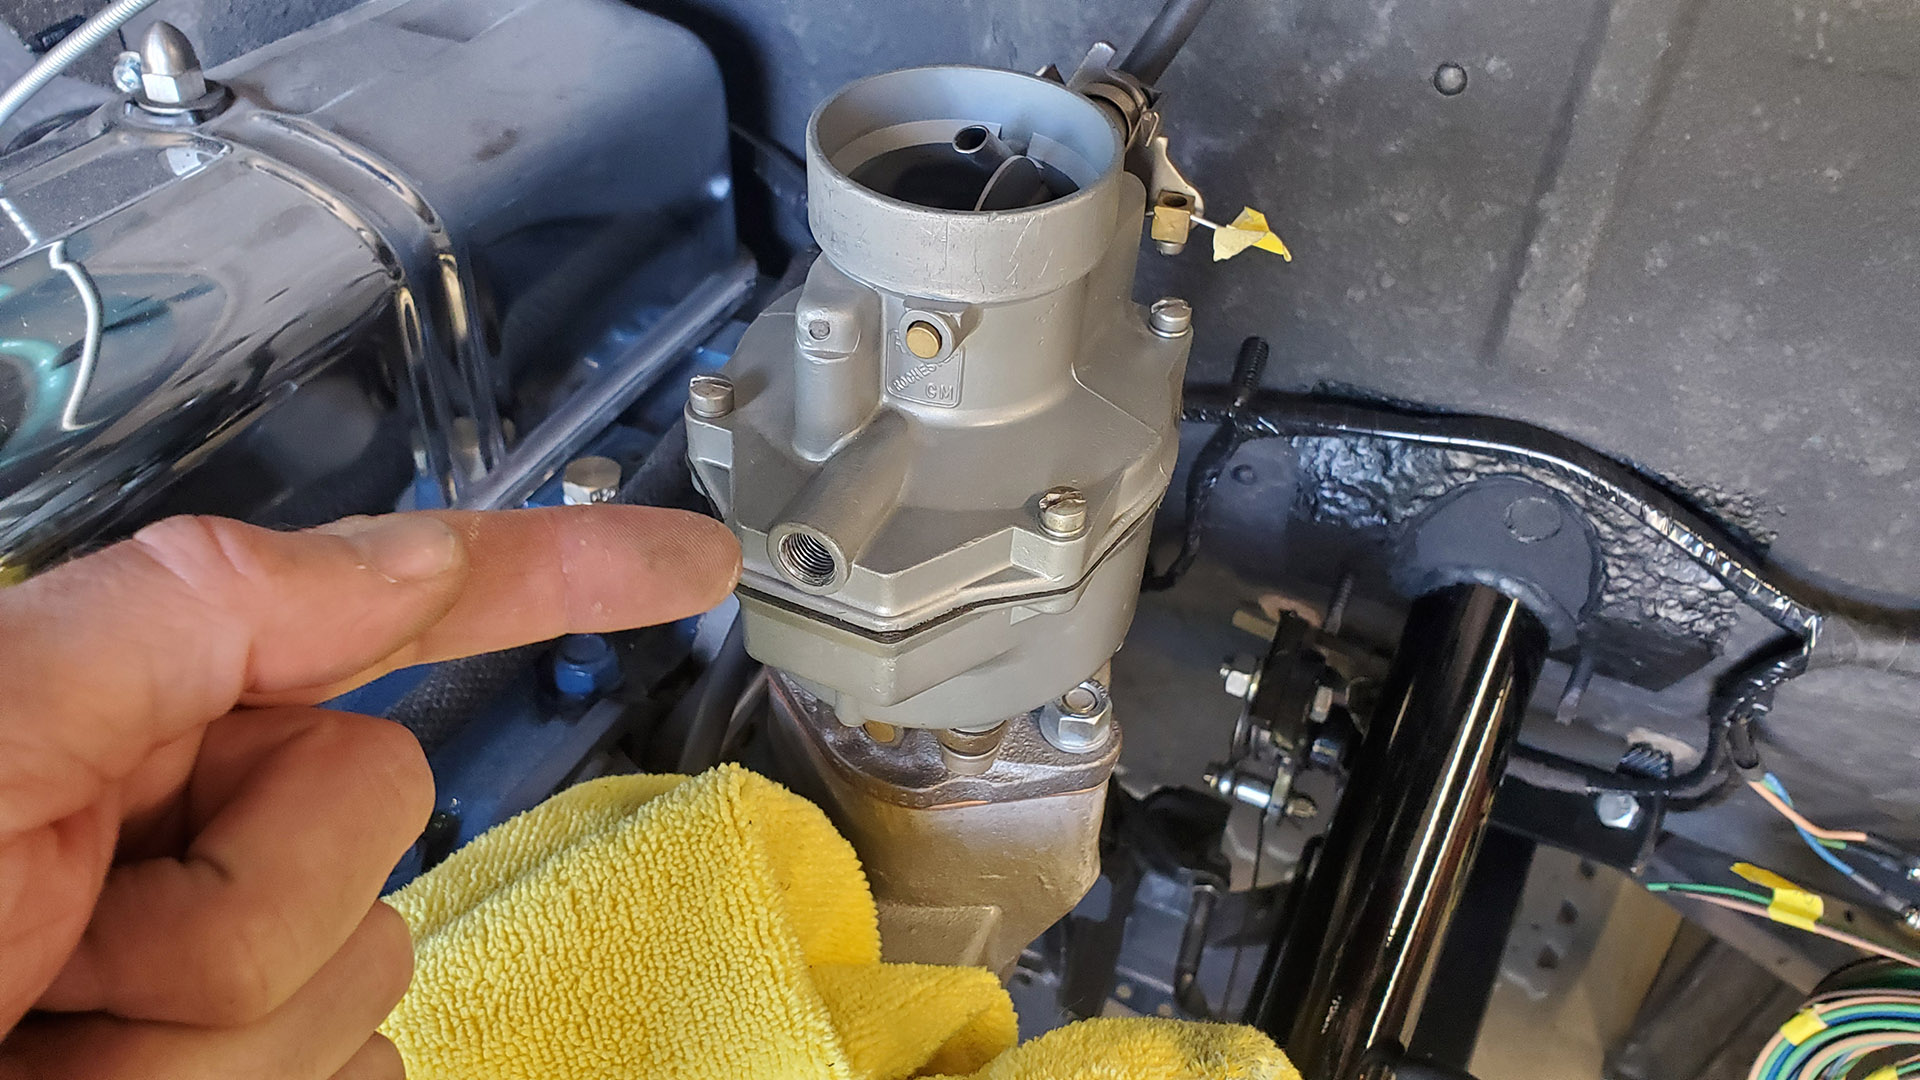
A workaround got it fixed but the engine wouldn't start and run. I popped the top off of both carbs and found someone had doubled up the gaskets. In other words there were two where there should have been only one. And they weren't even identical gaskets, but from two different carb models.
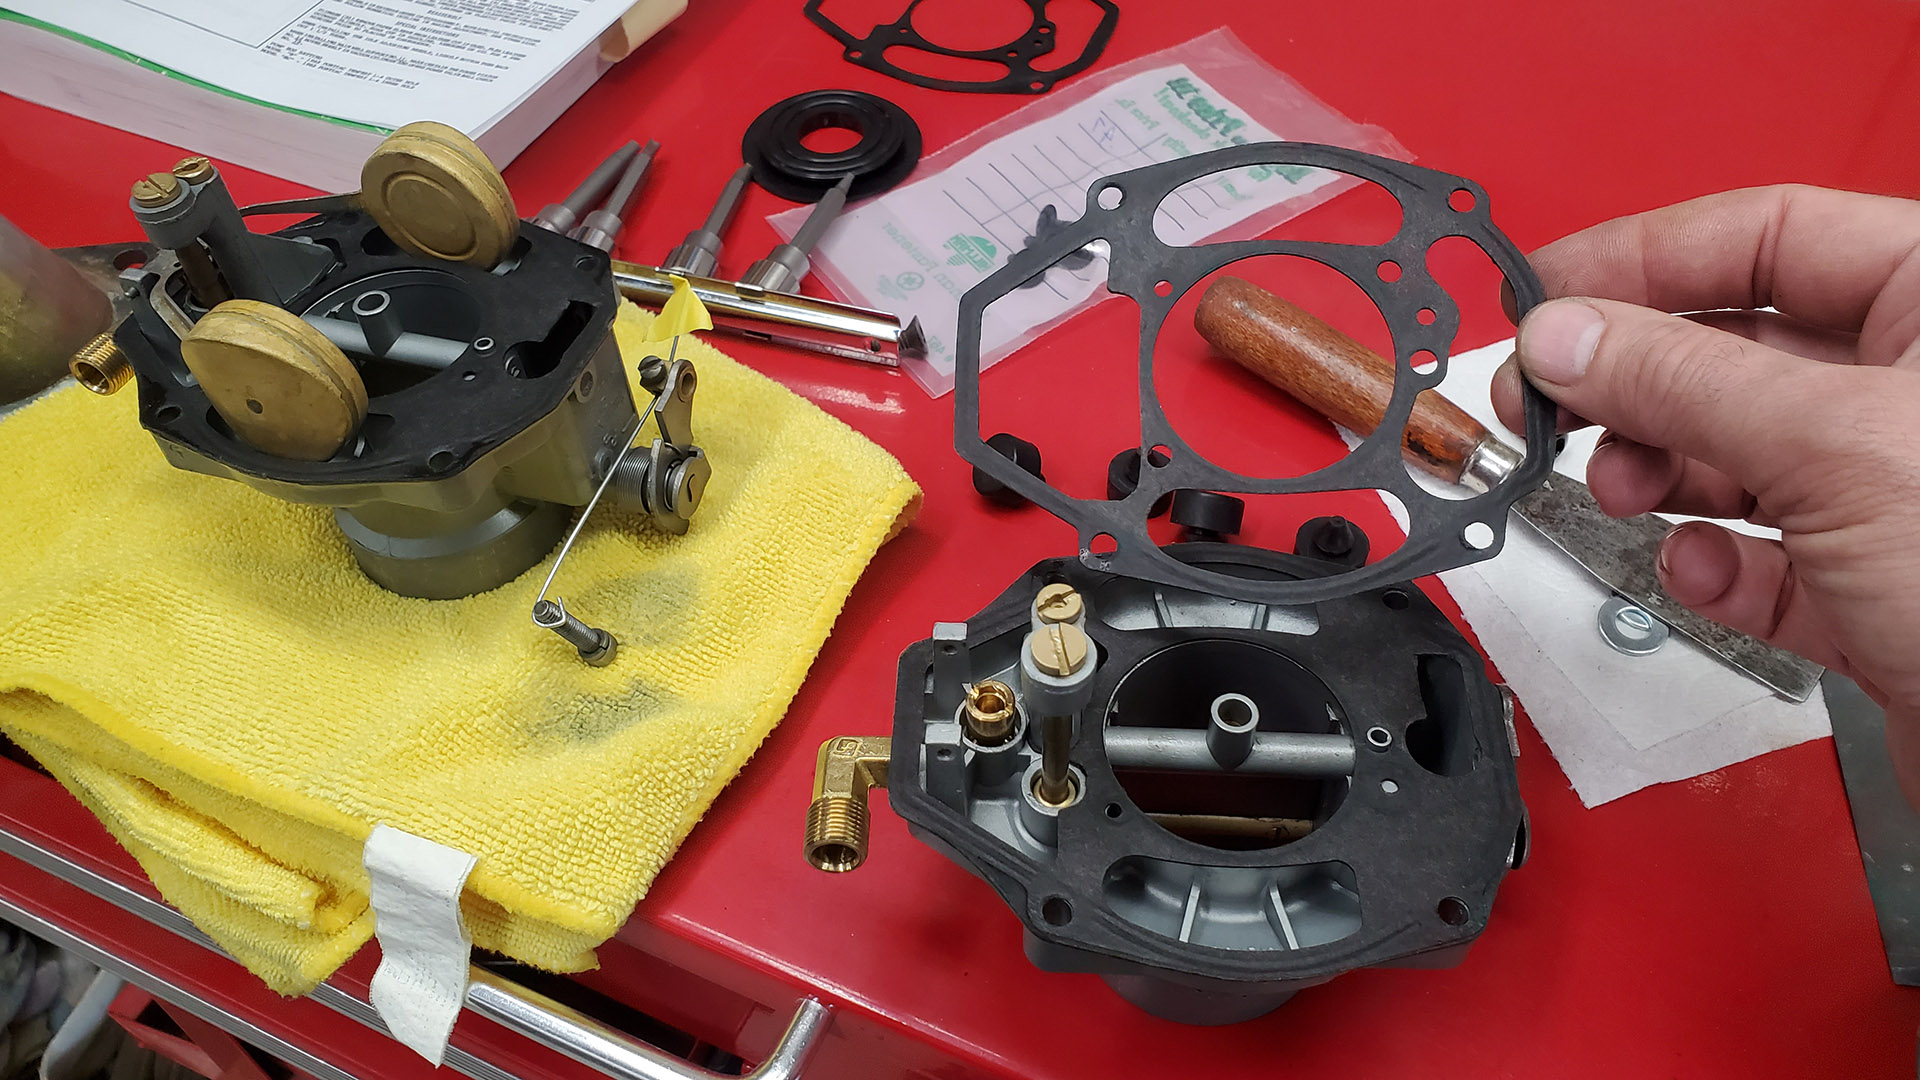
Rochester 'B' series carbs were used by GM on tons of vehicles back in the day. They're a simple single barrel carburetor. One of the things they do best is warp and leak - fuel and vacuum. Double gaskets was likely someone's attempt to stop fuel from seeping out of the bowls because the air horn and/or fuel bowls were warped from heat. They all warp within a short time. But doubling gaskets actually makes the warpage worse. Bottom line: These are probably at the bottom of the list of desirable carbs on a dual carb system. Can we save them in the interim?
While the top two sections (air horn and fuel bowl) are die cast zinc, the lower third (throttle body) is cast iron. I discovered that this section, on the already problematic rear carb, is pooched. The peening that holds the lever to the shaft is missing (so it's loose) and the butterfly shaft itself is quite loose in it's bore. It's junk. When they're this loose and floppy, you just end up with a big vacuum leak where you don't want it. The engine won't run right.
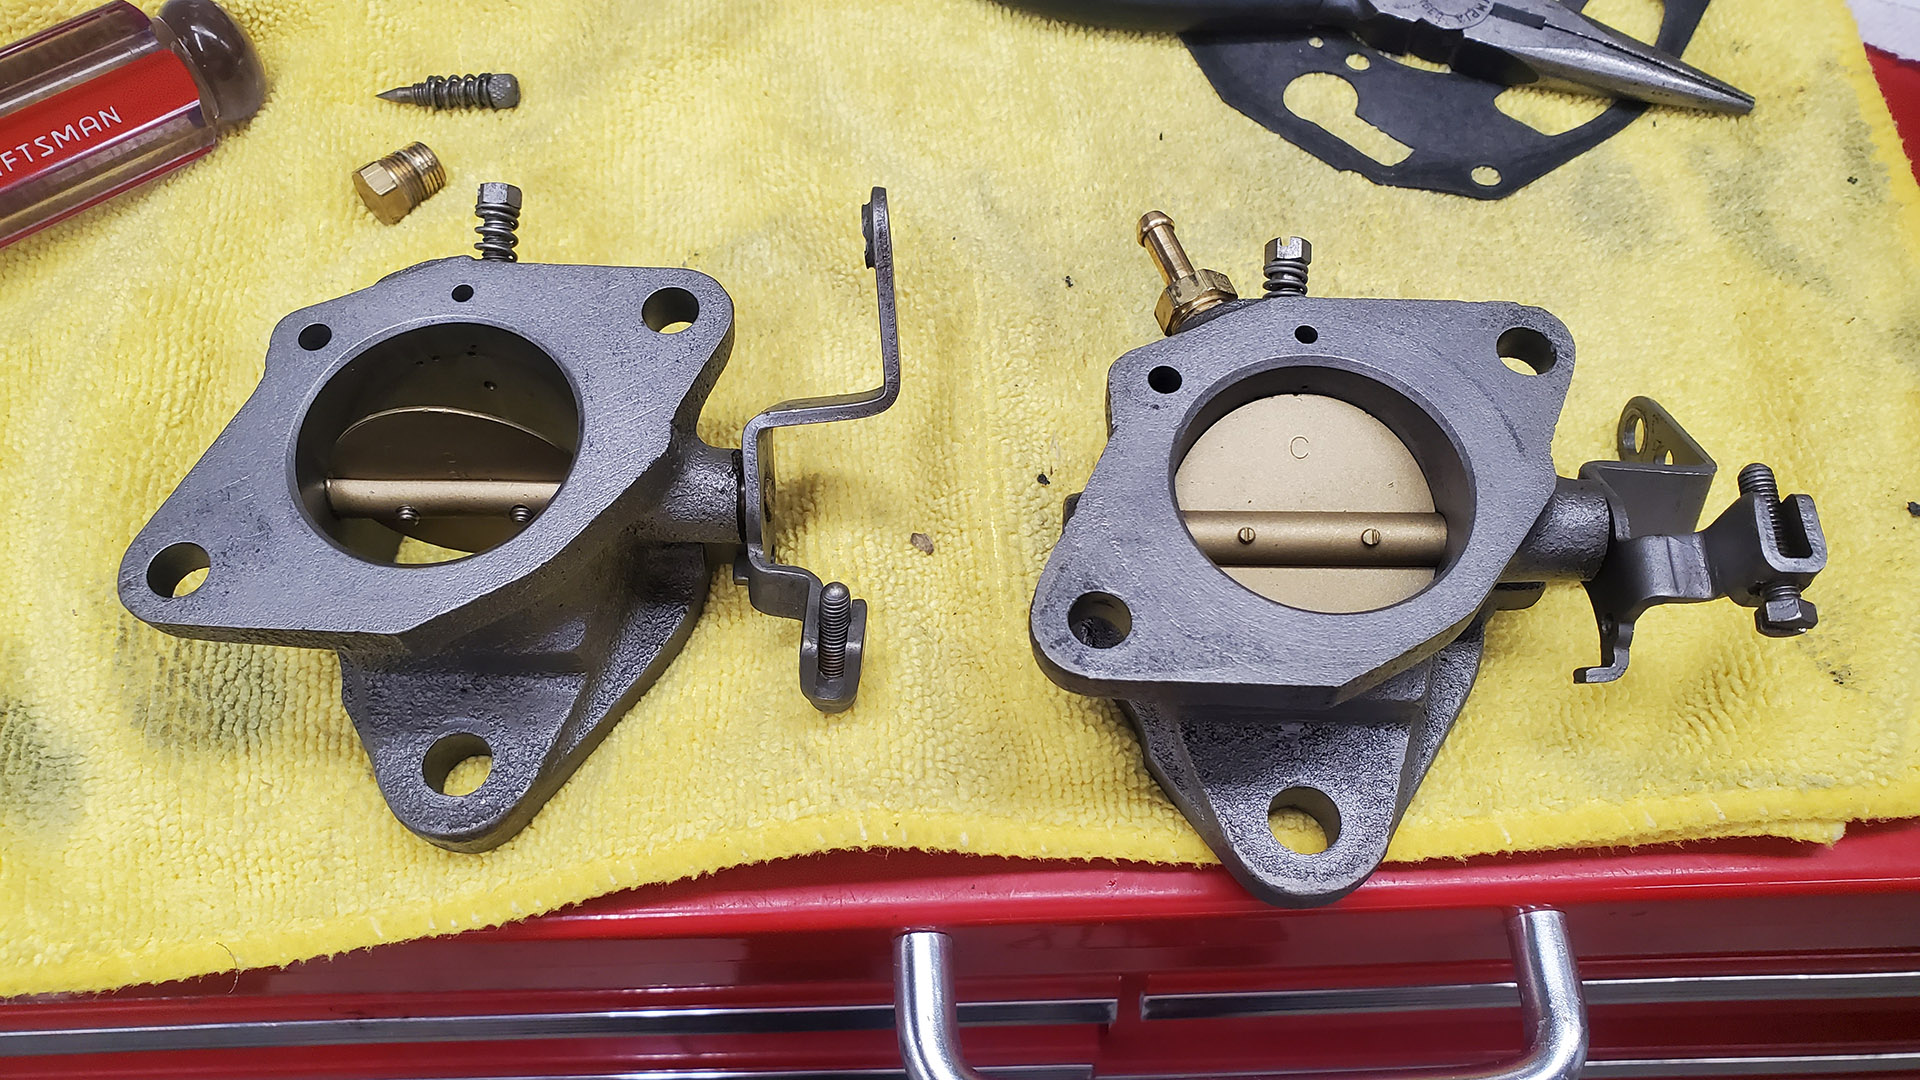
Believe it or not, the engine on our donor chassis still had a very crusty Rochester in place. I pulled it and even though most of the carburetor was corroded beyond use, the throttle body was still in pretty good shape. I de-rusted it and will swap it over as a replacement.
To get both carburetors to seal up better, I had to try and straighten the castings. This involves some 3/8" plate steel, clamps, and an oven.
The air horn is clamped between the steel plates (with cutouts for various protrusions) and placed in a 400 degree oven for an hour. This relaxes the metal and allows the sealing surface to flatten out again. We're talking a few thousandths of an inch measured with feeler gauges. It's left to cool naturally before removing the jig. The fuel bowl gets the same treatment. Each piece got two or three spa 'treatments'.
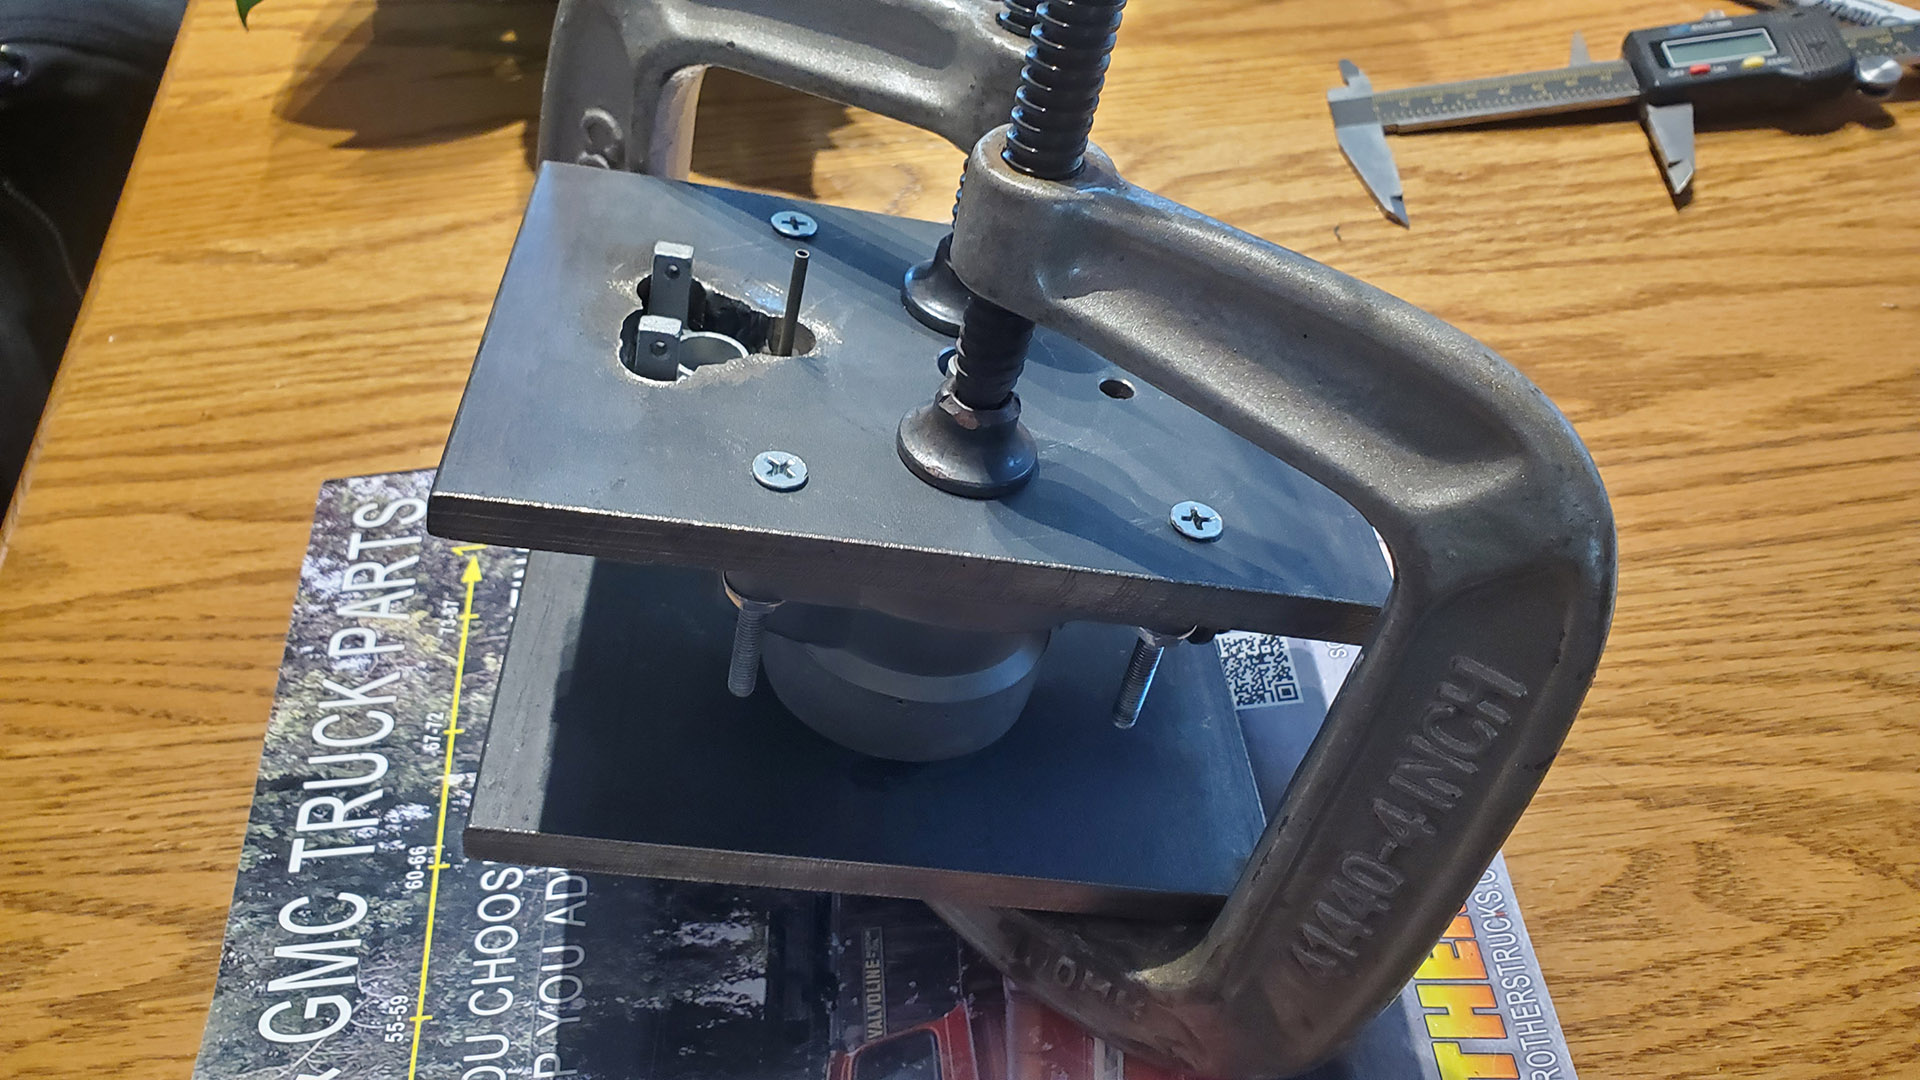
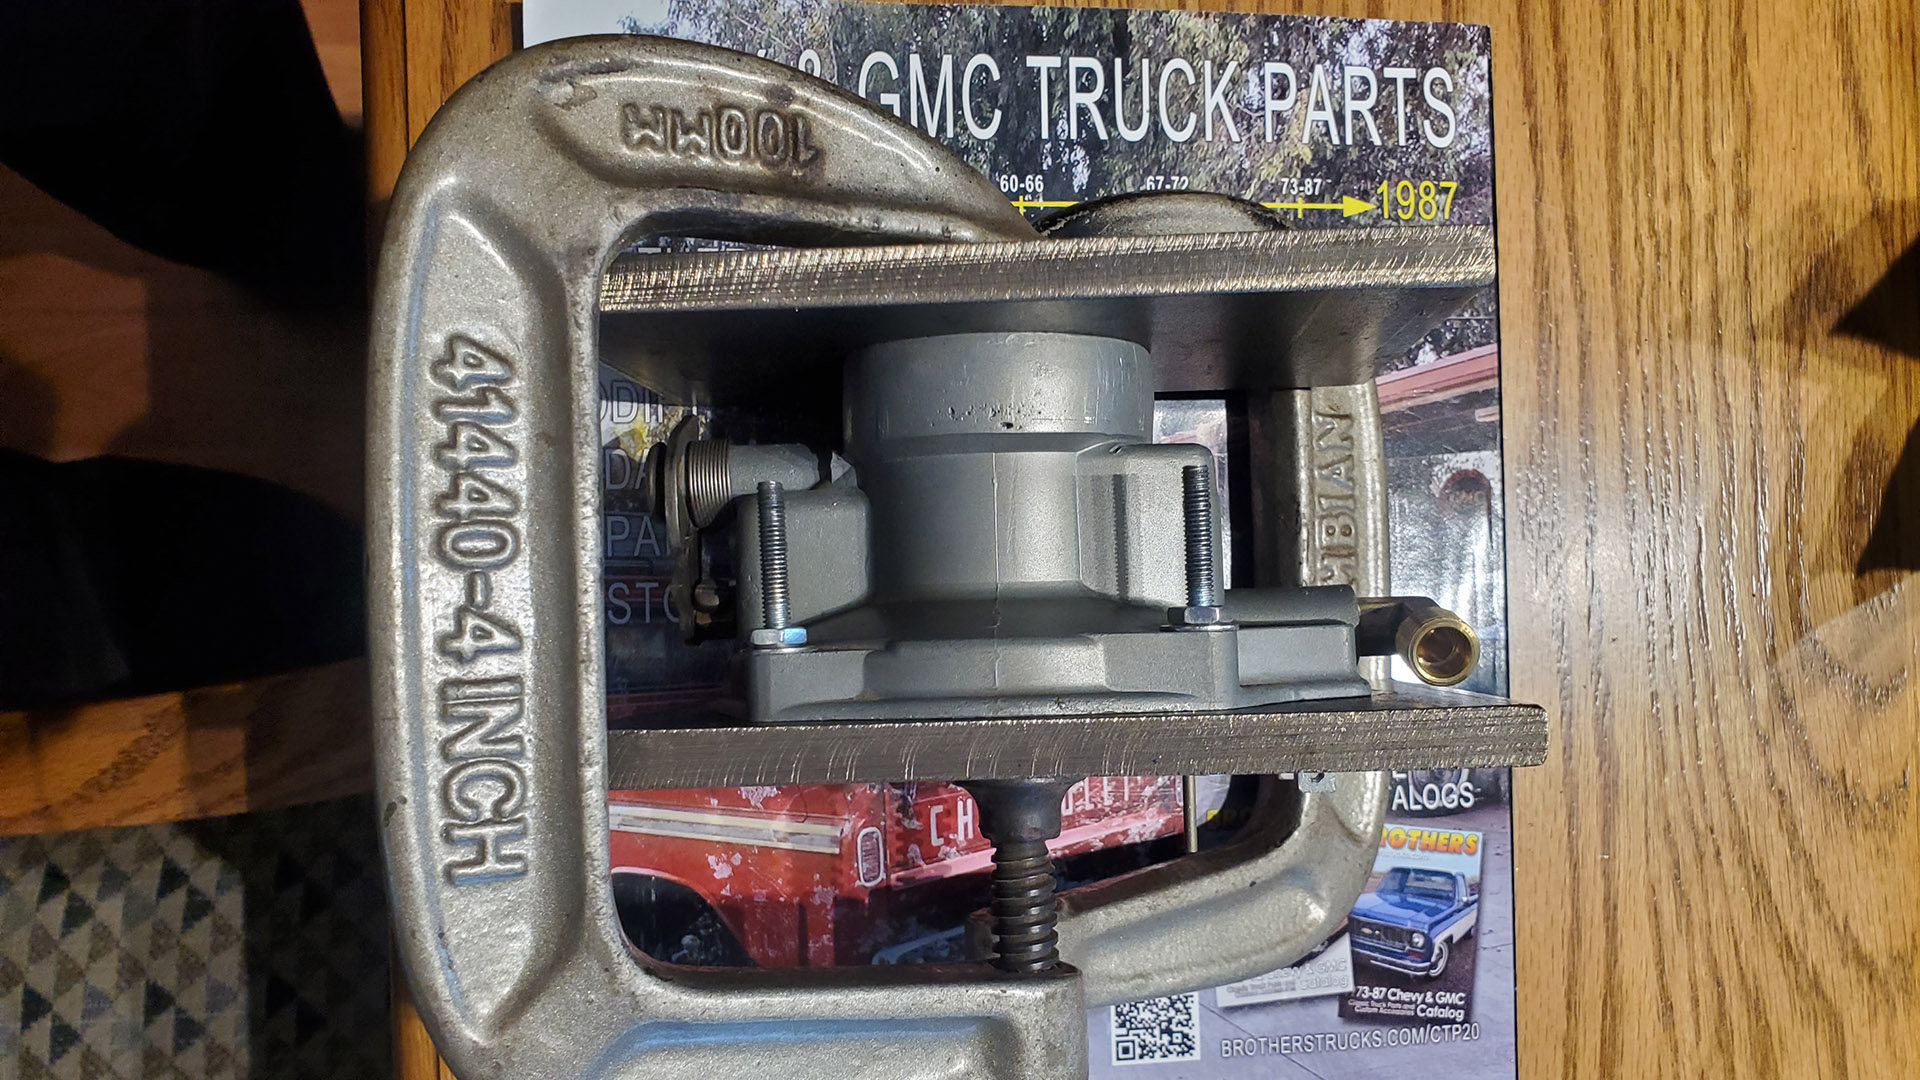
It's a lot of messing around. They were definitely warped and the heat treatments helped, but not perfectly. I have a couple of rebuild kits on the way with new gaskets. Hopefully this will get us to the point of being able to start and run the engine.
Suitable replacements or substitutes are spendy. So, if we can save the carbs, great! Even if they work, there'll probably be some other drivability issues. We'll know soon.
