One bite at a time…
So many little parts, pieces, and 'projects' to get this '50 Chevy truck back together and looking good. Like eating the proverbial elephant, it's one bite at a time.
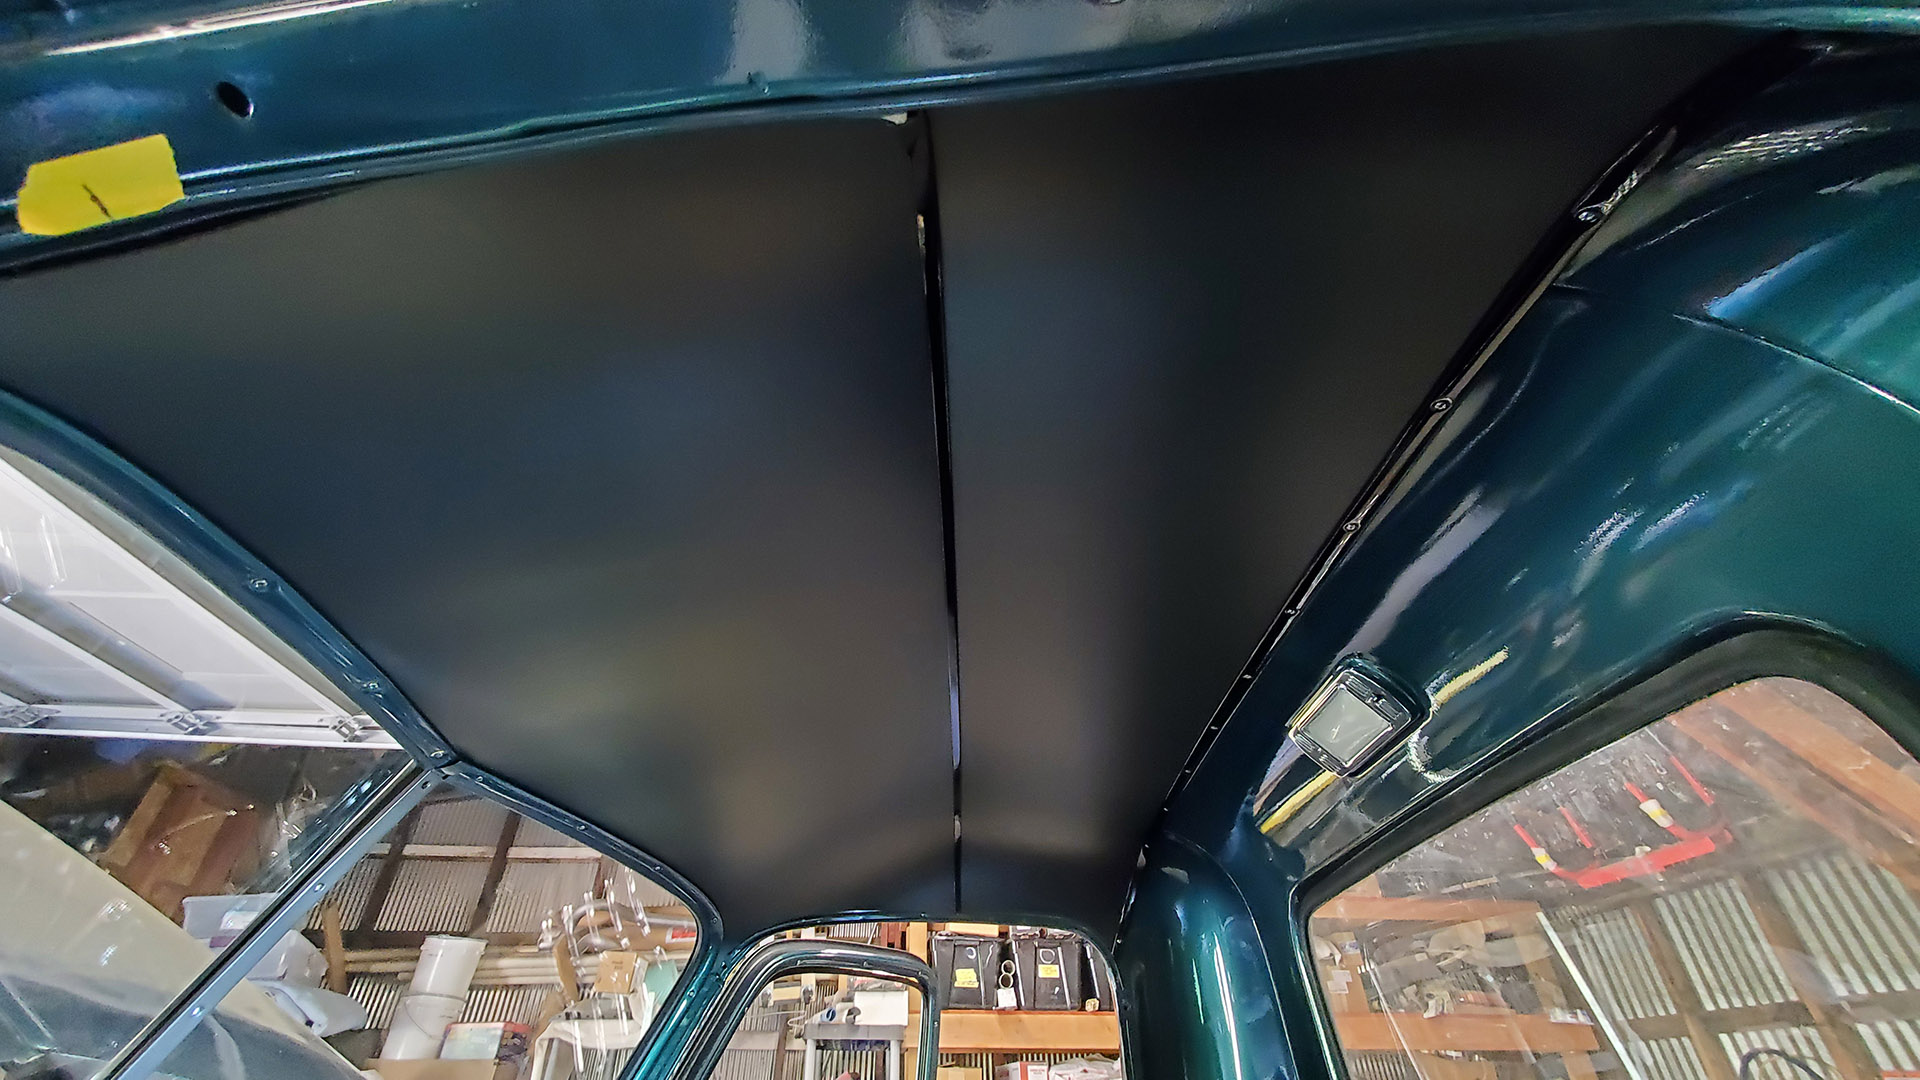
Next up was the headliner. They used some kind of fiber board material and today's replacements are essentially the same (unless you do something custom). The fancy cardboard-like material comes pre-cut in two pieces and rolled up for shipping, so it spent a week weighted down on the floor in the house to flatten it.
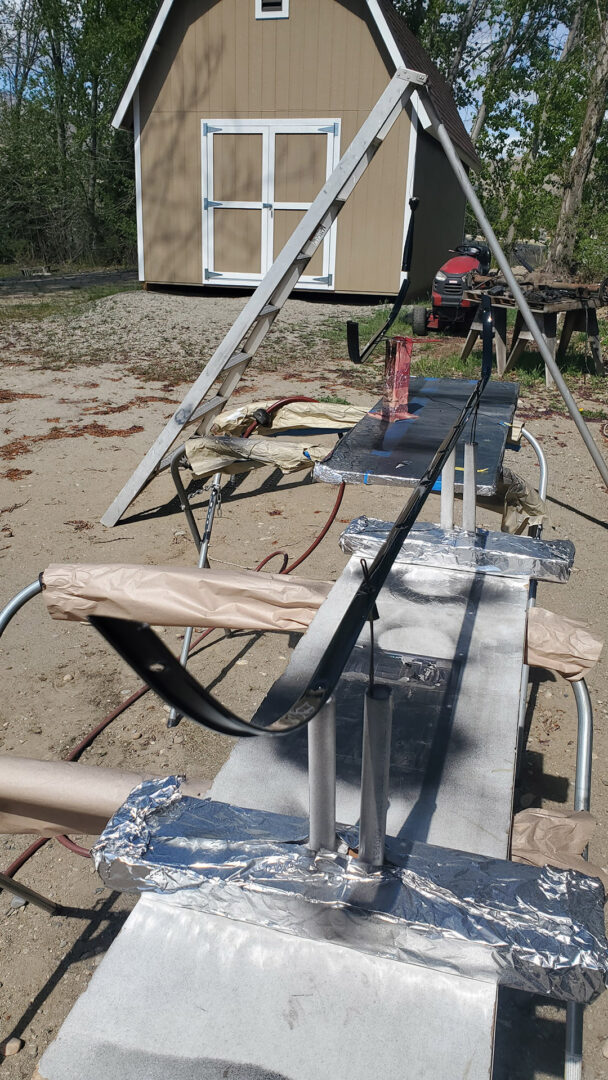
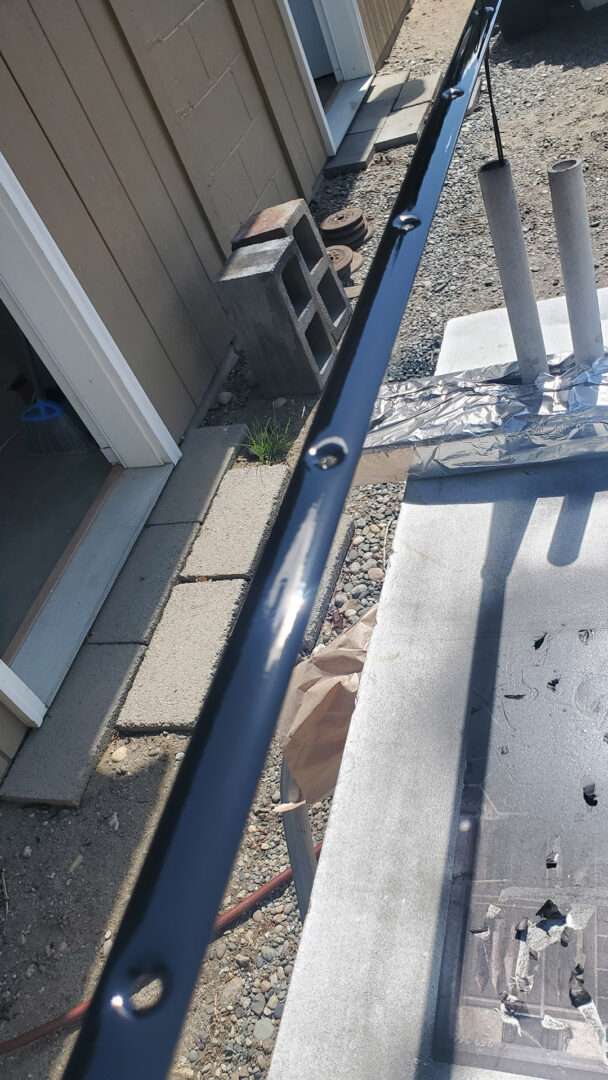
A metal center bow and rear retainer pieces come crudely primed so they were prepped and painted gloss black to match other interior details.
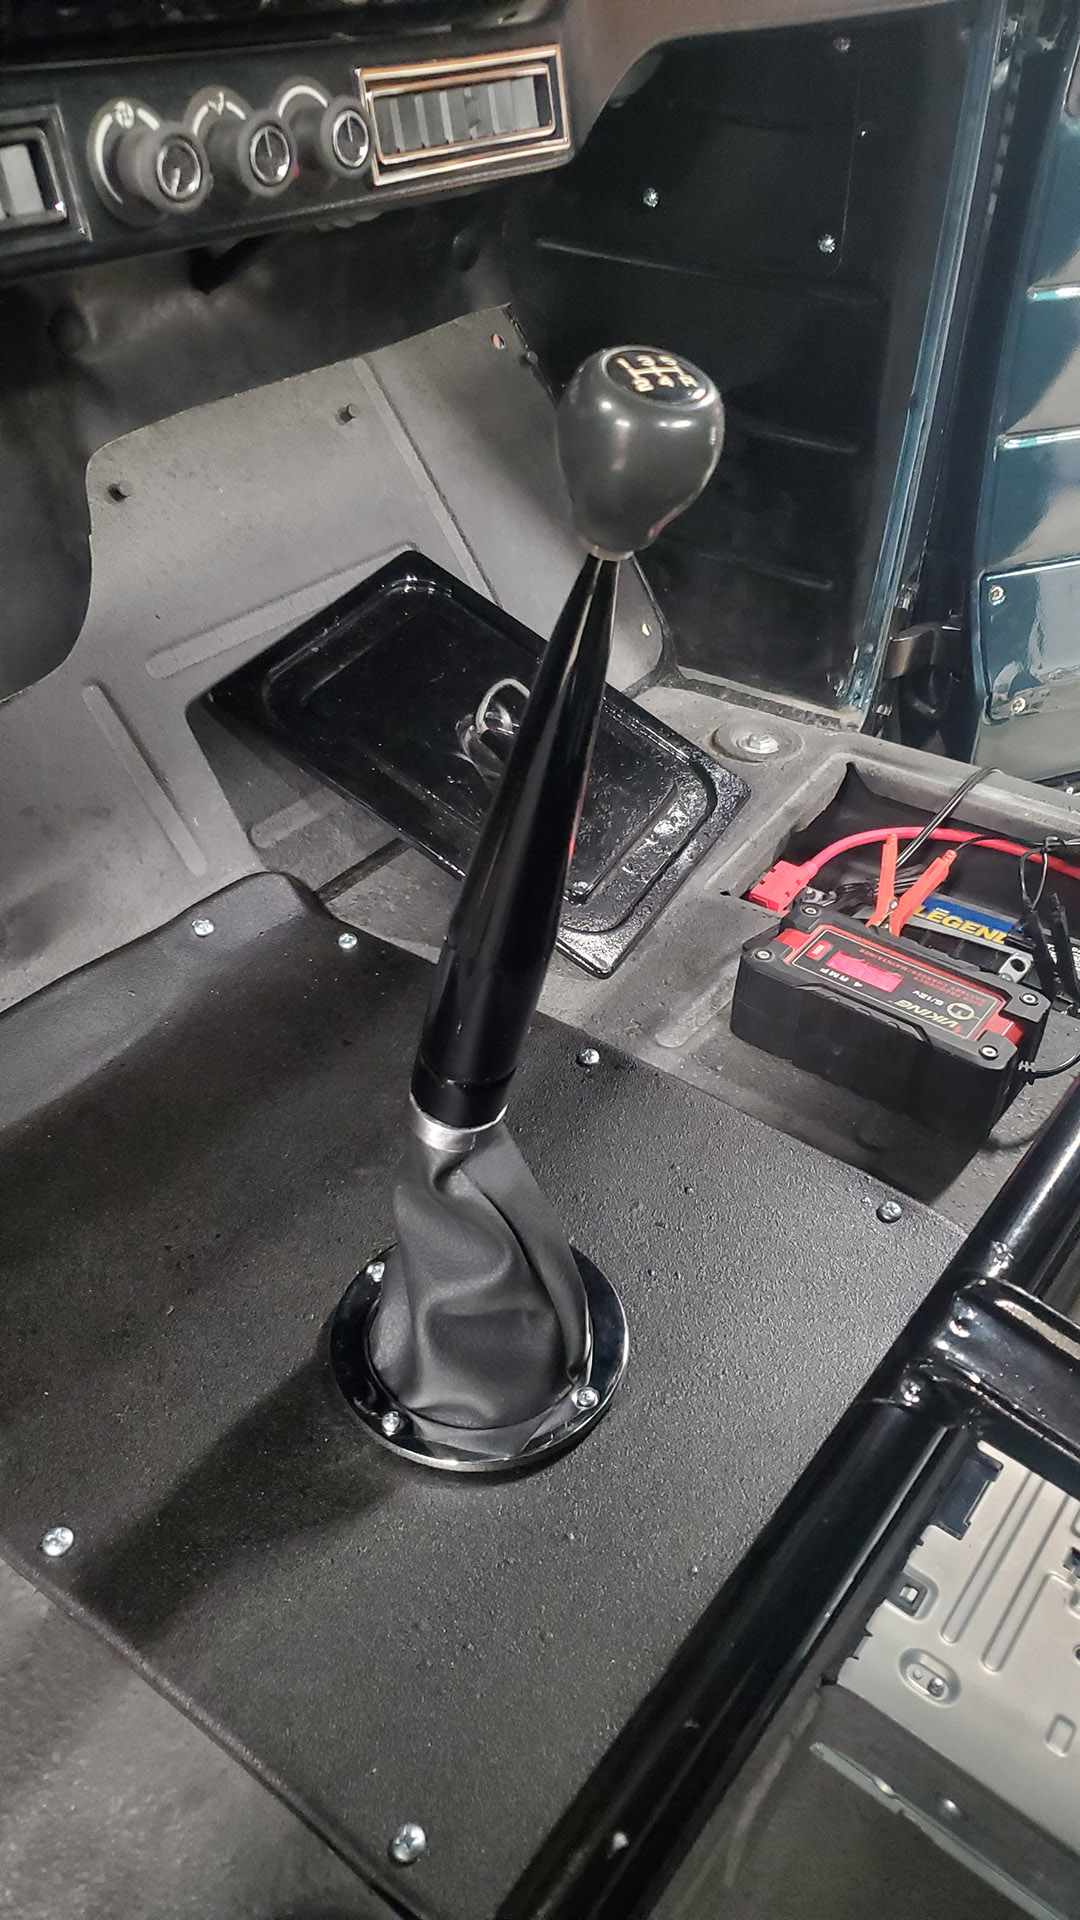
We also had to work out the shifter for the T-5 transmission. I considered fabricating one or buying components but chose instead to pick up a shift lever for an S10 pickup that used those transmissions. I found one on Ebay from a salvage yard in Boise. They're a little bulky looking and originally had a huge rubber boot and console. Not quite as sexy as a chrome Hurst lever but this would save a few bucks.
I threw the lower bench seat cushion into the seat frame and found that when the transmission was in neutral, the shifter (stub) pointed right into the seat.
So, the shifter base assembly would have to be disassembled and the shaft bent in the direction needed. This was also an opportunity to clean the parts and re-lube everything.
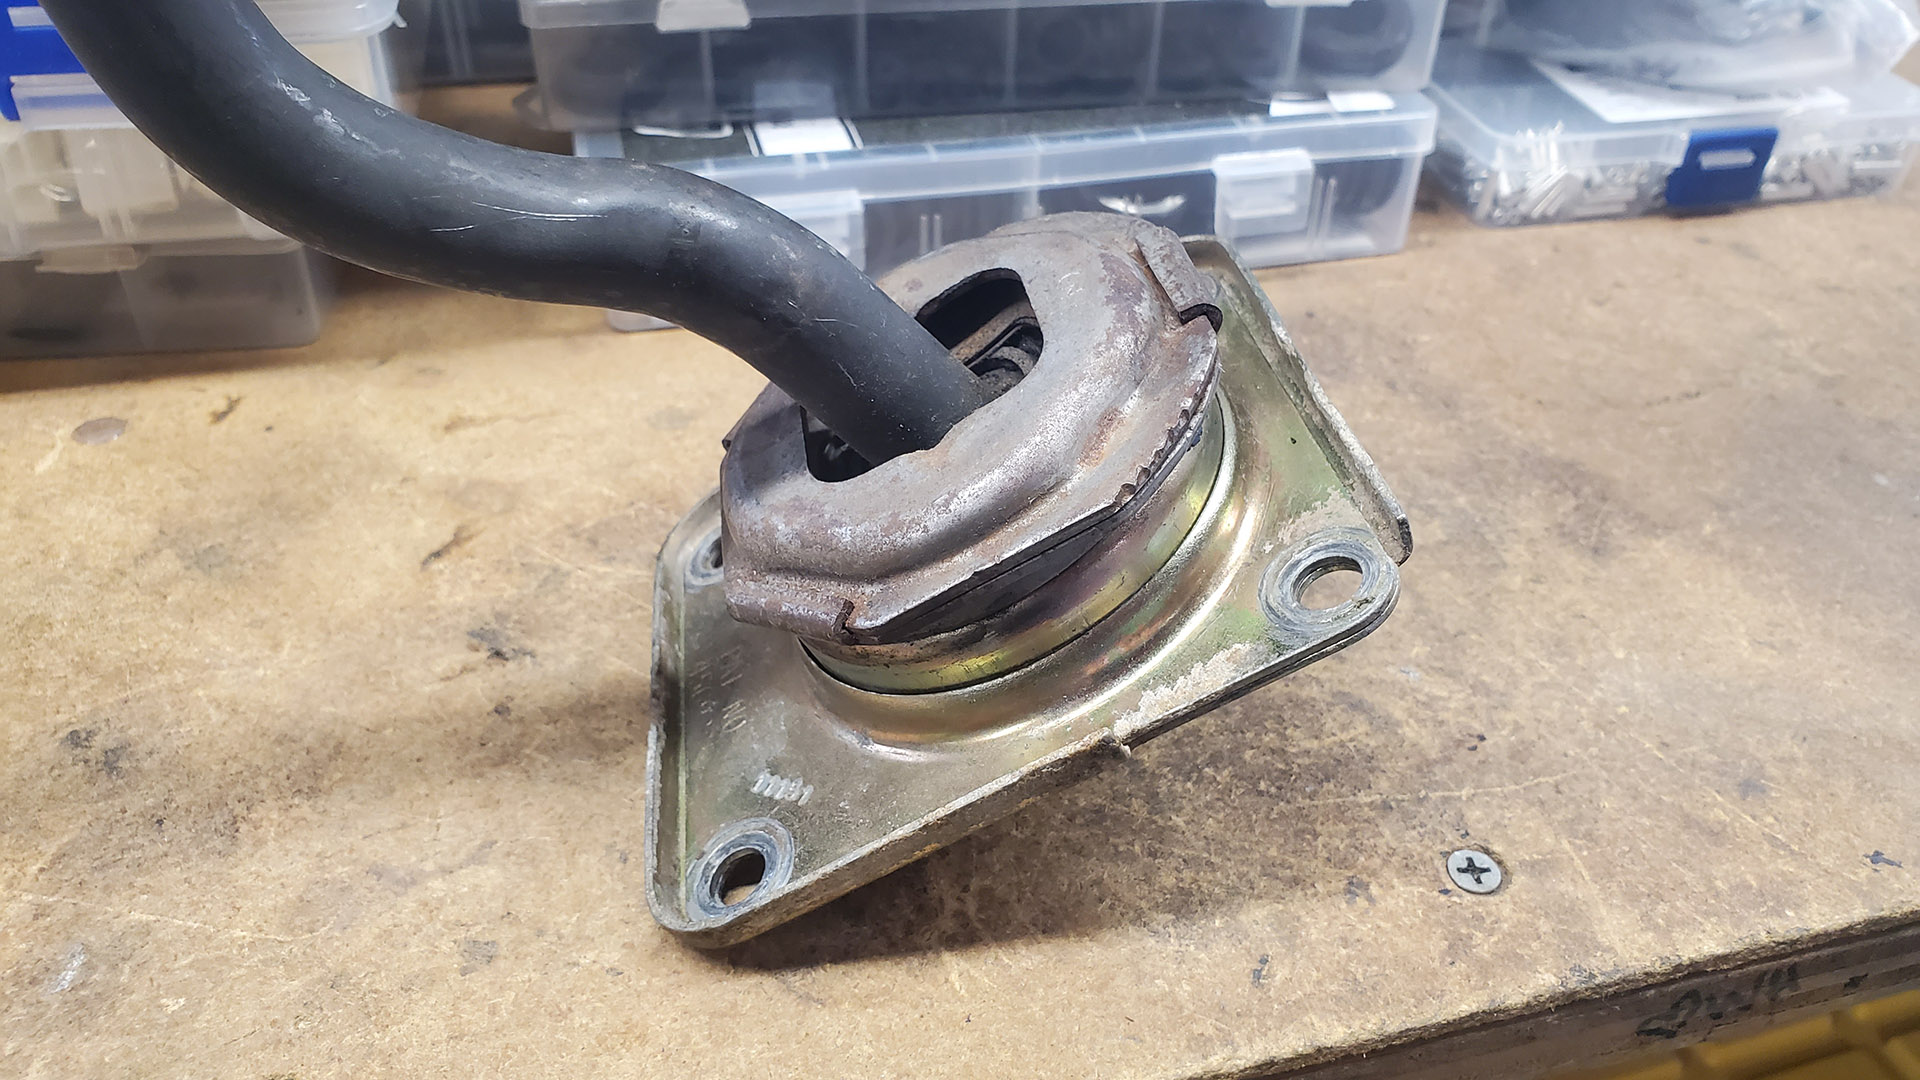
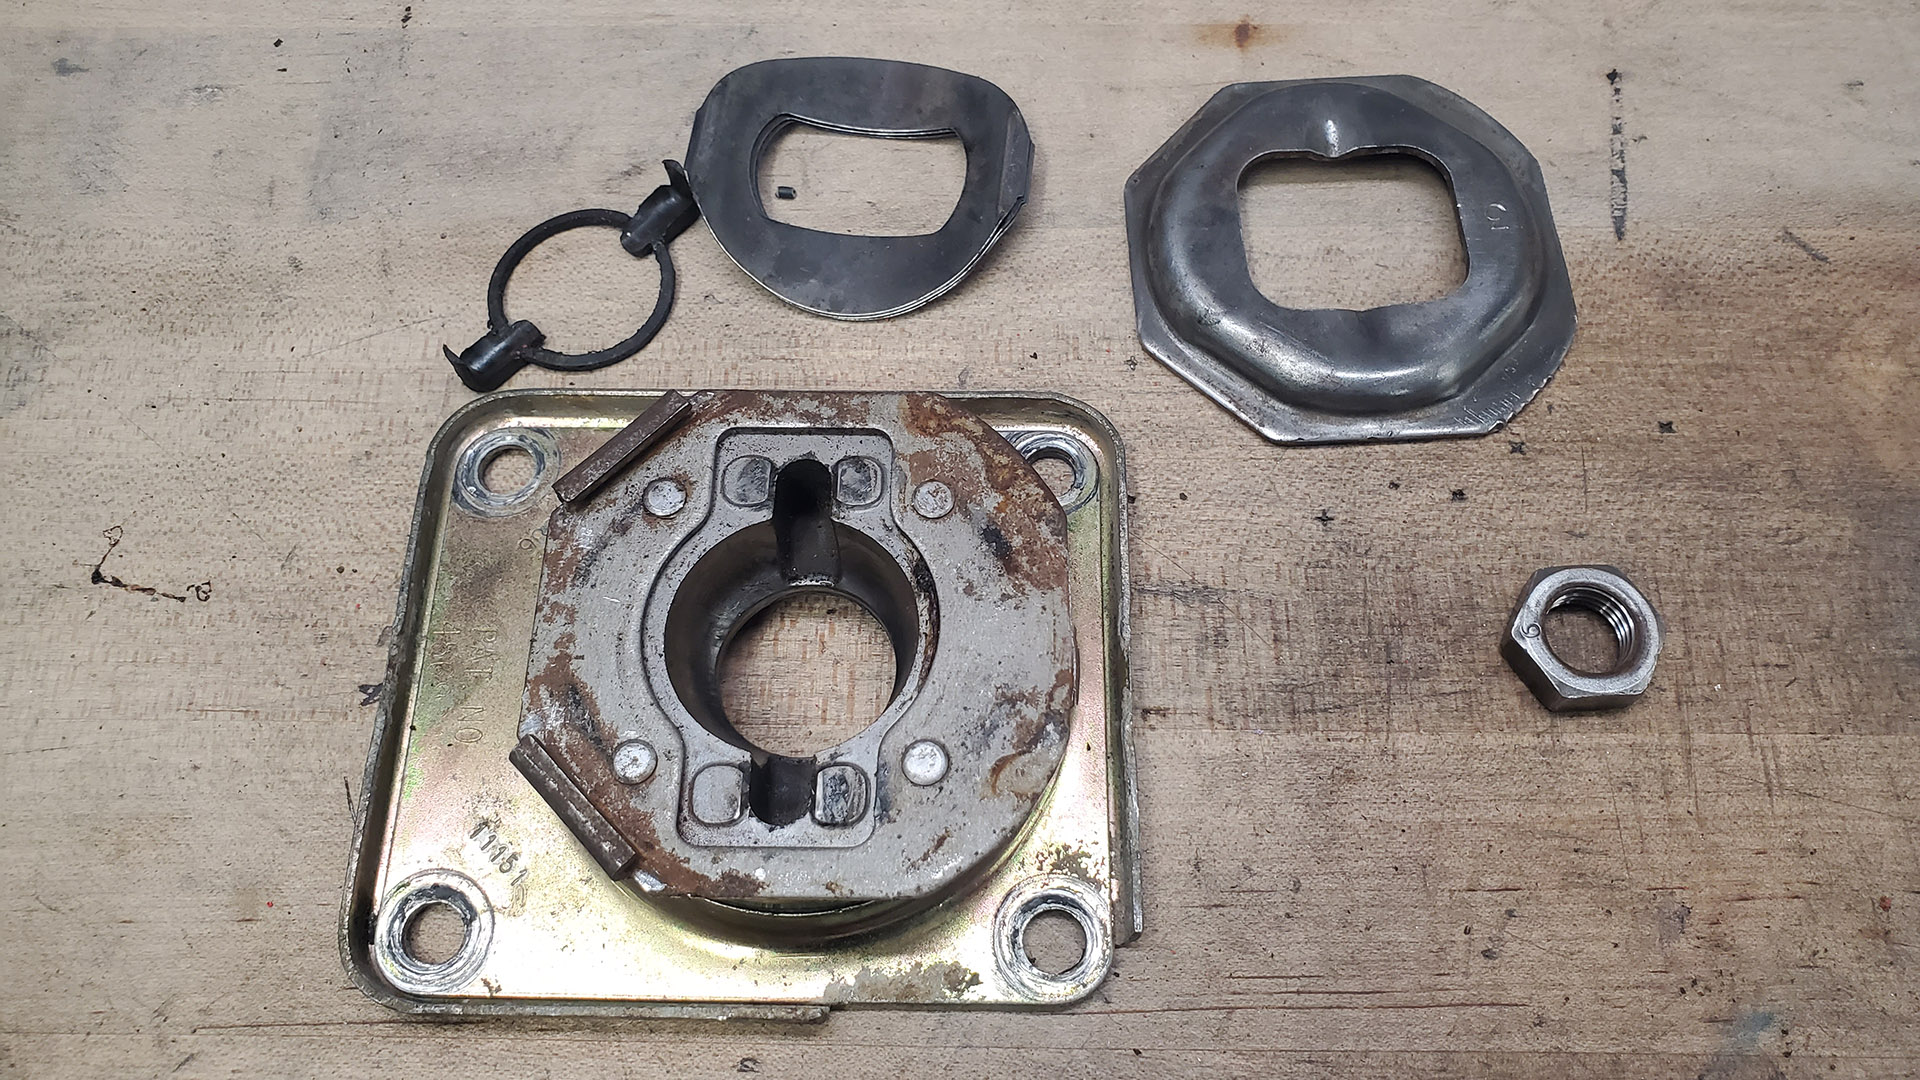
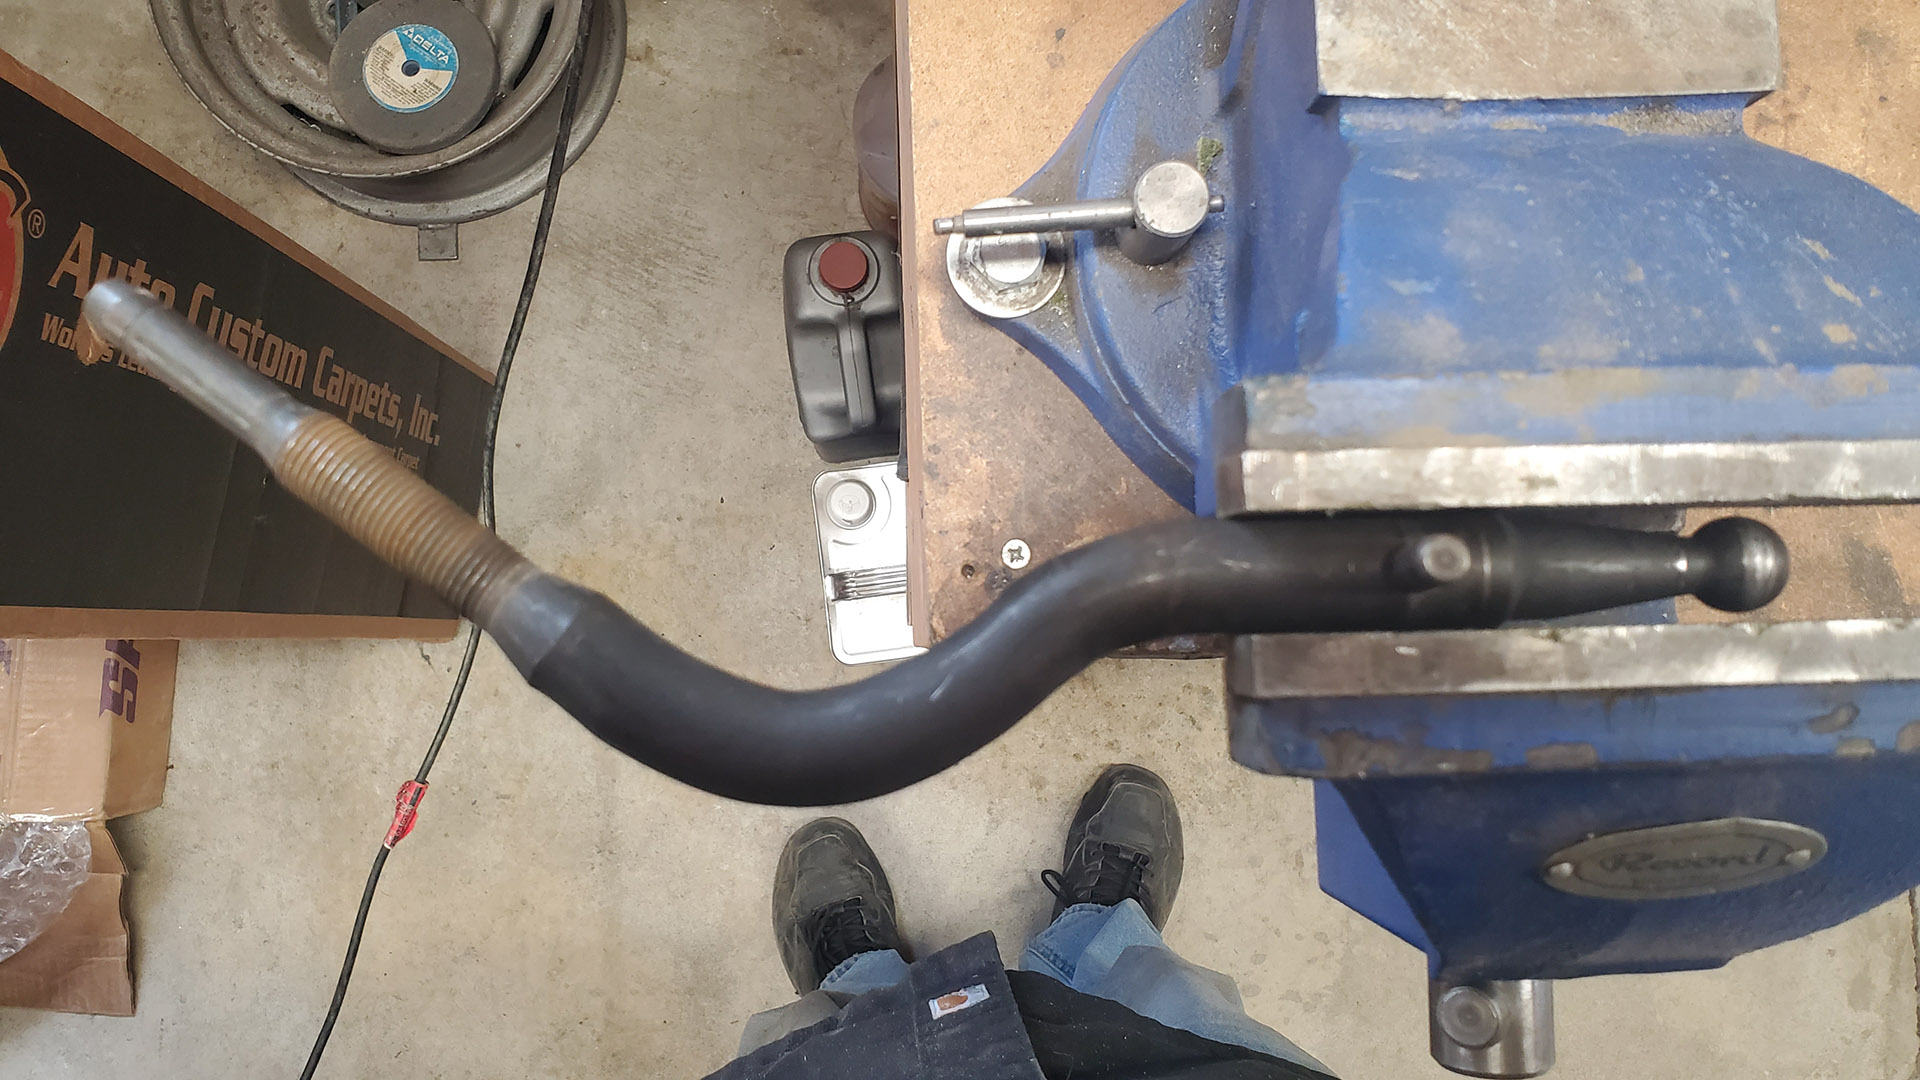
After bending, the shifter was temporarily assembled and test fit. I straightened the stub just a tad too much on the first try which brought my knuckles on the shift knob a tad too close to the AC controls on the dash in third gear. Bending it back (toward the seat) a little made it just right.
It was reassembled with fresh grease using tack welds and is ready to go.
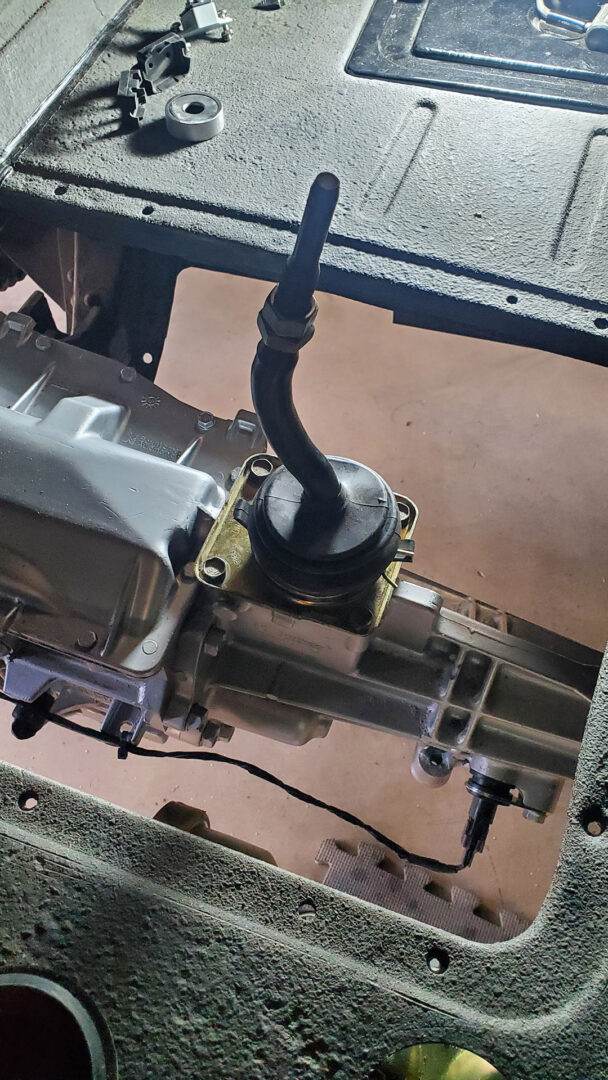
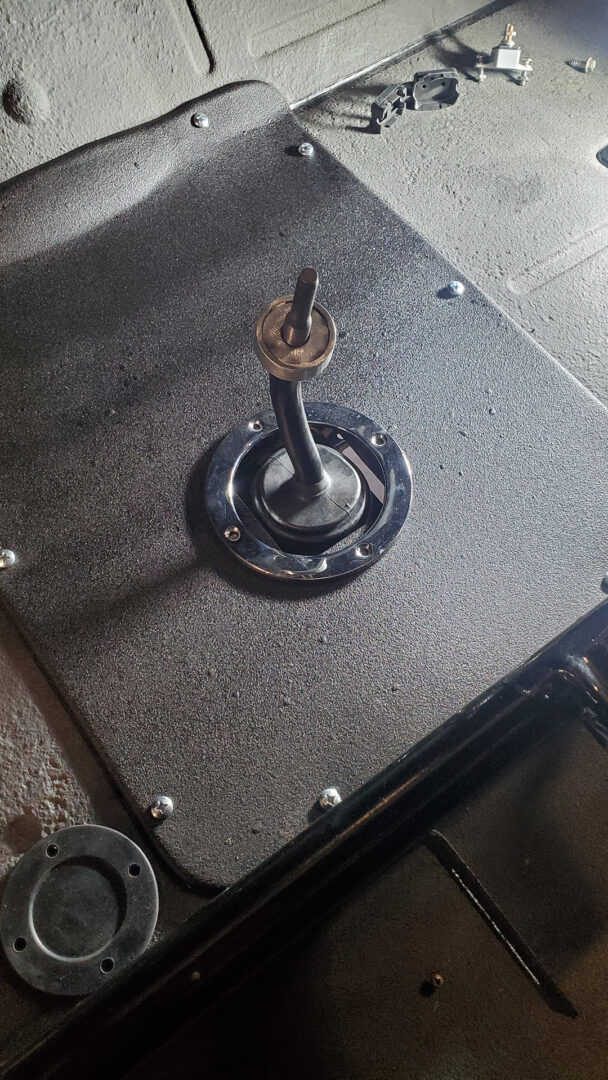
Now I needed to give it a finished look. In this case, the S10 shift lever doesn't extend all the way to the floor - there's several inches of 'stub' sticking up. The truck came to us with a shifter trim ring and a rubber gator-style boot that was too short.
I tossed the boot and kept the ring. I also fabbed a transition piece to trim the top of a new shift boot.
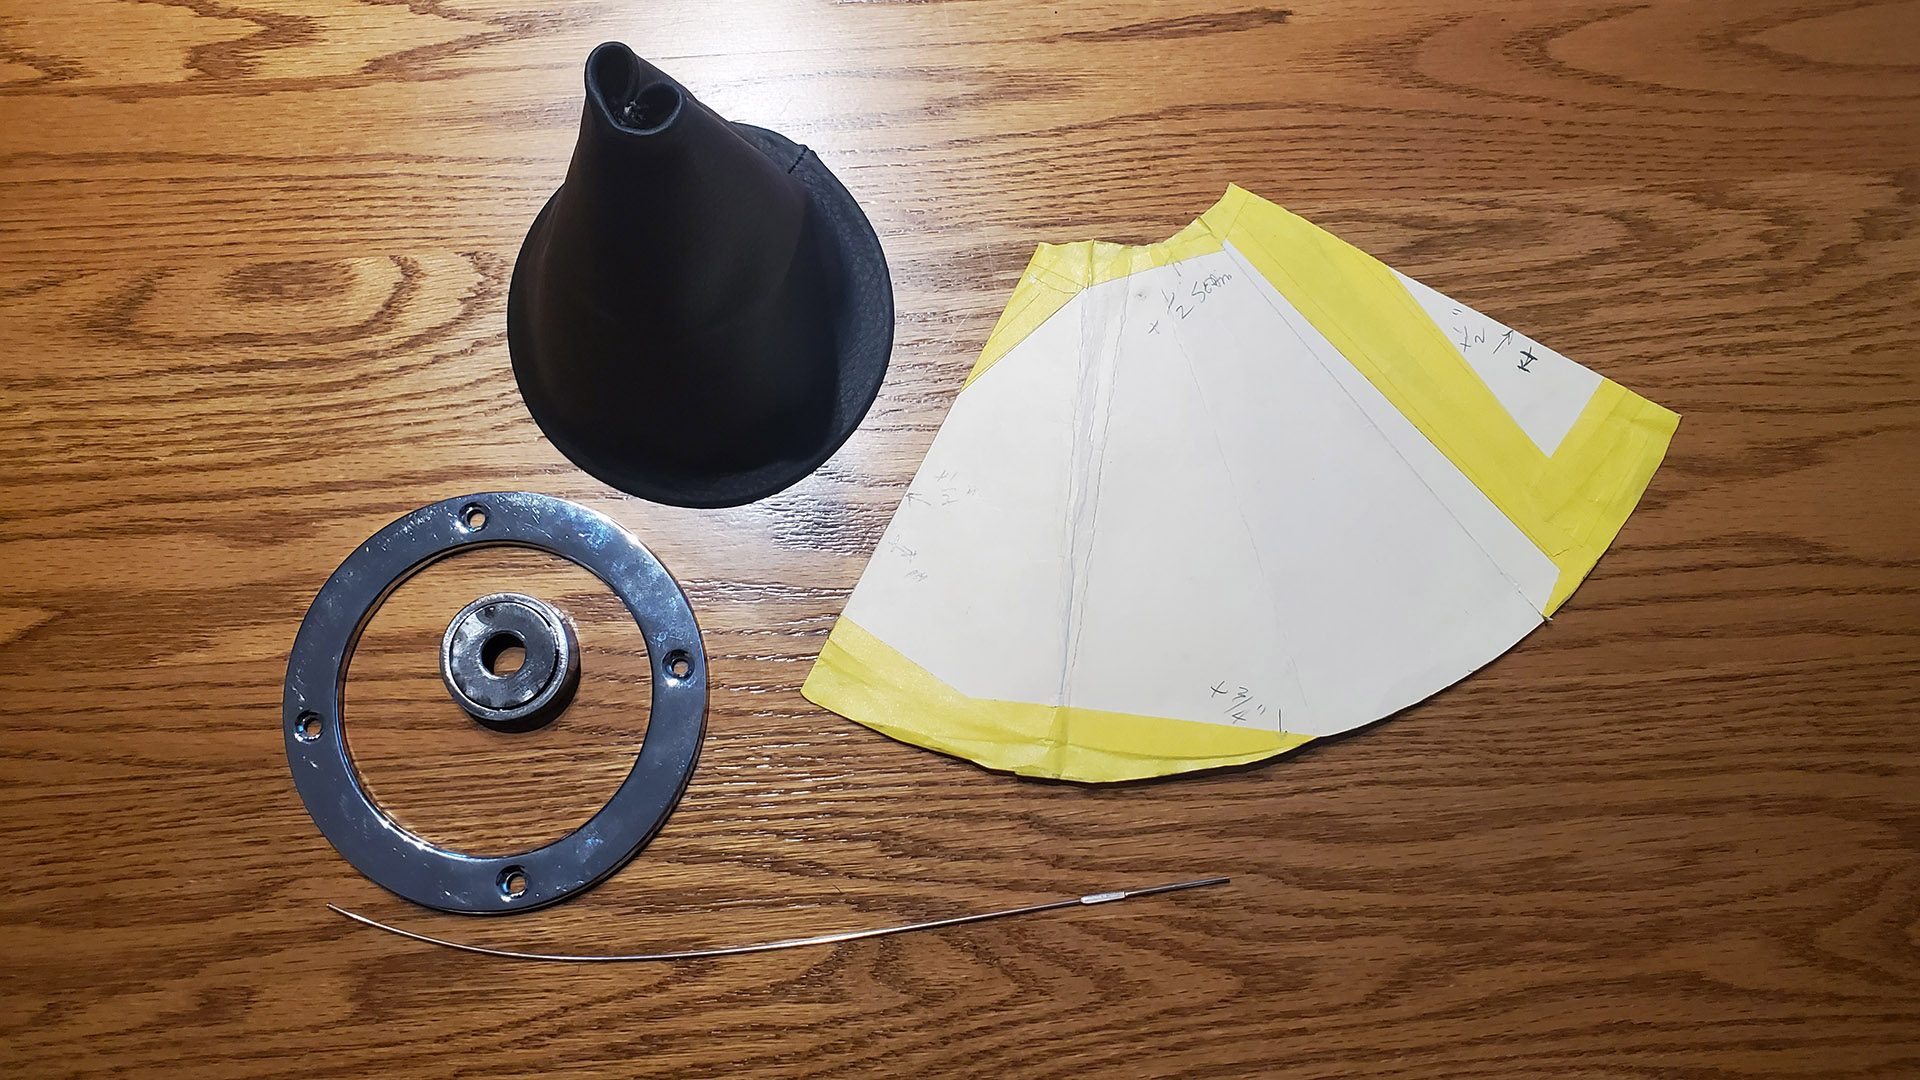
I took some measurements and made a paper pattern for a boot. I also took a piece of TIG fill rod and made a wire ring that fit into the underside of the chrome ring out near the edge.
I had some black faux leather in my stash and stitched a boot from the pattern. I would have double stitched the seam (called a french seam) but I couldn't feed the cone through my machine.
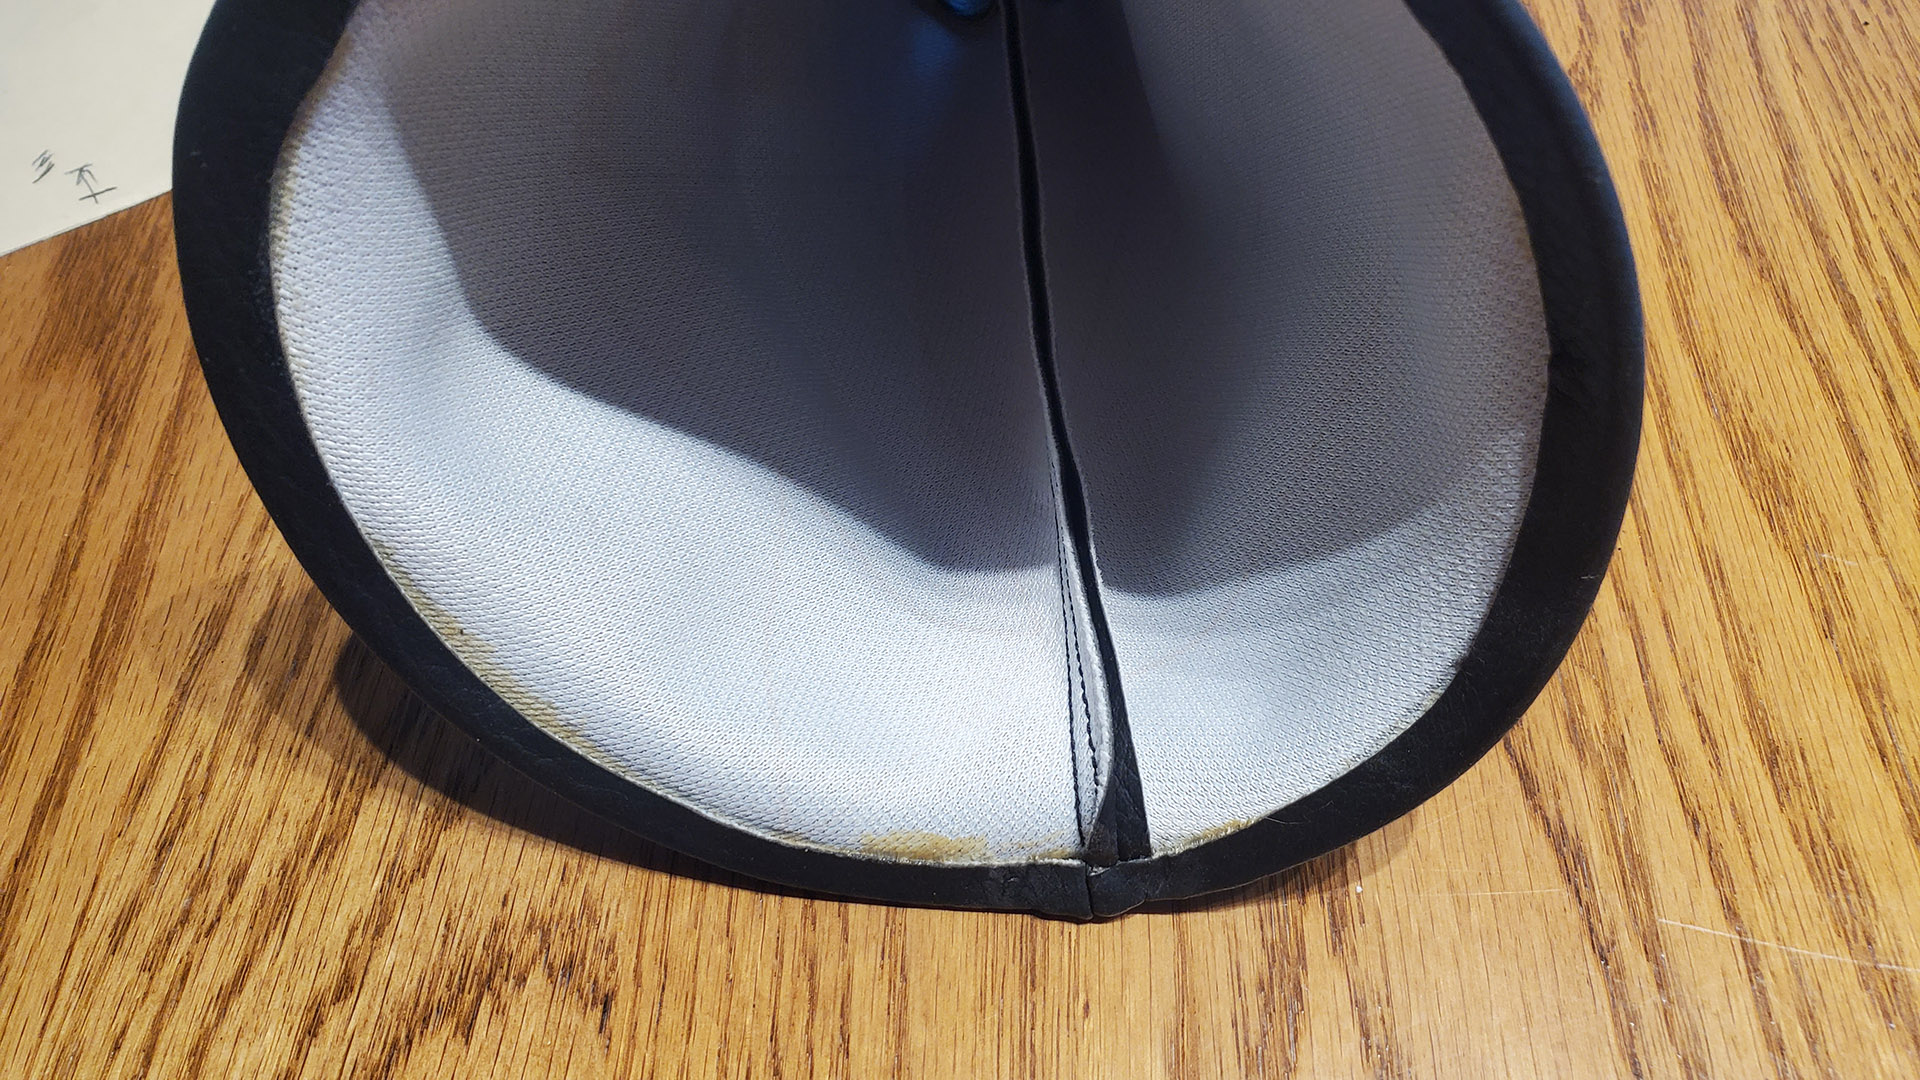
The wire rod is glued into the bottom of the 'cone'. This will lock the boot into the outer edge of the chrome trim ring.
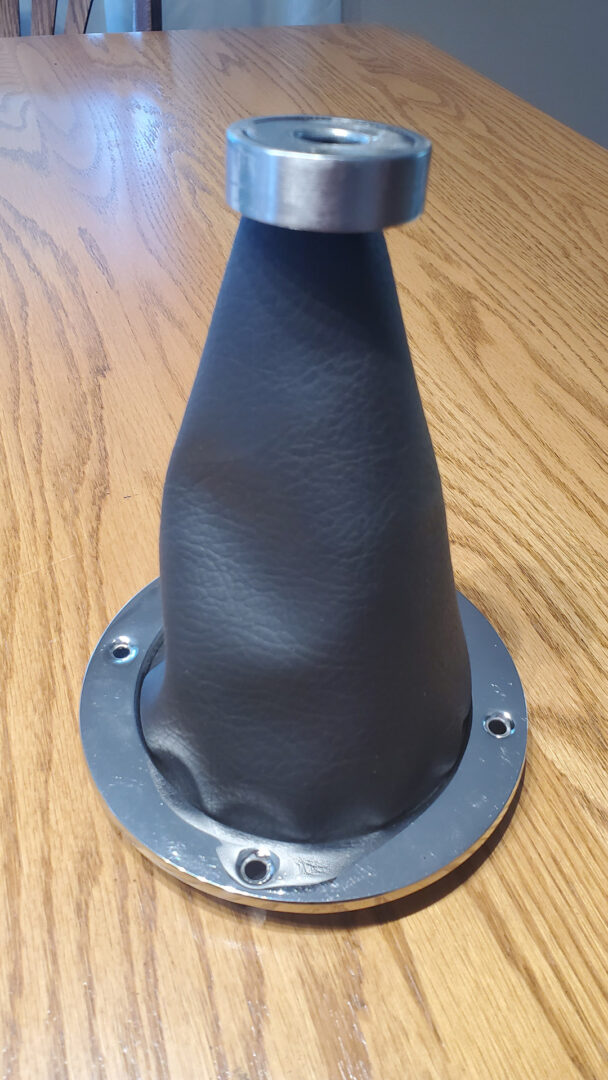
That'll work. And fully mocked up, doesn't look too shabby either. It'll look even better once the seat cushions and carpet are in.
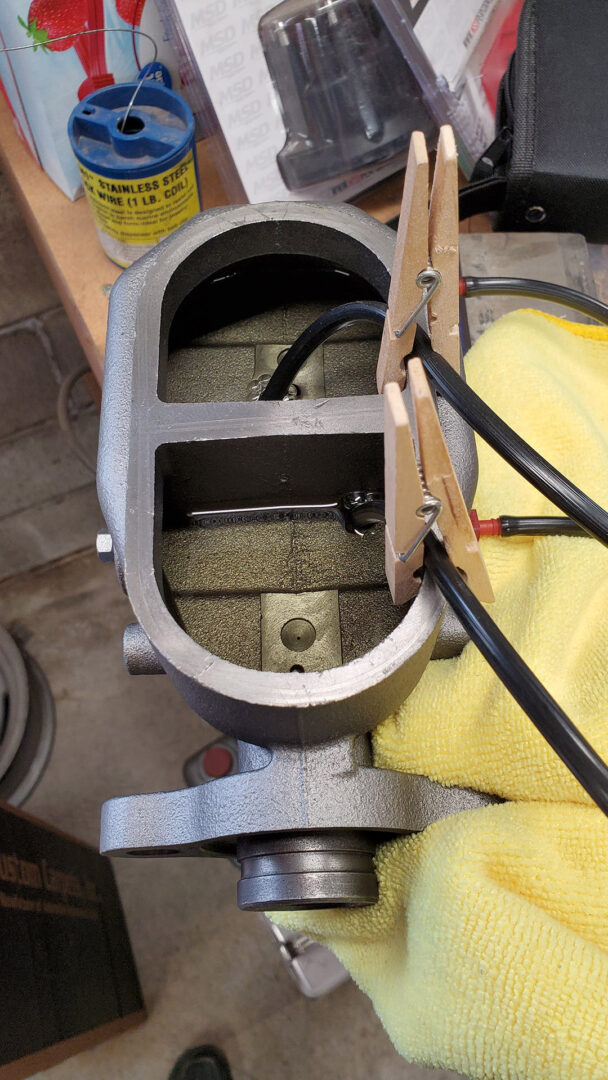
Meanwhile, the brake master cylinder was removed and bench bled to get air out. With the master bolted back in below the cab floor, the entire system was bled. The brake system is finished and ready once the vacuum hose for the booster is connected to the engine.
Our rebuilt steering box and column are slid into place, trimmed out to seal it at the firewall, and bolted to the frame and dash. The gear box was filled with '00' Cotton Picker Spindle Grease from Tractor Supply.
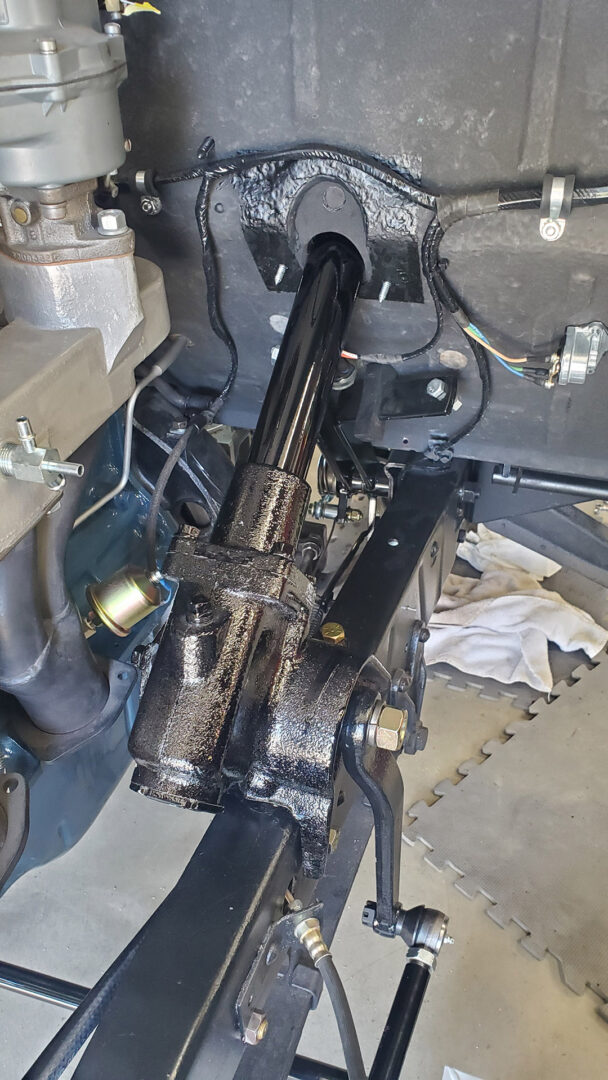
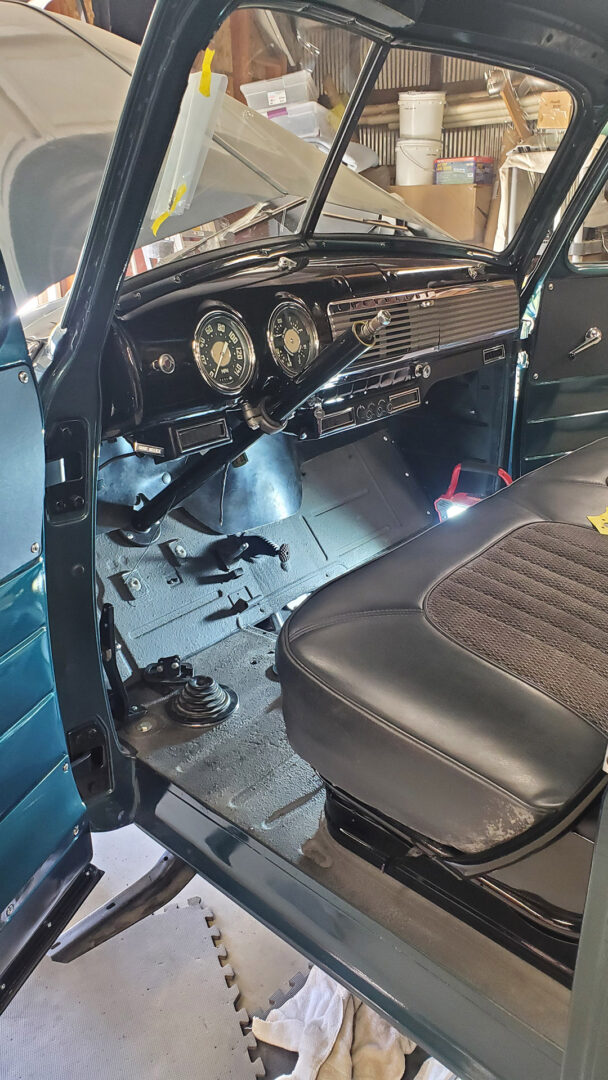
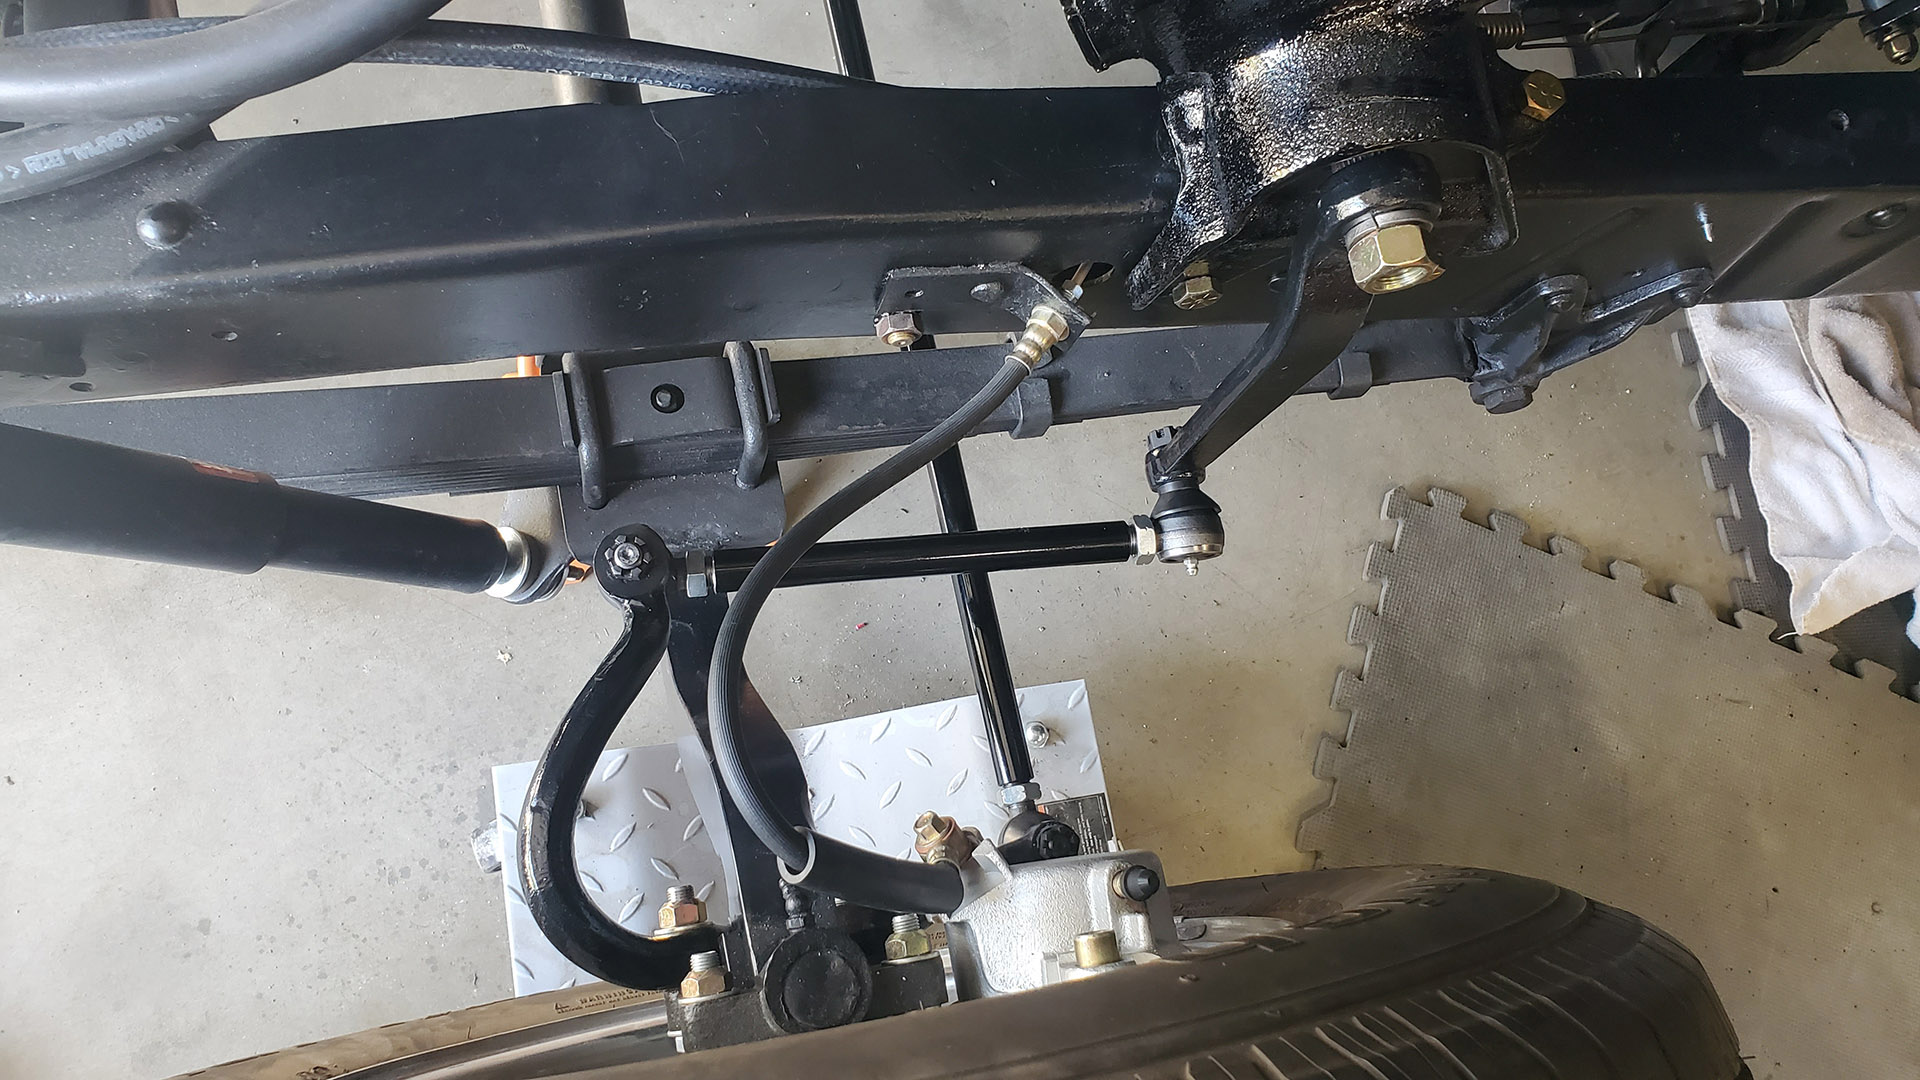
With the pitman arm bolted to the steering box, the drag link was measured and cut to length. It was a 24" tube from Speedway Motors that was already threaded at both ends with right and left hand threads. An 11/16" tap was used to create new threads on the cut end.
Other than some final adjustments, throwing the steering wheel on, and a proper alignment, the steering system is done.
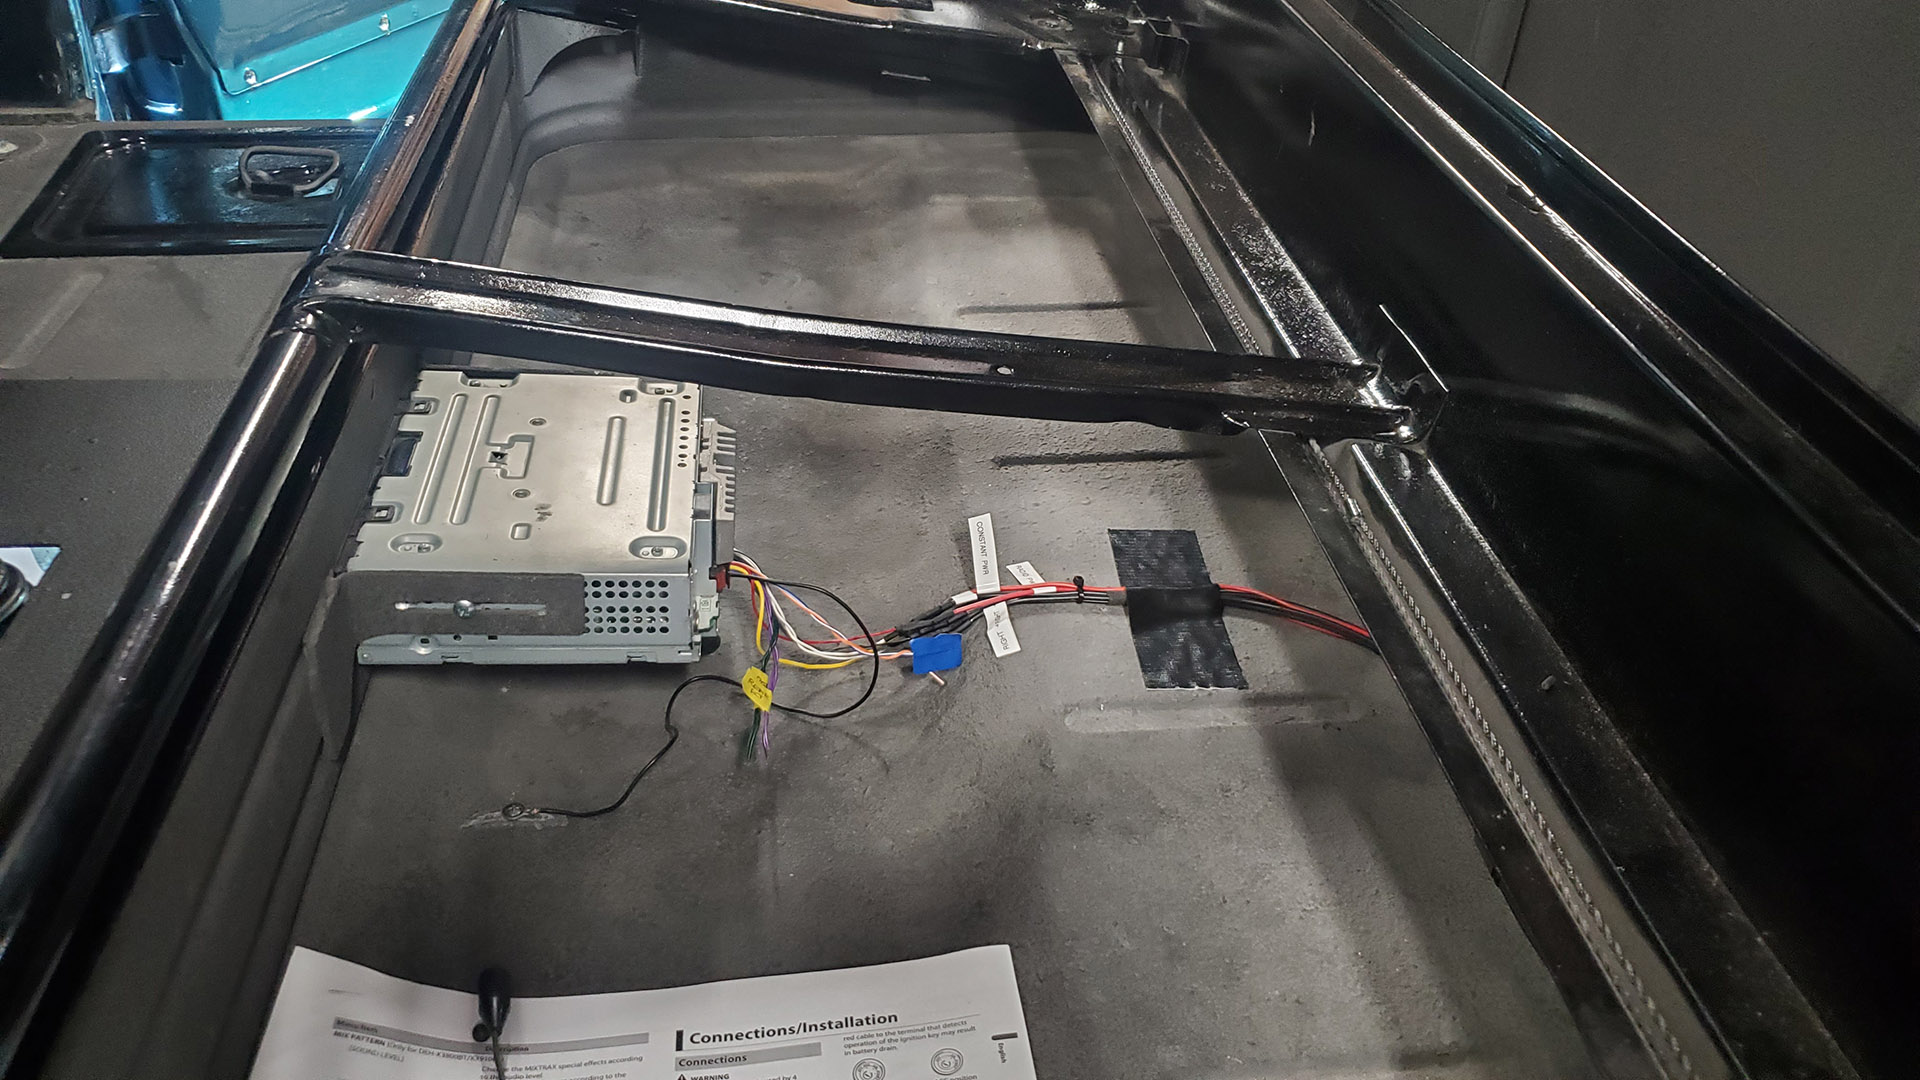
Someone had installed a modern radio under the front seat - built-in to the seat riser. I reinstalled the radio and made the connections for power and the dash speakers. It'll be a little awkward to operate and control - but they have tunes! Supposedly there's an optional remote control but I never found one in all the parts.
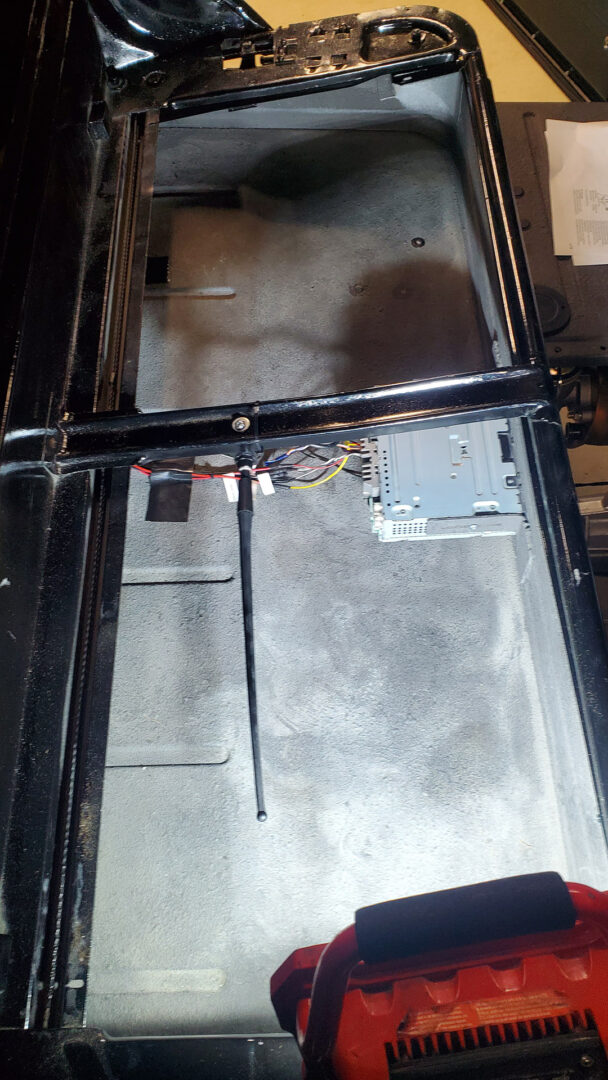
The stereo is useless as a radio without an antenna plugged in. I found a rubber ducky style antenna in the parts collection that used to reside on one of the fenders. It would have looked totally out of place on an old truck like this. They removed it and filled the fender hole.
I made a small bracket and mounted the old antenna to the seat frame horizontally. It'll stay hidden under the seat and works perfectly!
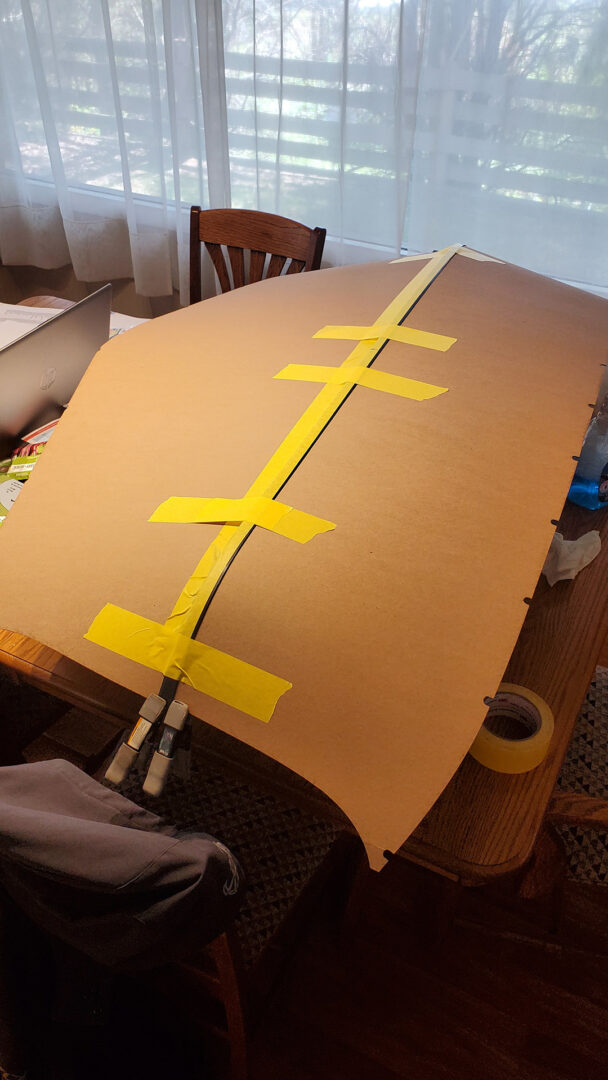
Back to that cardboard-like headliner... Front and read pieces with a center bow, typically installed in sections. You're supposed to spritz the back side with a water/ammonia mix to make it more malleable while you install it. Boning up on curse words are also supposed to help.
I went a slightly different route. I slid the front section into the channel in the center bow and clamped the ends so it wouldn't pop out if you breathed or looked at it wrong. The curved sections then got a spritz of Windex that I hoped would relax the fibers and allow them to take on the new shape when dry.
The next day I slid the rear section into the other channel on the center bow and after fighting its propensity to pop out on the opposite side, got everything taped together to hold it. More Windex and a day later we were ready to install it as a single unit.
With my lovely wife's gracious help (a second pair of hands is recommended) we hoisted the headliner assembly into the cab. It takes a little fiddling but the edge of the front section will slip under the loosened windshield garnish mouldings. The center bow will kinda snap up into place (it doesn't attach to anything) and, if everything is far enough forward, the rear edge of the headliner will line up at the back of the cab where another moulding secures it.
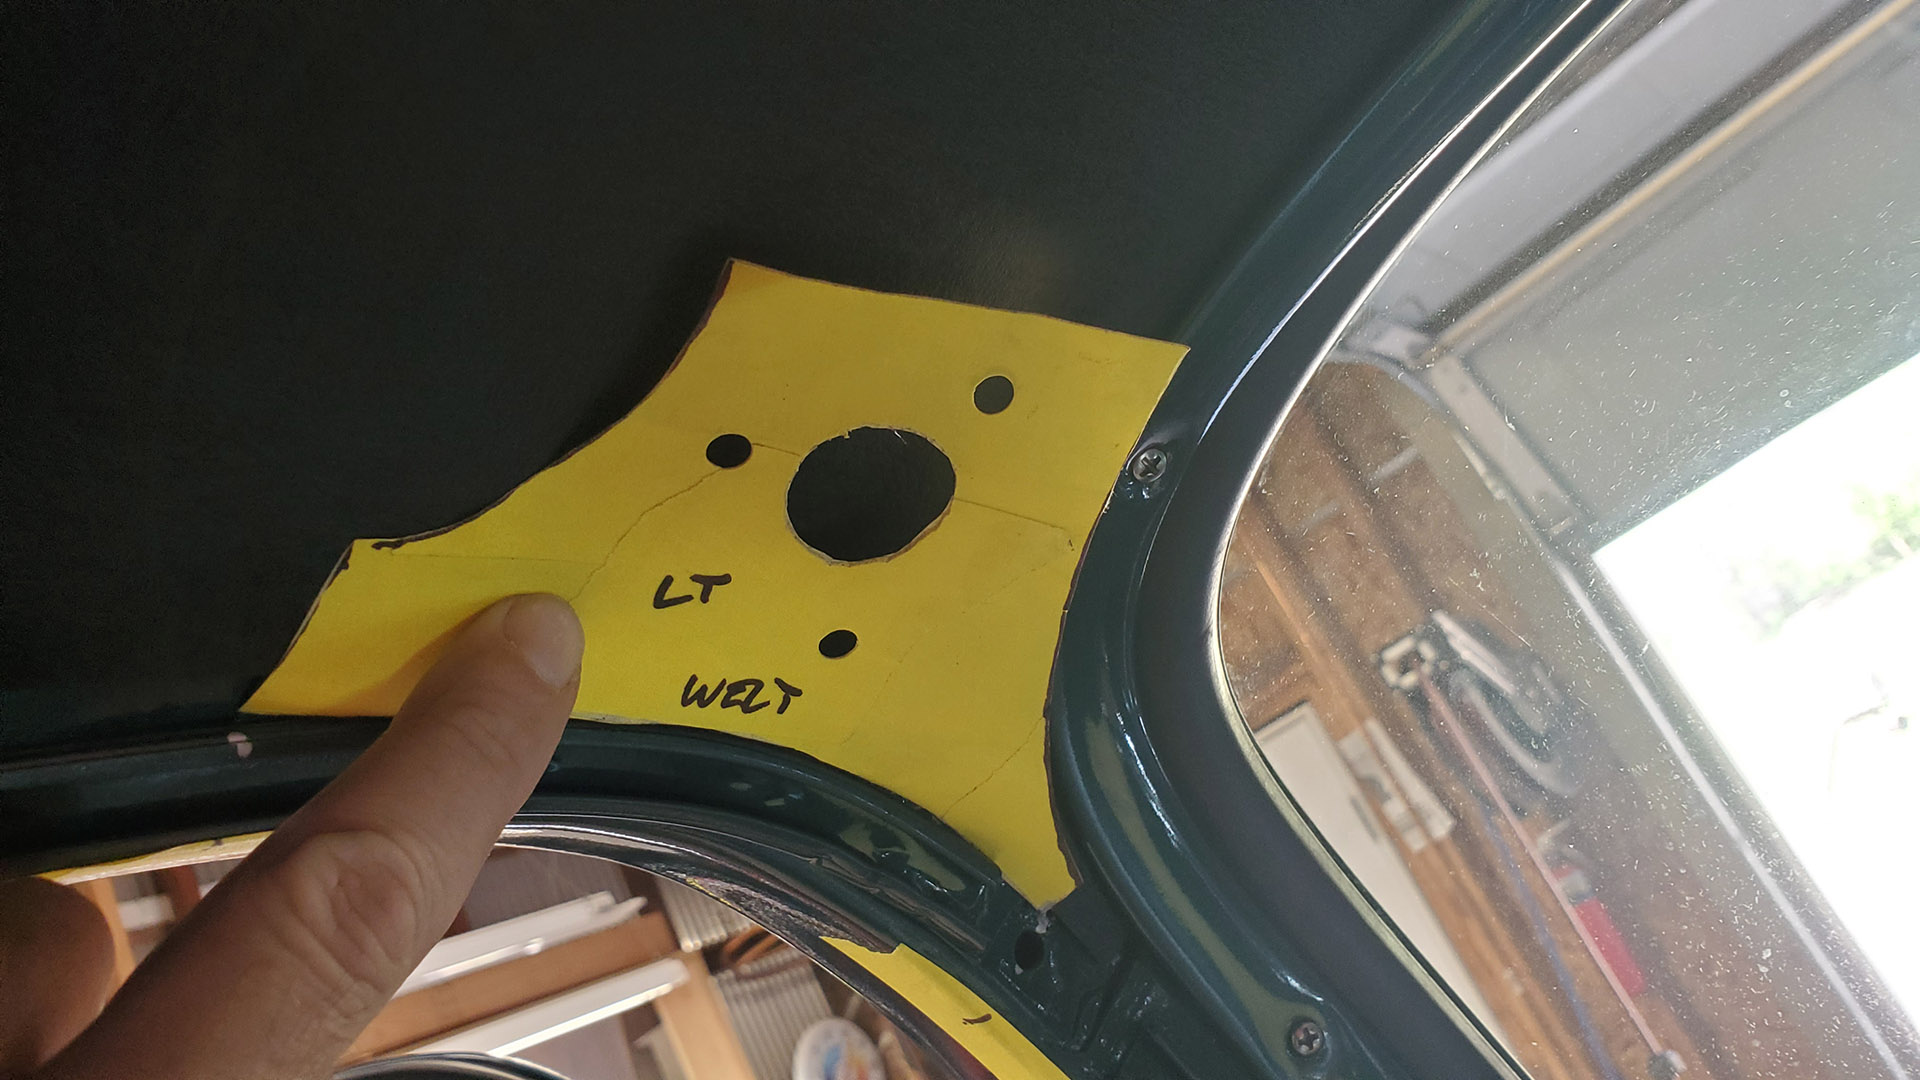
Before starting the headliner I had the presence of mind to make a template so I could quickly locate the screw holes in order to install the sun visors. Otherwise, once the headliner is in, it's just about impossible to locate them. Someone had drilled a second set of holes on the drivers side so I wanted to be sure to use the correct trio. The larger hole accepts the hinge pivot of the visor.
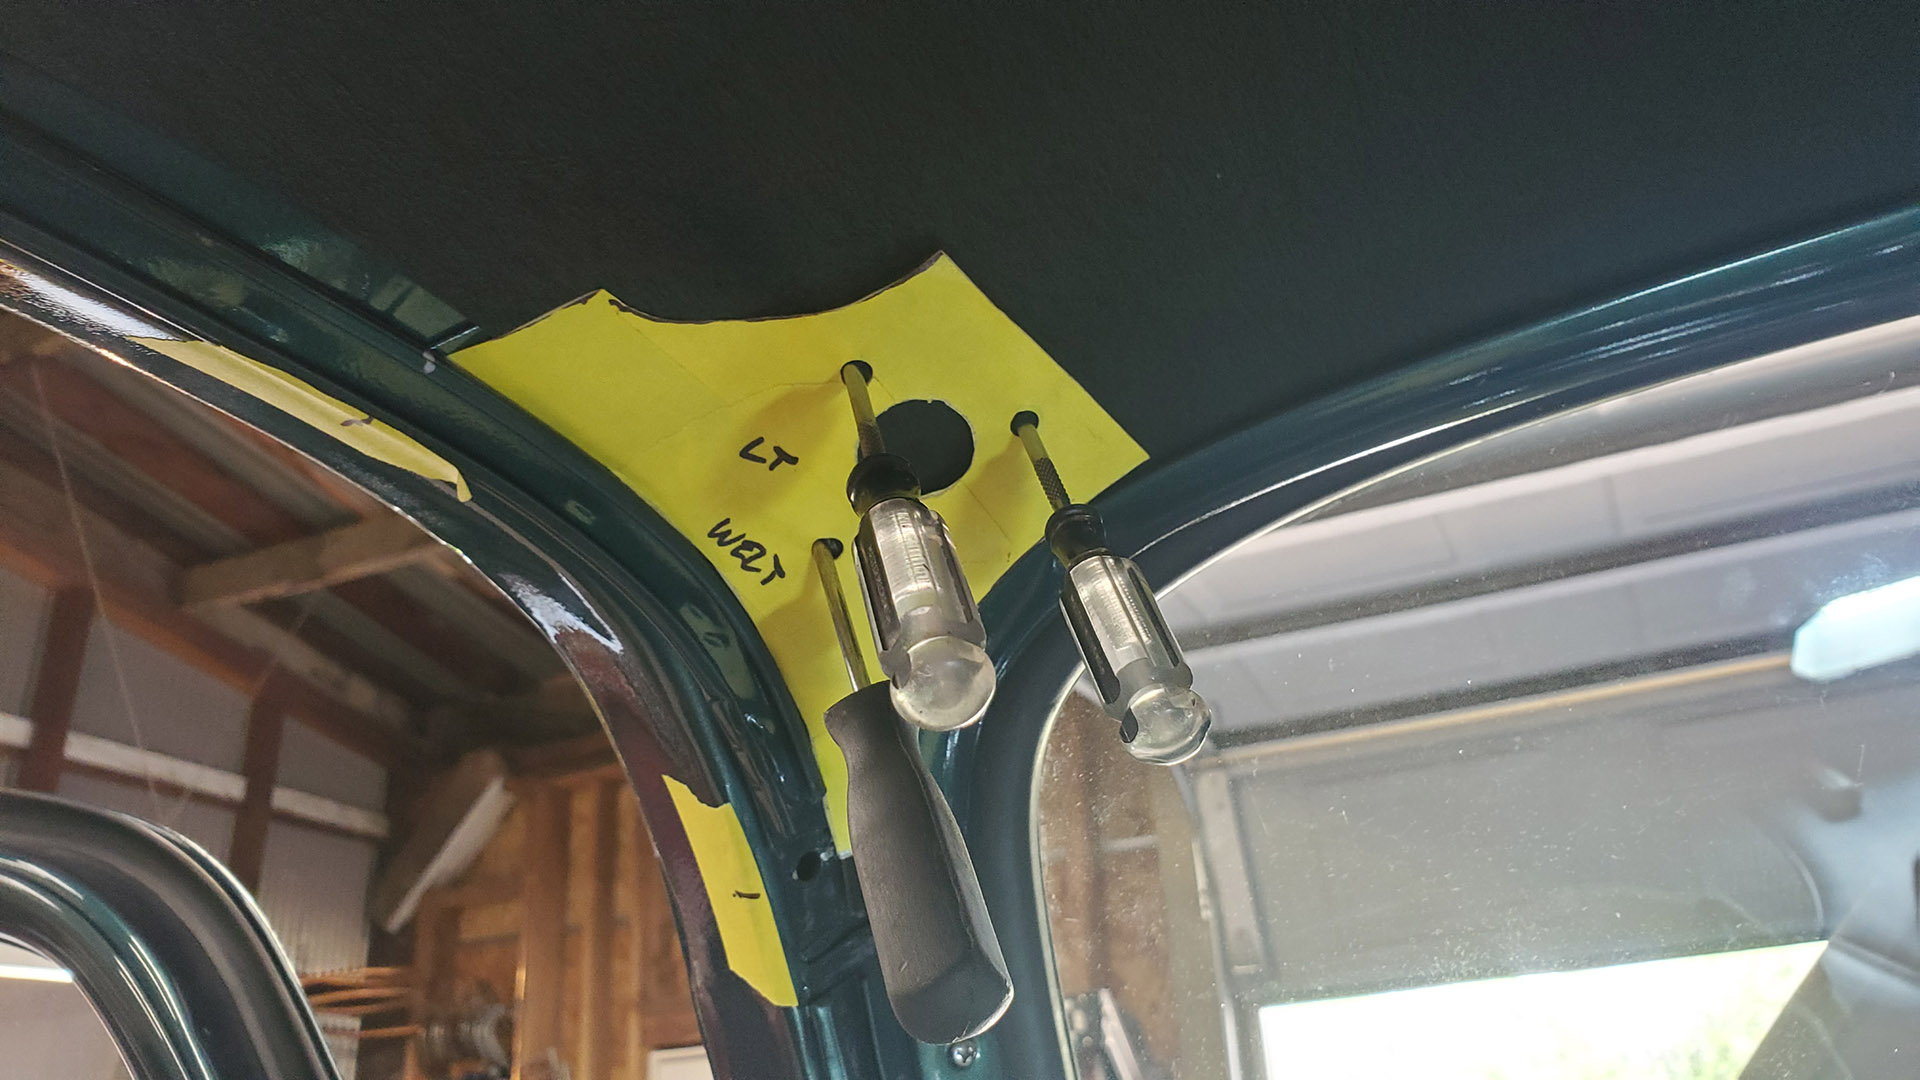
The sun visors are assembled and screwed in place. The original rear view mirror finds its home. And finally, a rubber windlace that trims (and is supposed to seal) around the door opening on the inside goes in. The latter is an awful and time consuming chore to work it into the small channel (visible in above photos) that retains it on each side. Lube and lotsa patience is required.
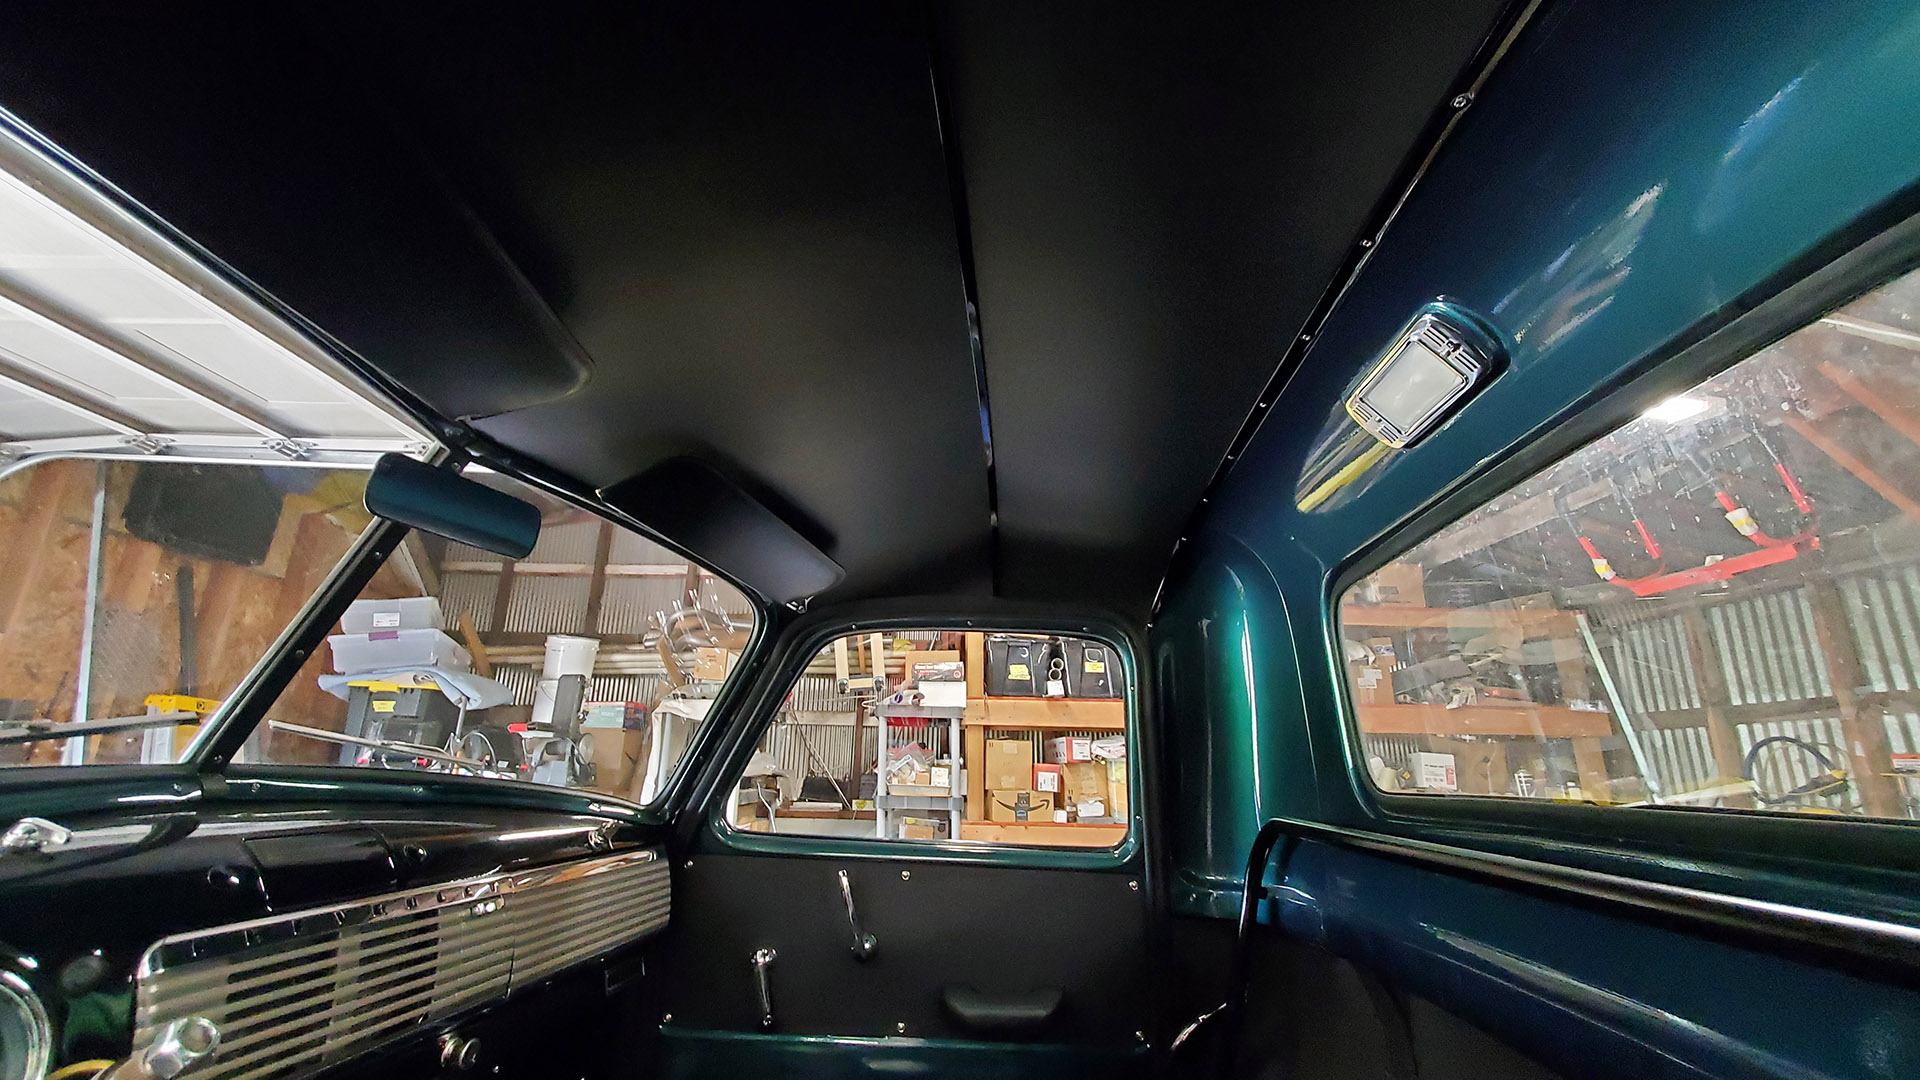
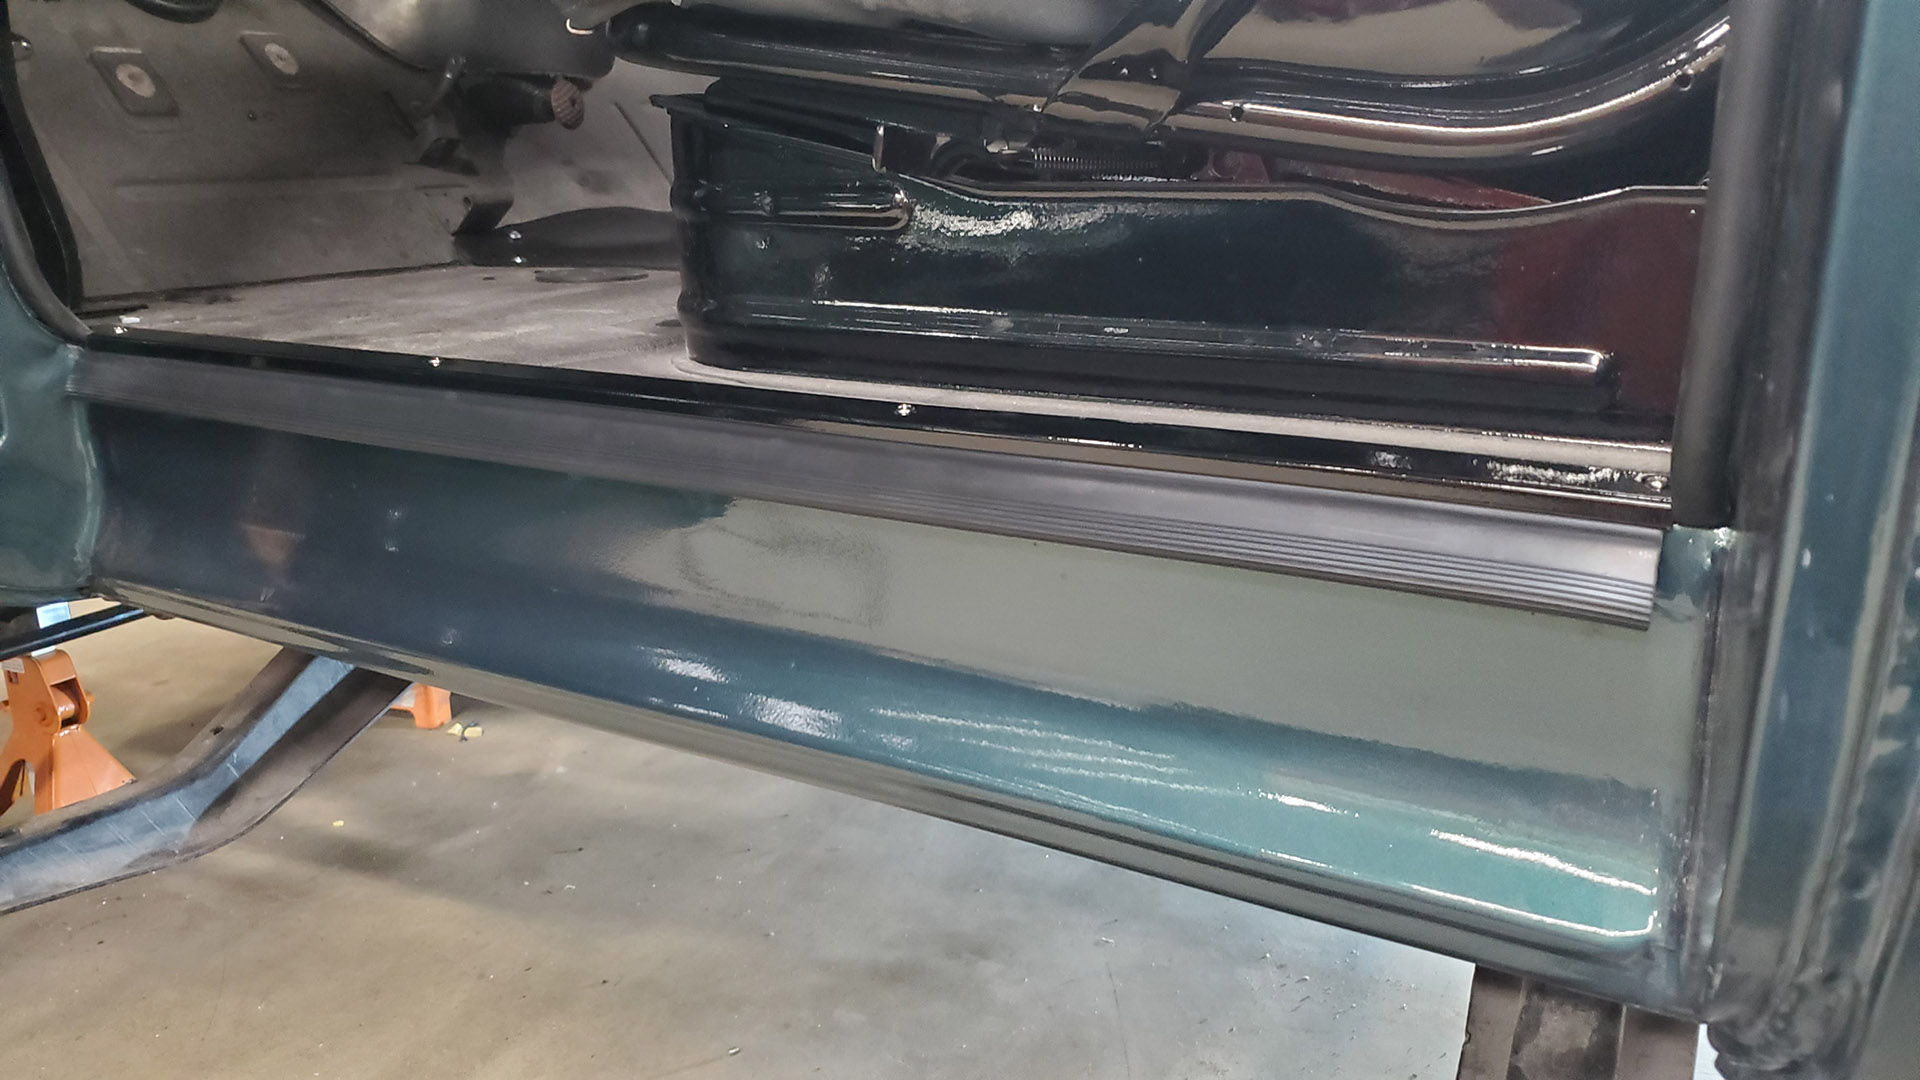
The final seal to go in is the lower windlace that runs along the floor and seals against the door when it's closed.
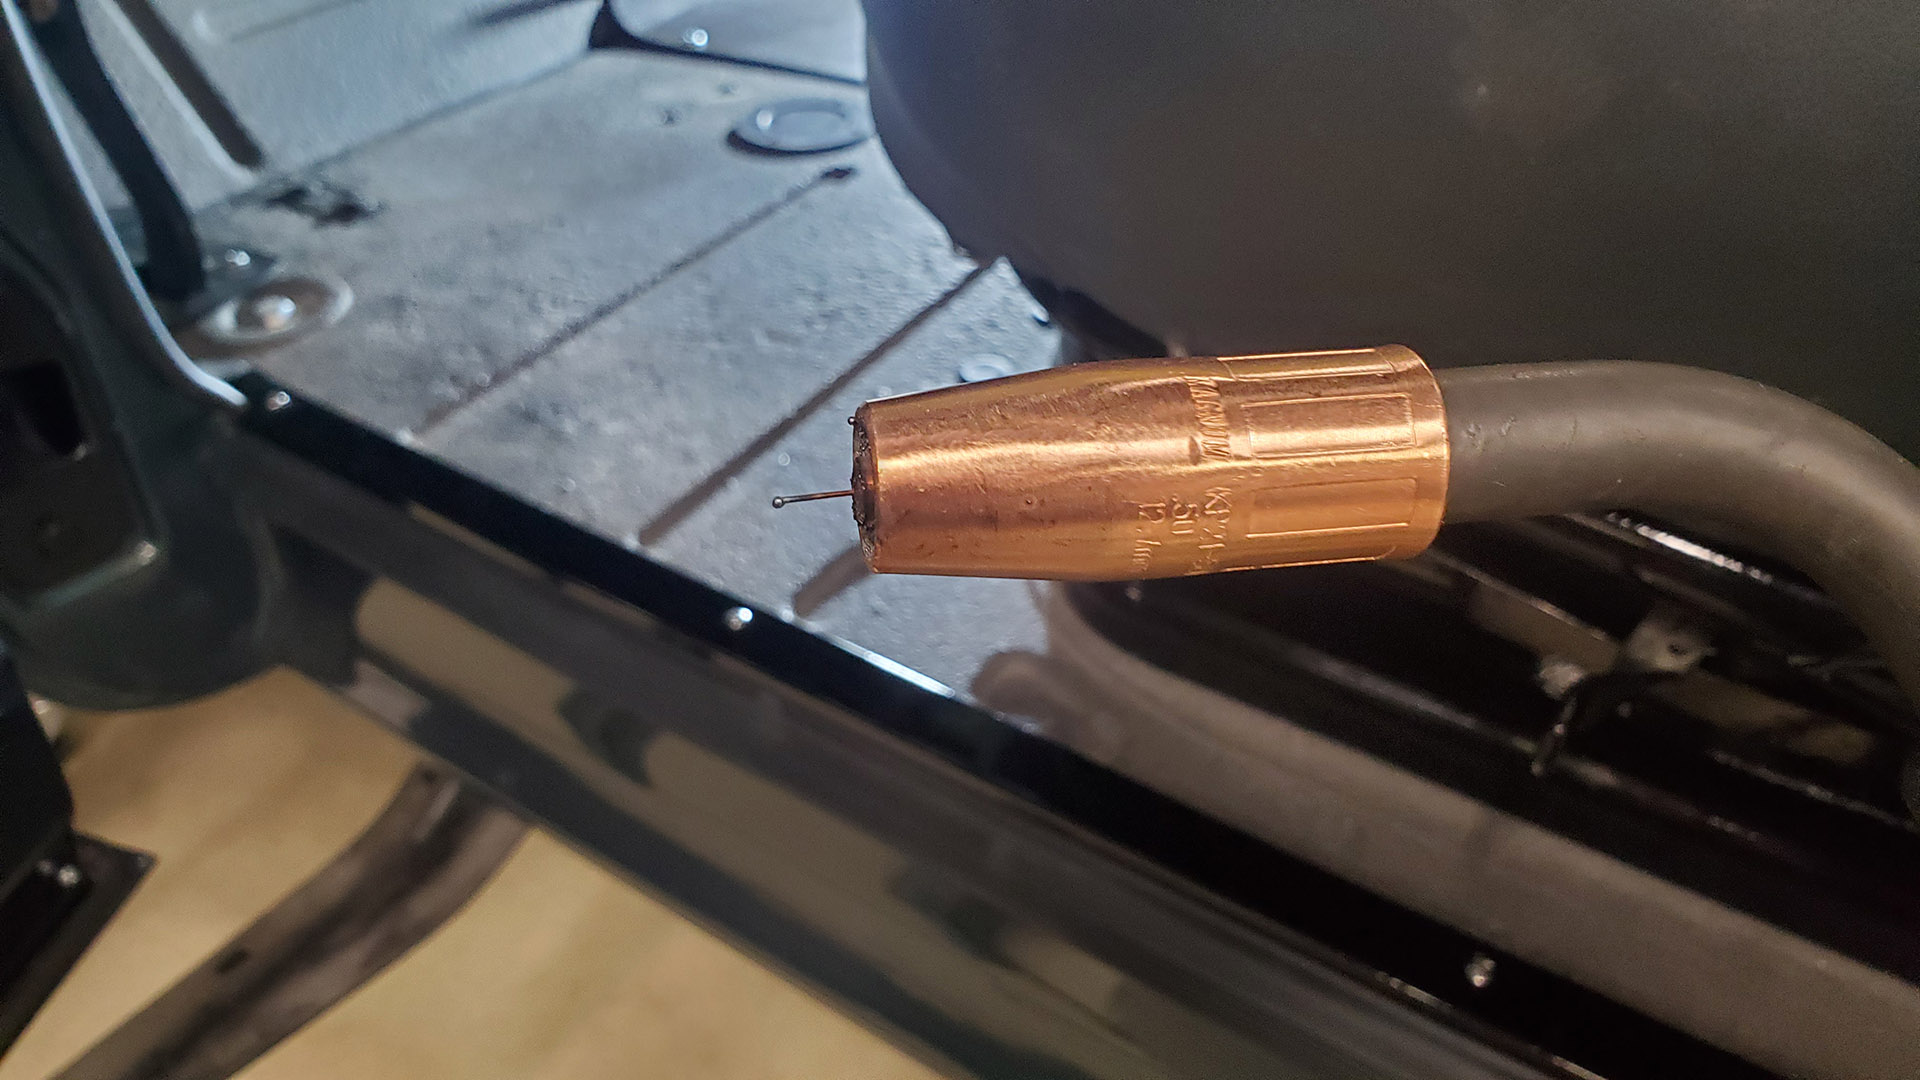
Someone had stripped out a screw hole though, so it's welded up and redrilled.
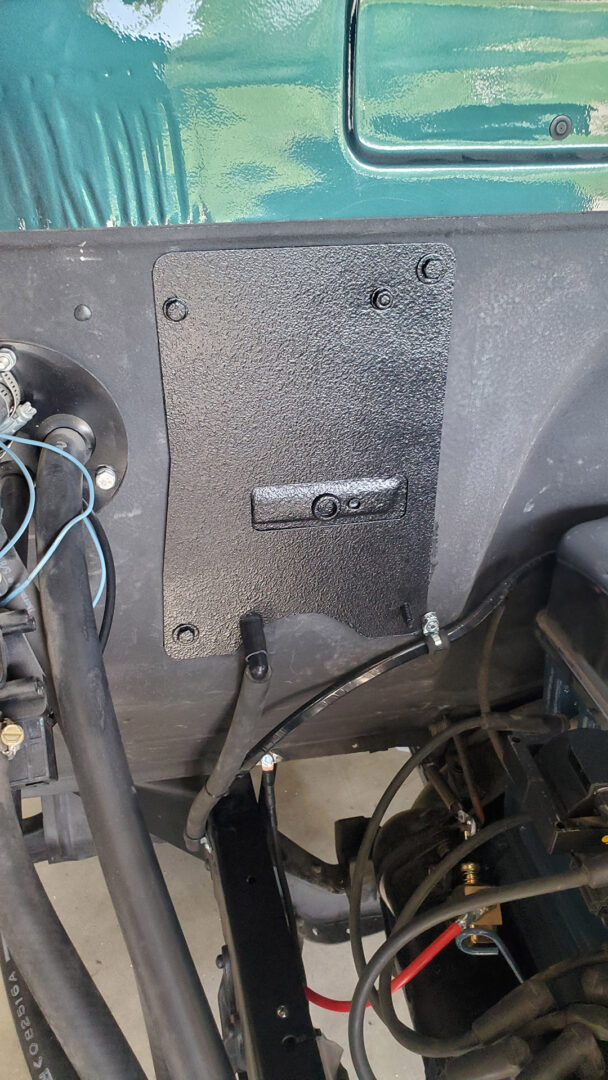
Another quick little project involved getting rid of this rather hideous looking aftermarket coolant recover tank someone had bolted to the firewall. While it serves a good purpose and partially covered the heater delete plate that came with the new Vintage Air AC system, it just looked sad and out of place to me - like a milk jug hanging in a basket, or something.
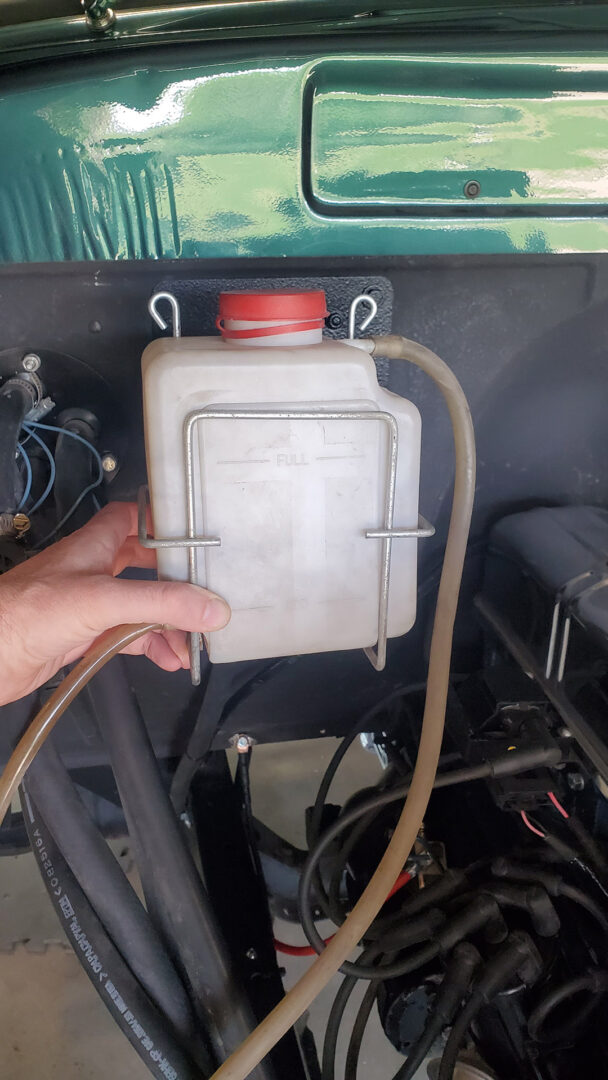
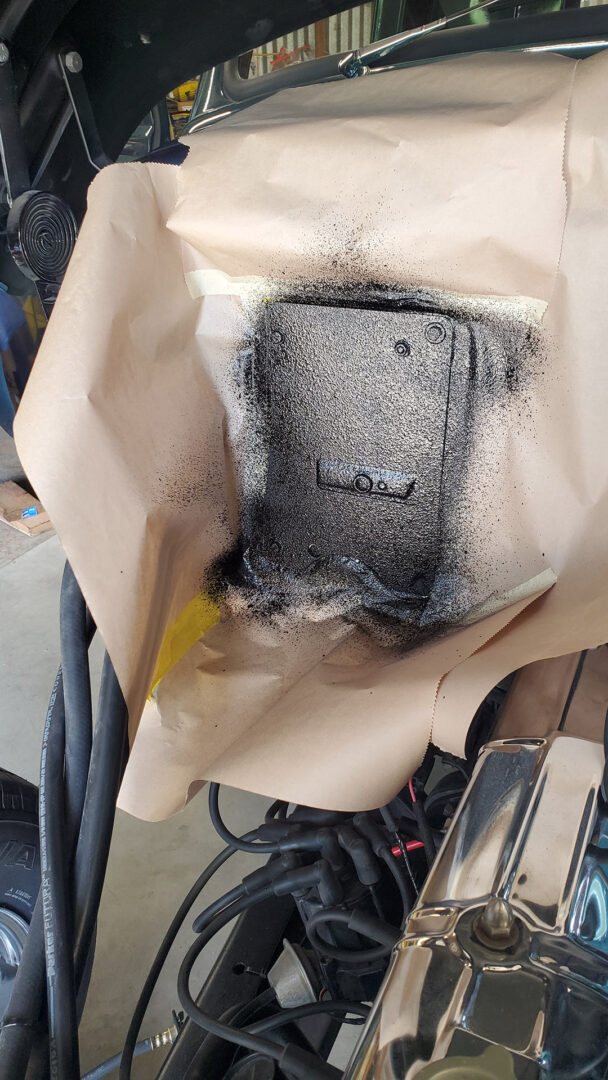
I masked off the area and sprayed the plate with a sound deadener (similar to bed liner) to give it a texture like the firewall.
