The Last Details on the ’50 Chevy Truck
We're down to the final details on this '50 Chevy Truck project. It's no longer looking like the orphan it was when it came to the shop about a year ago.
We actually (test) drove it to the exhaust shop to get the side exit tail pipe fabbed and installed. Ran great with the 'new' Carter YF carb - a night and day difference from the old dual Rochester setup. Lot's of thumbs up from other drivers.
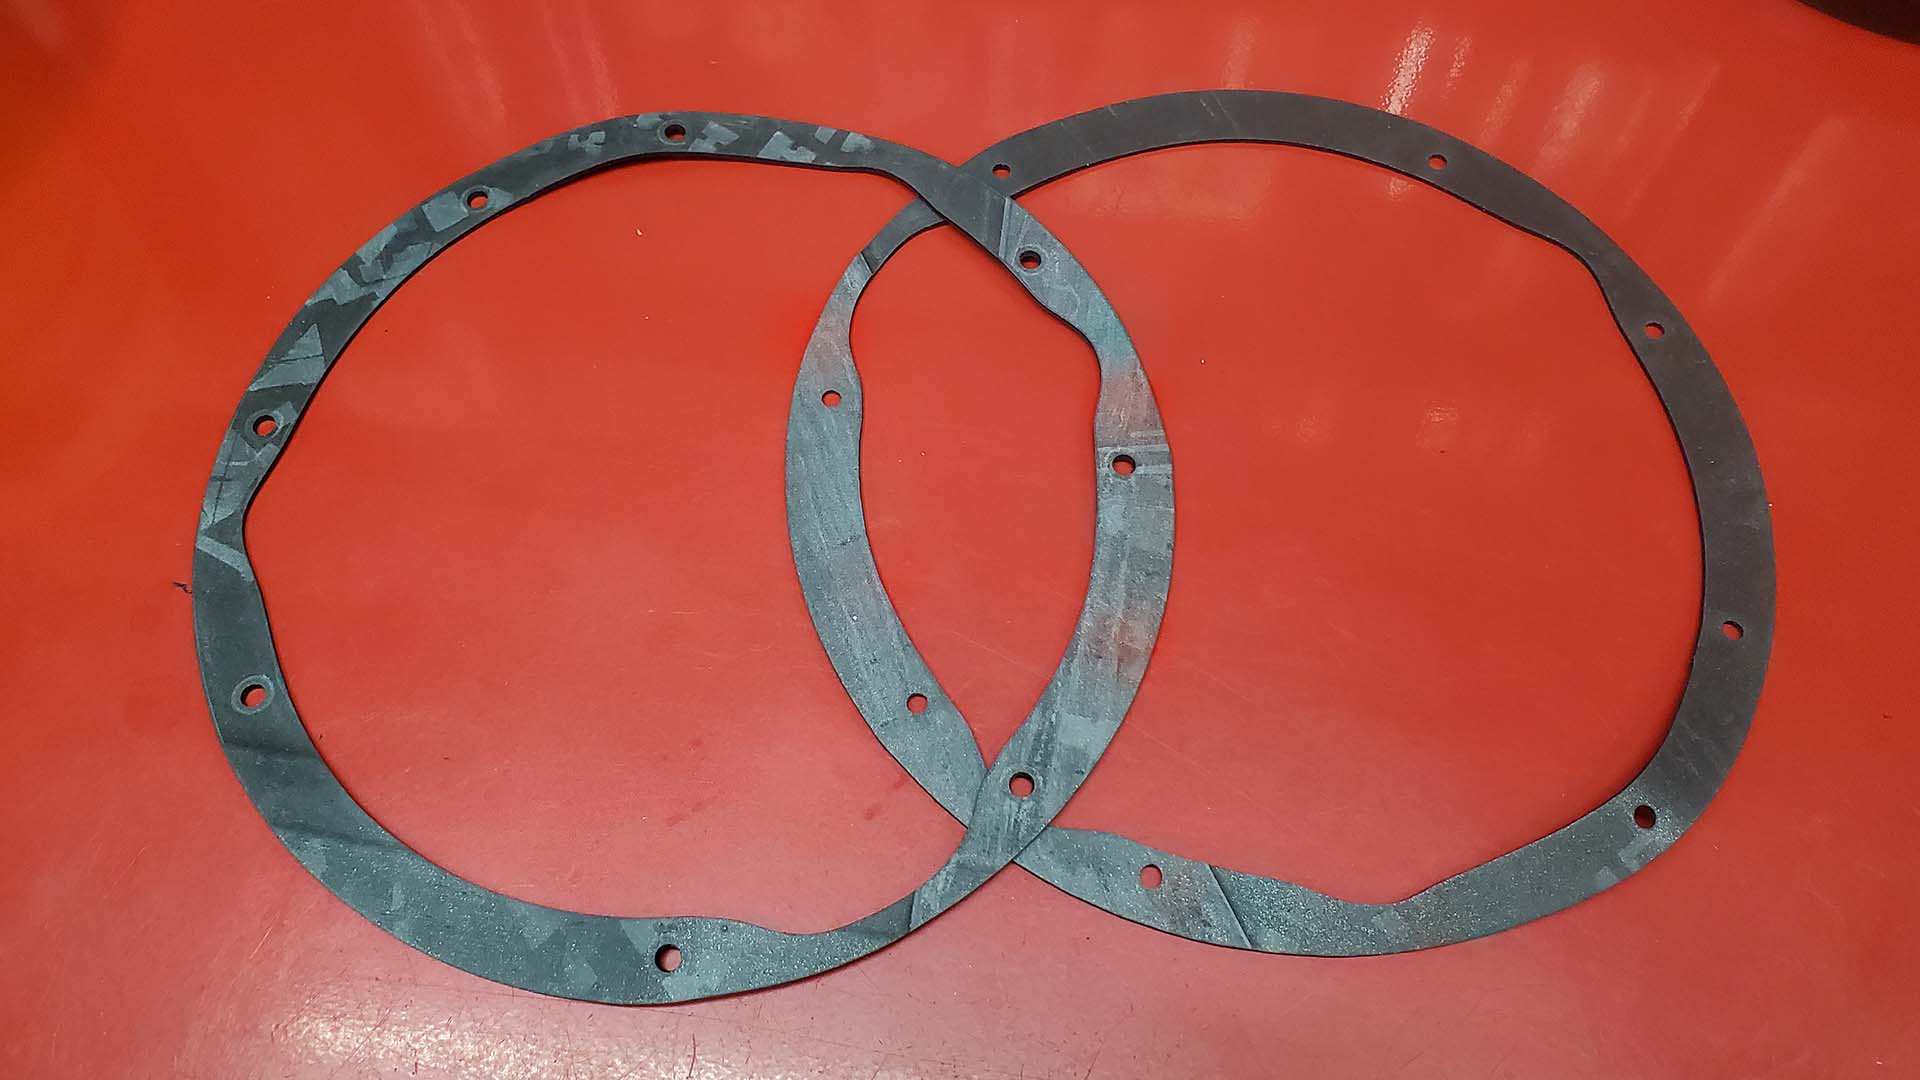
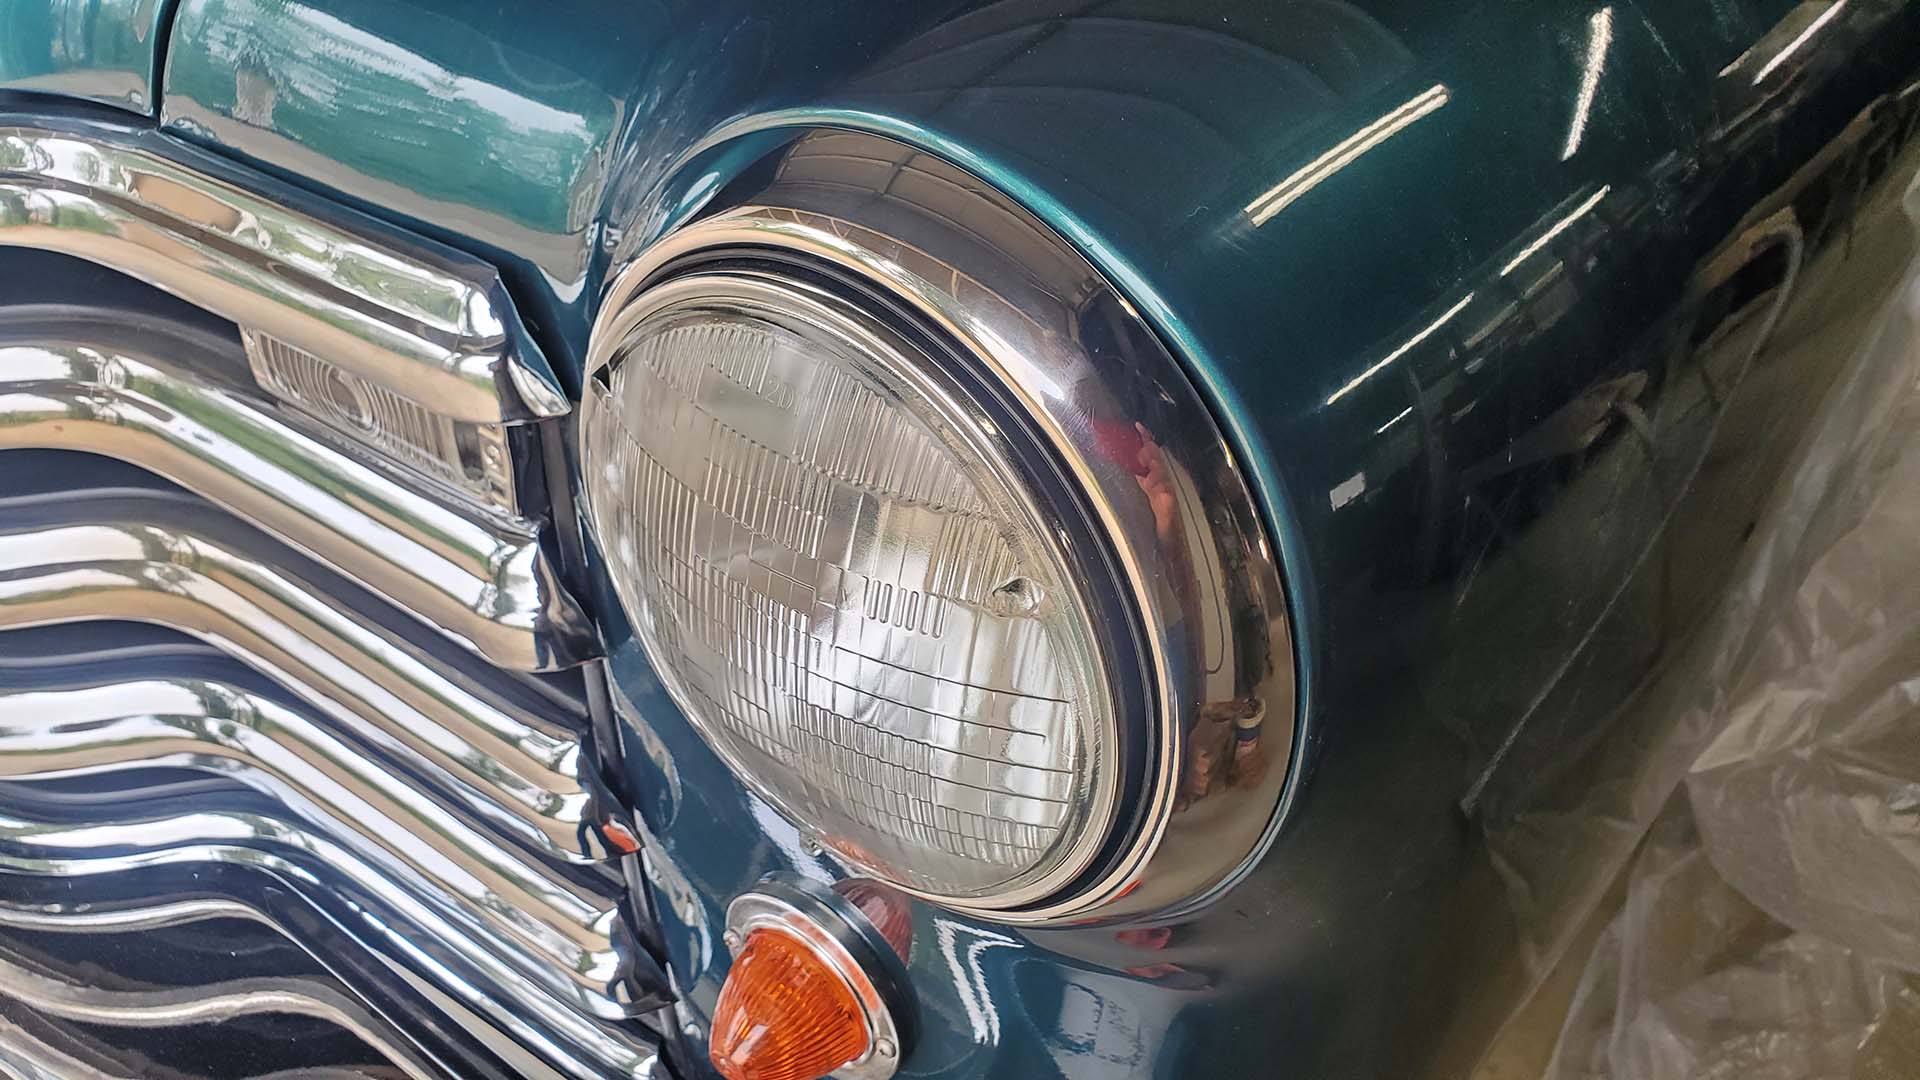
You wouldn't think headlight trim rings would be hard to install. Normally they're not, unless the rest of the headlight assembly needs some work. We started with a pair missing rubber seals. These can affect, just a little, how far they fit into the fender opening which, in turn, affects trim fitment.
Aftermarket retainer clips had to be bent and parts of the bucket assemblies repaired. Finally, the sheet metal tabs around the fender openings were massaged out slightly with a rubber mallet from the back side.
A combination of all these tiny fixes and 'adjustments' allowed the headlight trim rings to go on and be secured as they should.
The last significant project within this project was to finish the wheels. They had purchased Artillery style wheels from Coker Tire & Wheel years ago. They have chrome barrels or hoops and primer gray centers that need to be painted.
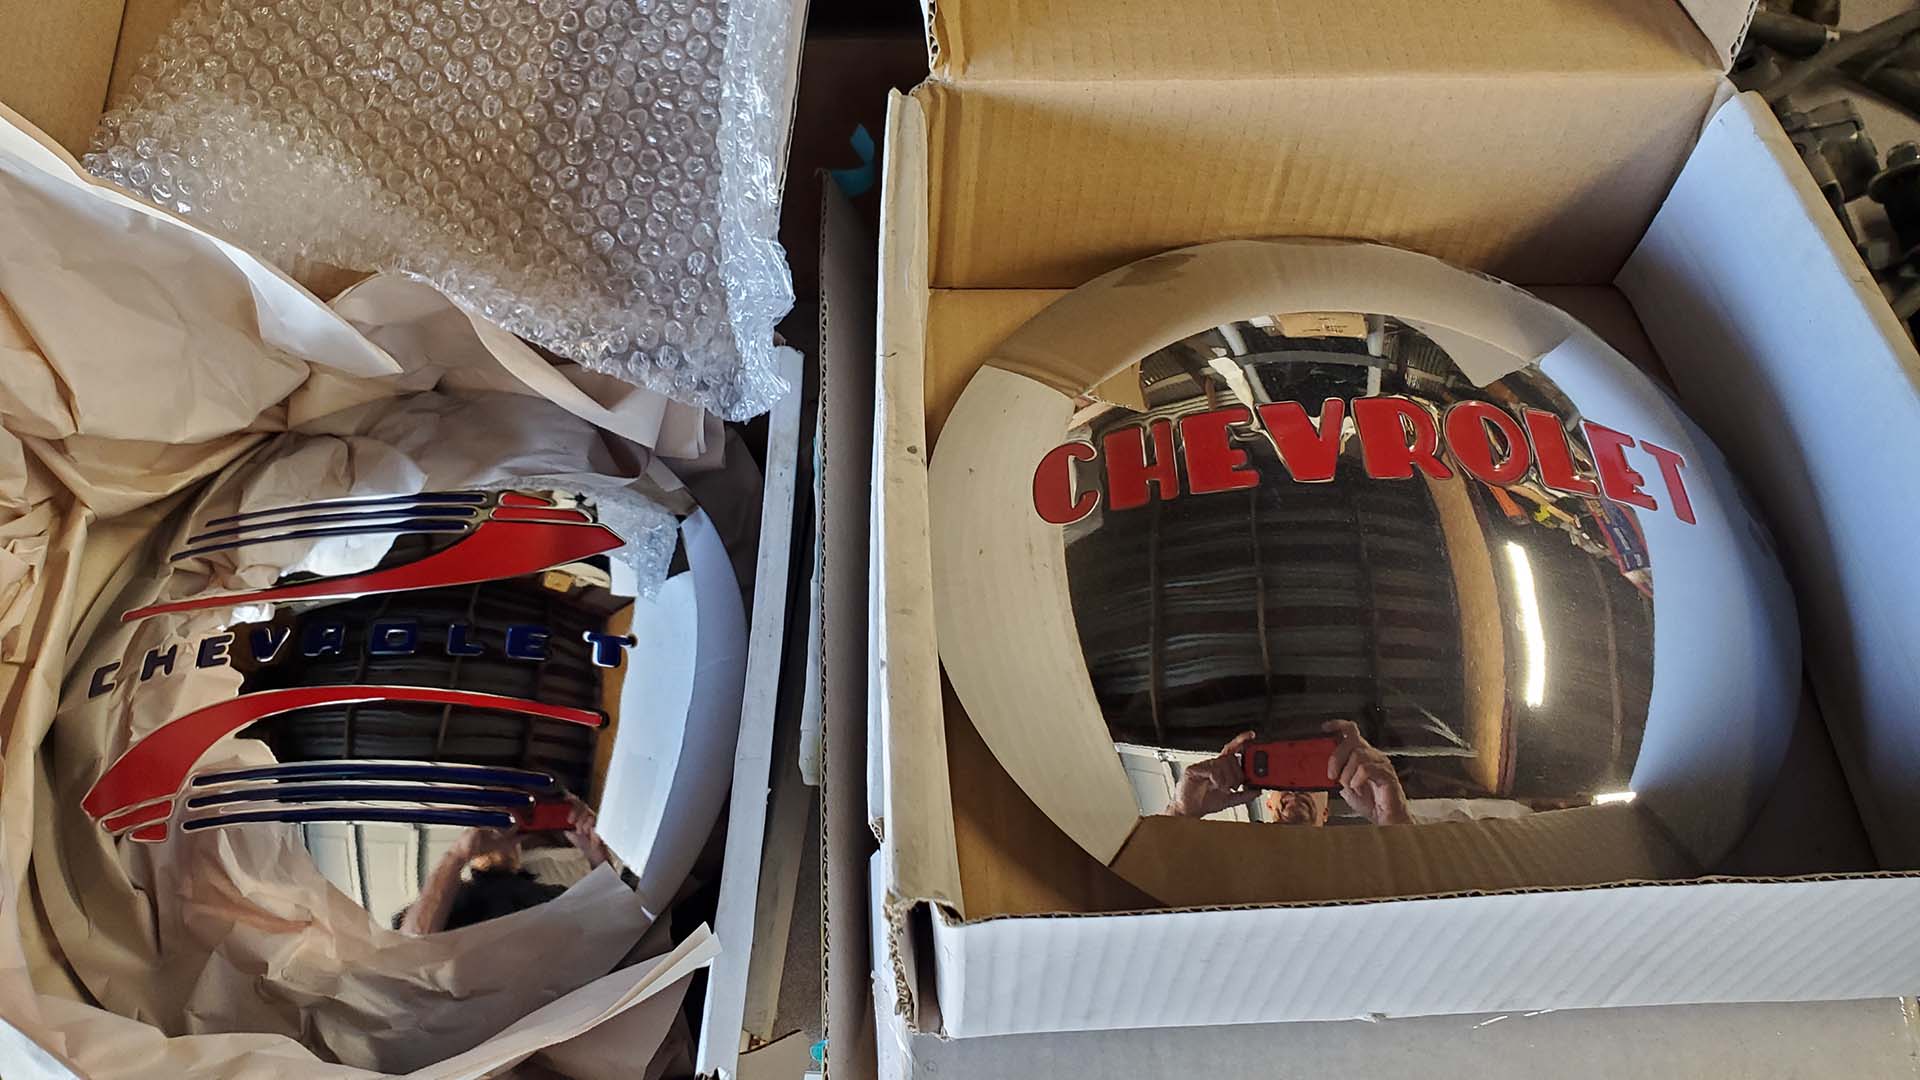
A variety of center caps can be used. There were 4 boxes in the collection of parts with smoothie caps - like baby moons. Unfortunately, one left the supplier (years ago) with the wrong cap in the box (of course). Matching caps are on eternal back order (of course). The owner has chosen a complete new and different set from what they have available right now. Anyone need these?
Meanwhile, the owner has decided to he wants the wheels to match the body color on the rest of the truck.
After washing the wheels and tires thoroughly, I started the arduous task of masking all the chrome around each of the 14 spoke wheels.
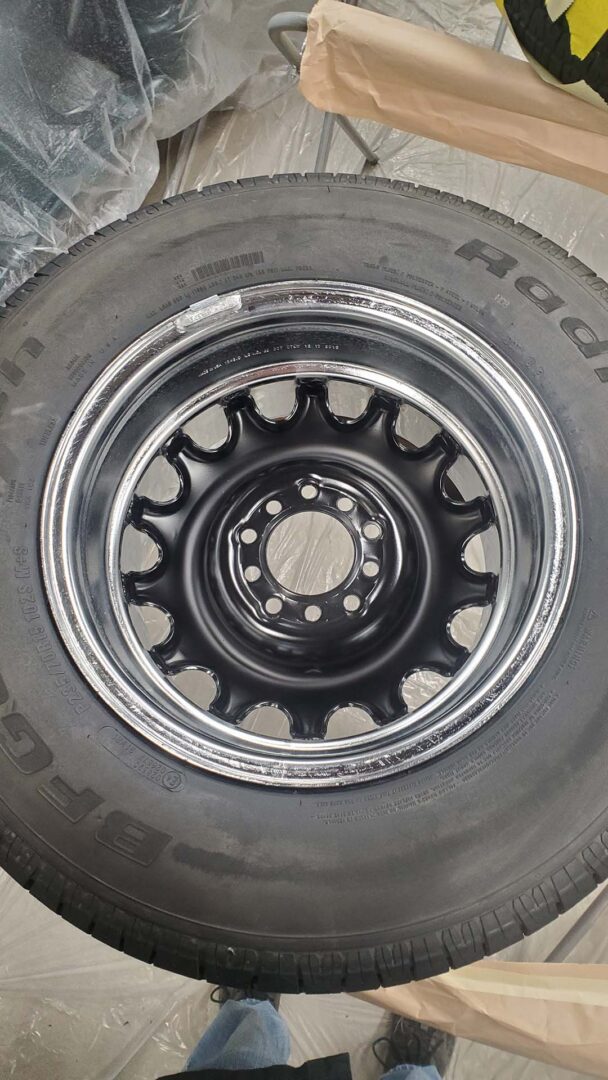
Since the back side of the wheels aren't seen (but still need protection) I decided to coat them with some Hot Rod Black I had on the shelf. They would be painted first.
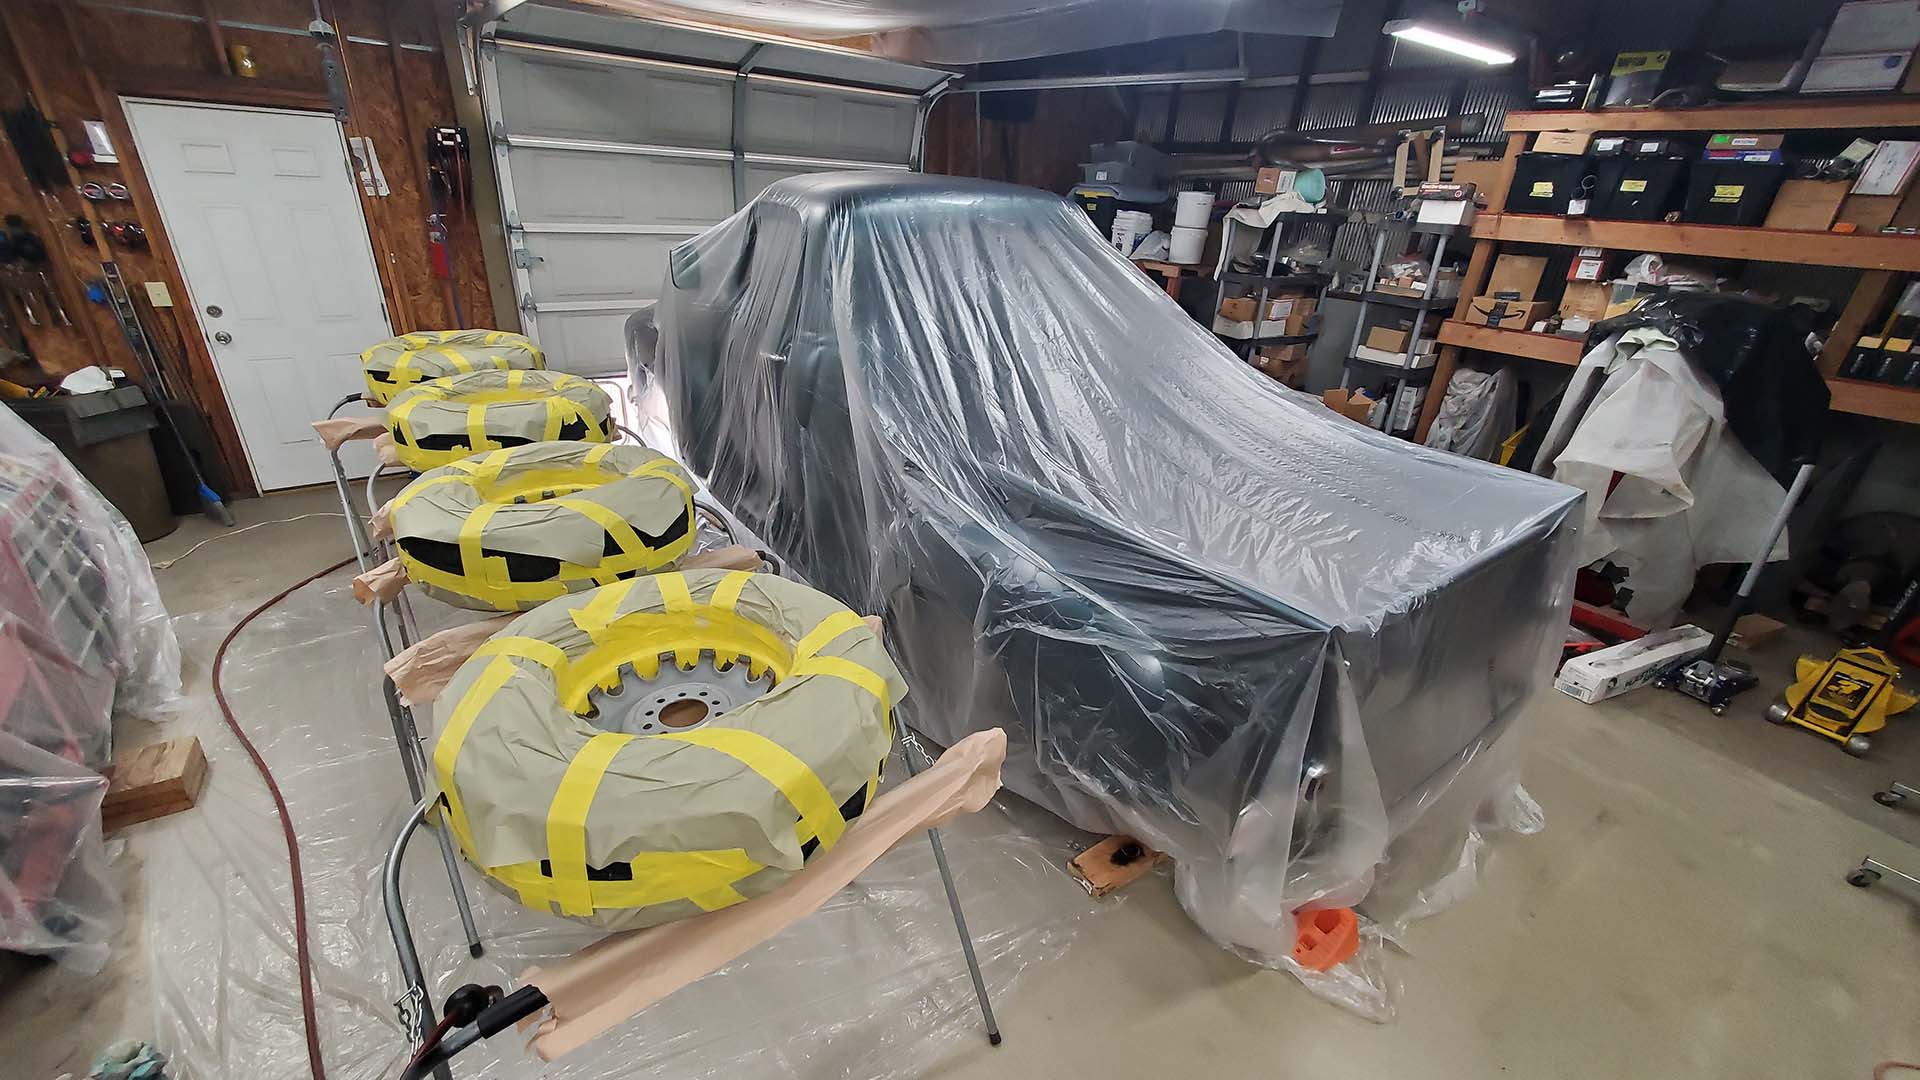
The first step is to lay down some gray sealer and then the black was sprayed.
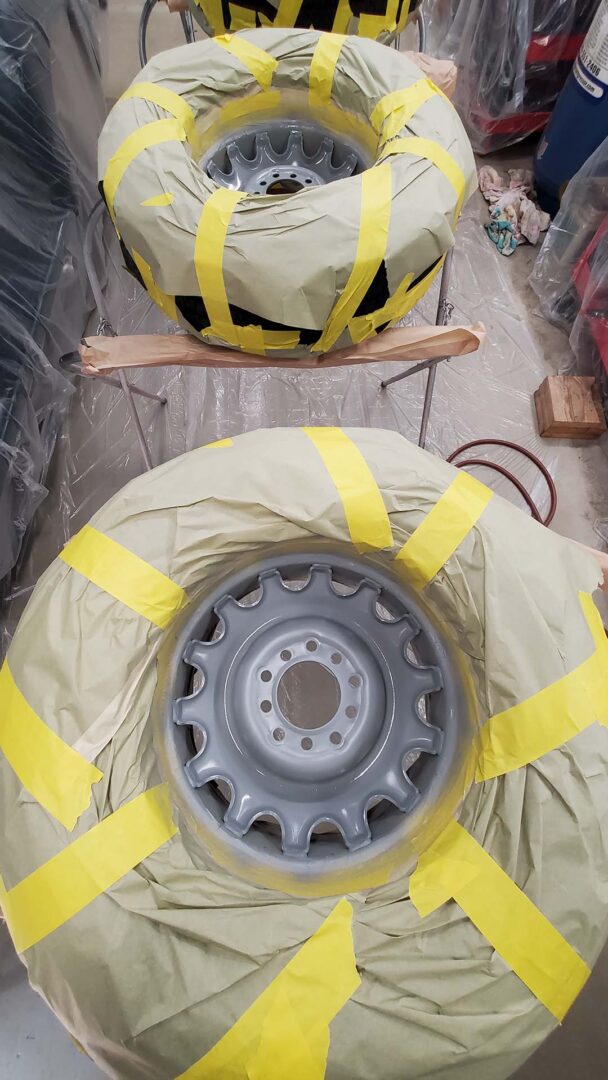
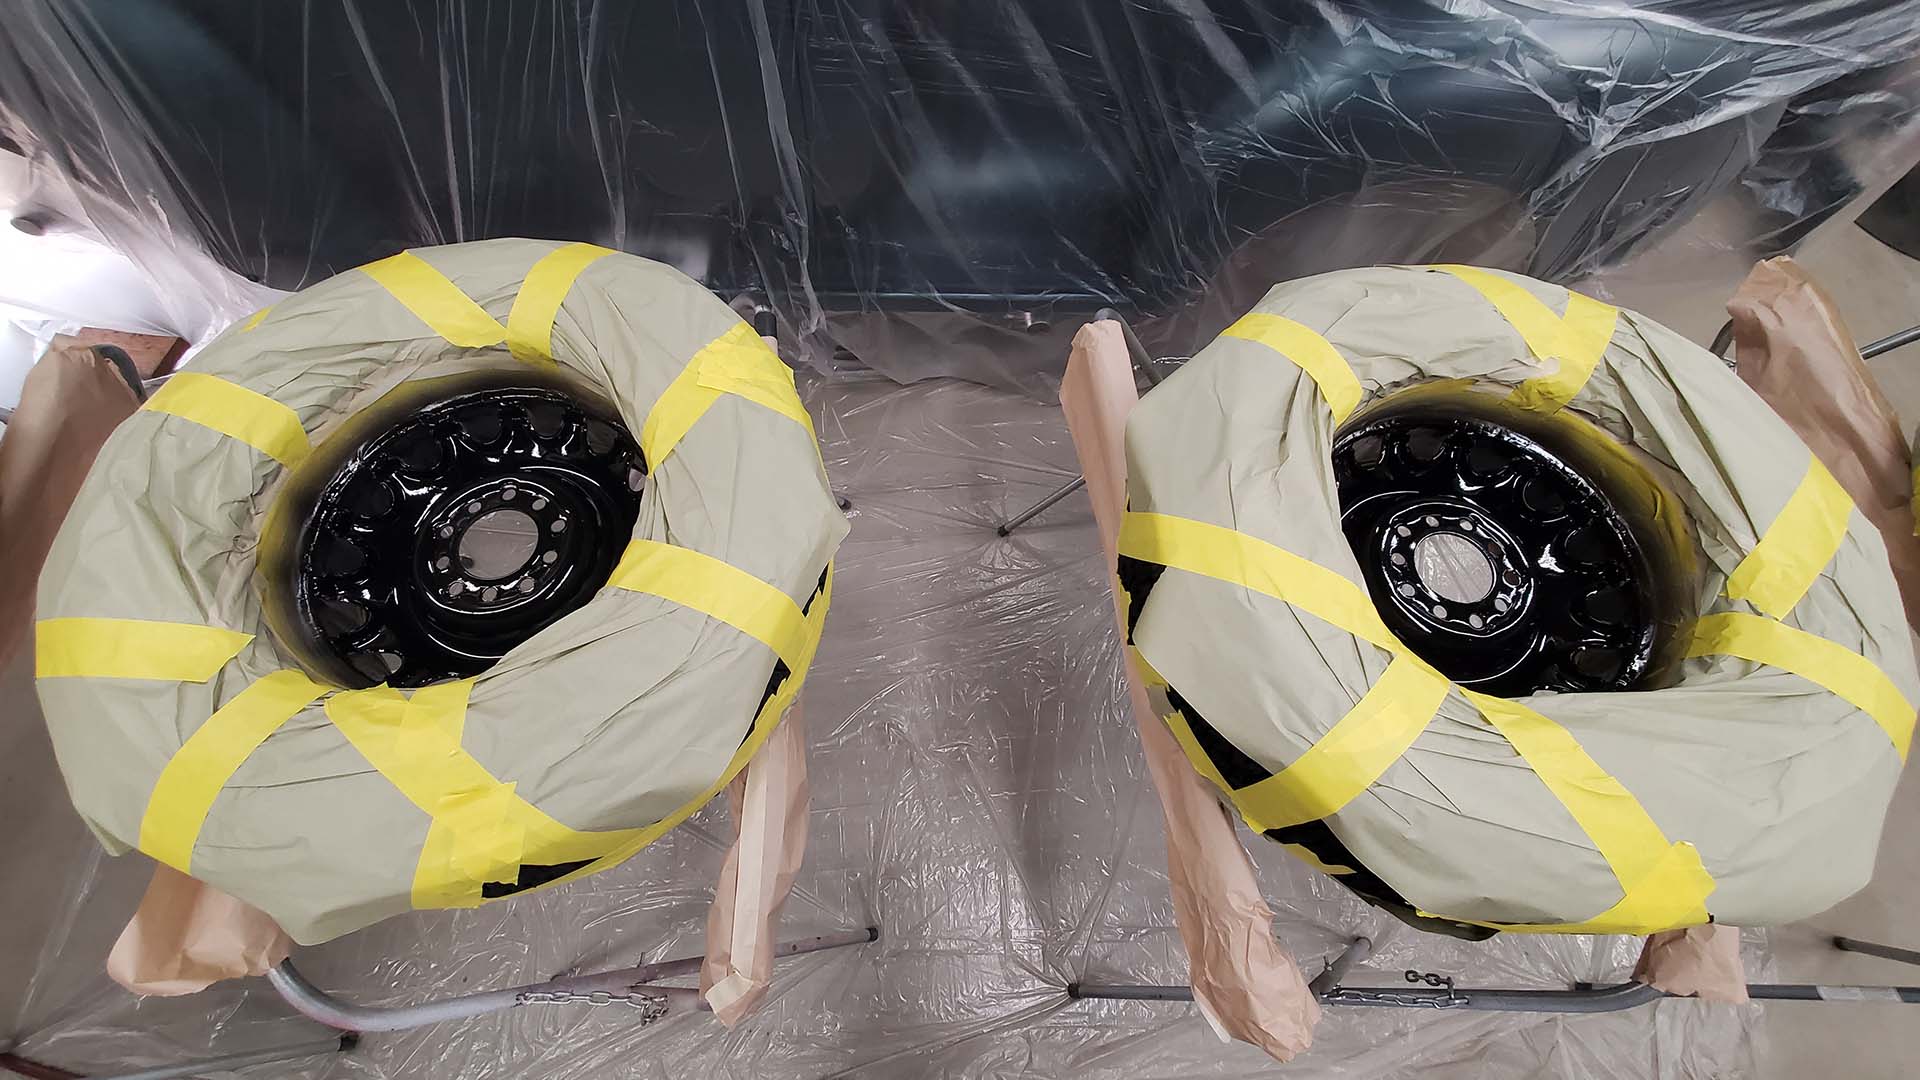
The next day, the wheels were flipped over to do their face with base-coat/clear-coat. Again, the first step was sealer followed by three coats of base color and three coats of clear. Trying to get paint into all the nooks and crannies around each spoke was tricky and time consuming for each coat.
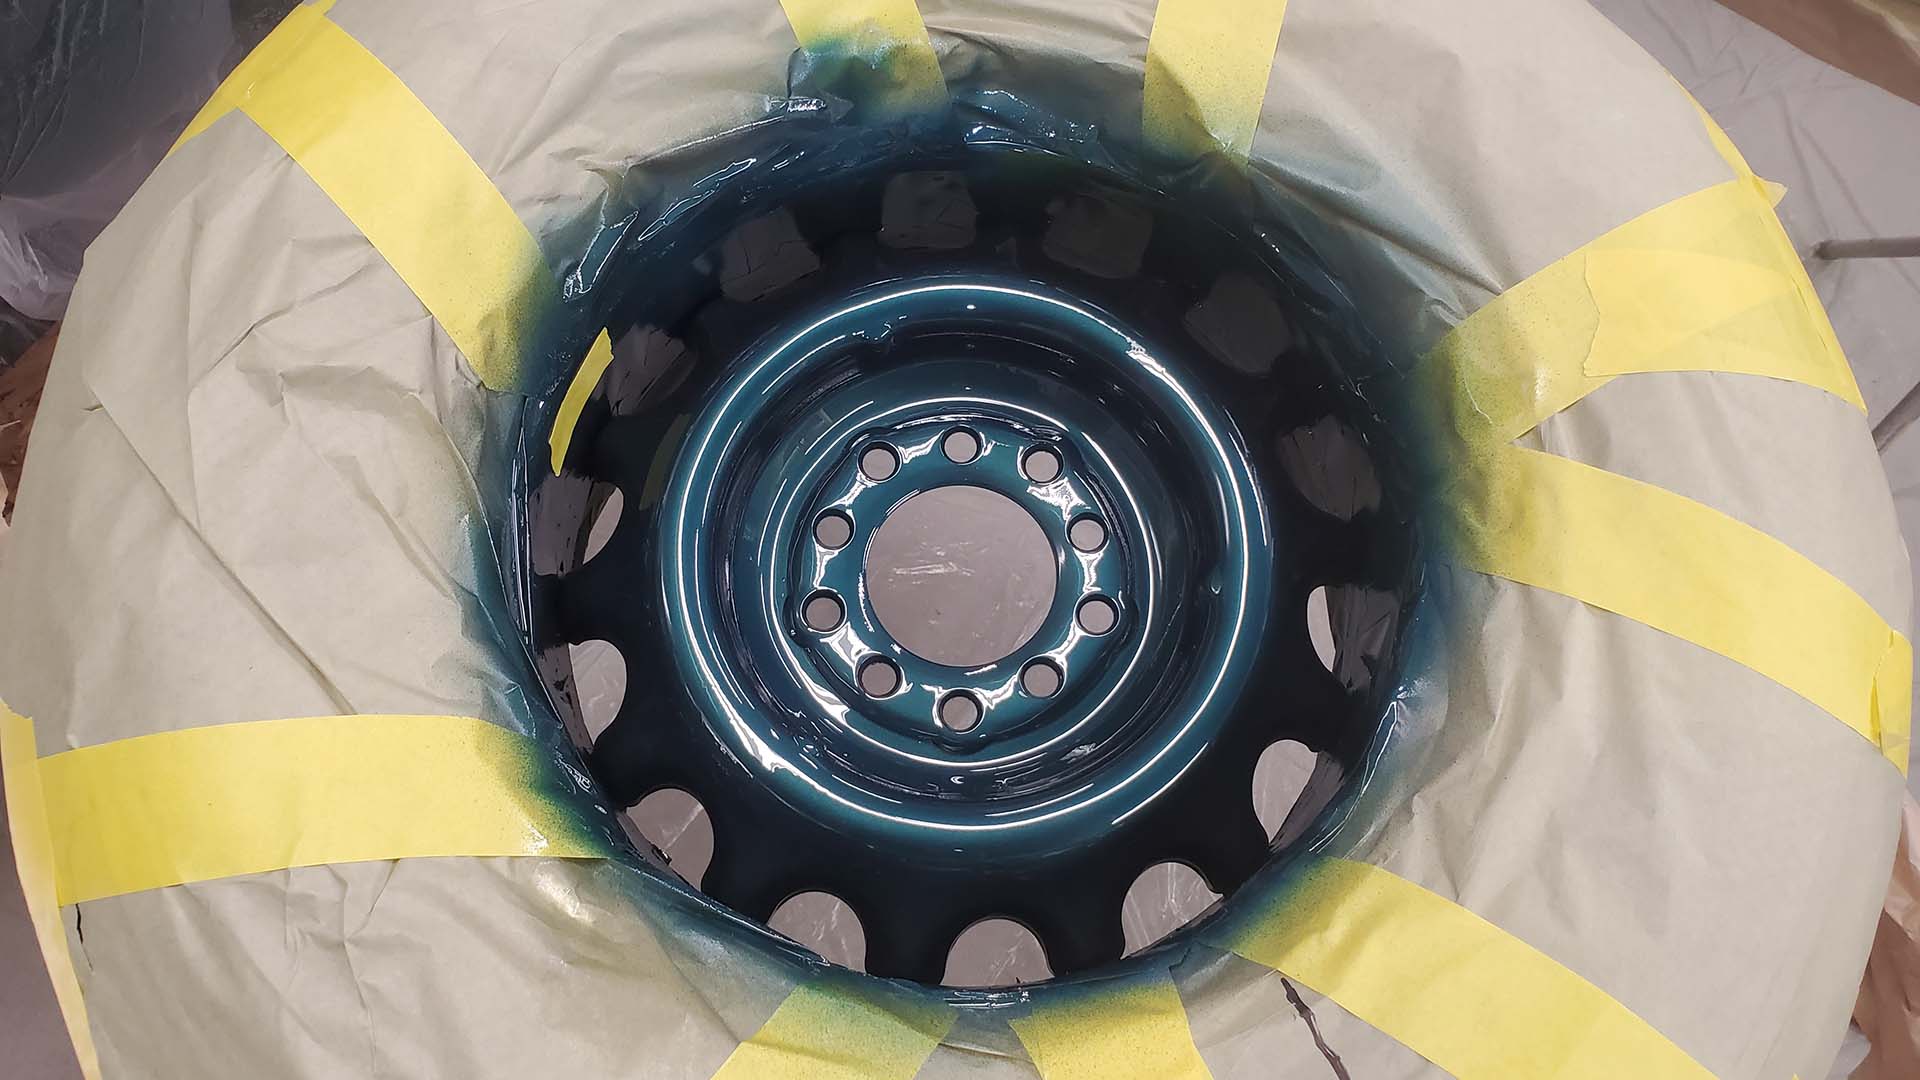
The best part of painting is unmasking everything...
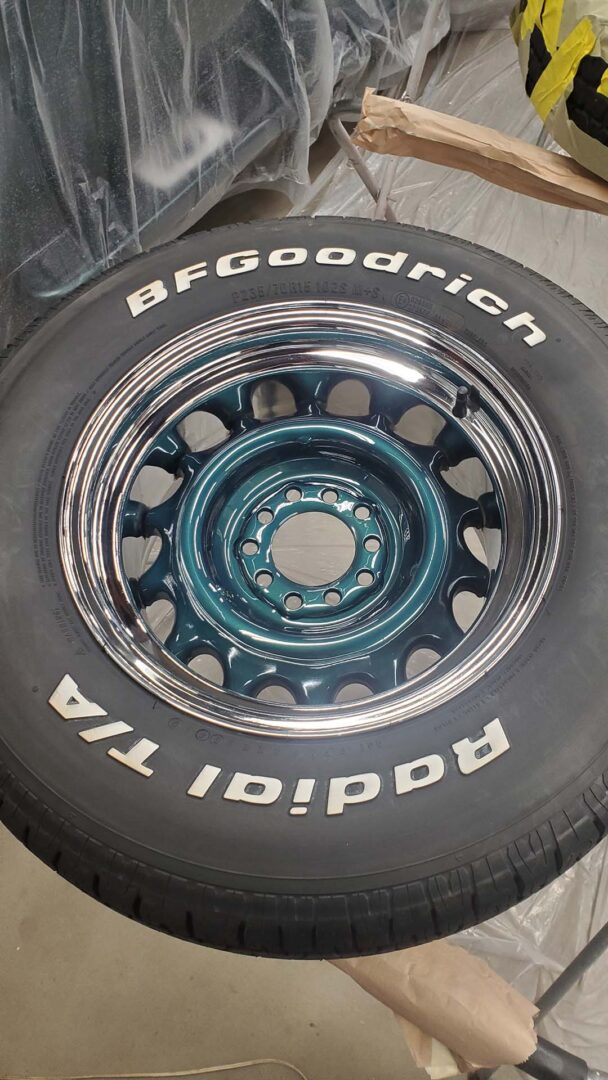
Once the new center caps arrive, this old truck should be ready to send home...
