Winning: One Skirmish at a Time…
In our last post we removed the dual carbs and intake to swap them out and began fitting the wonky-sided bed.
The first steps were to fit the new stainless steel angle brackets to the inner bed sides. The edge of the bed wood floor attach to them and they also help strengthen the sheet metal bed sides. Originally, the brackets were spot welded to the sides but someone had removed them. Now, the new ones must be bolted in place.
I laid them out, measured, and drilled for a stainless button head bolt about every 16-1/2" or less in places. Two of the holes are shared with fender bolts. All of the fasteners on the outside will be hidden inside the fenders or stake pockets.
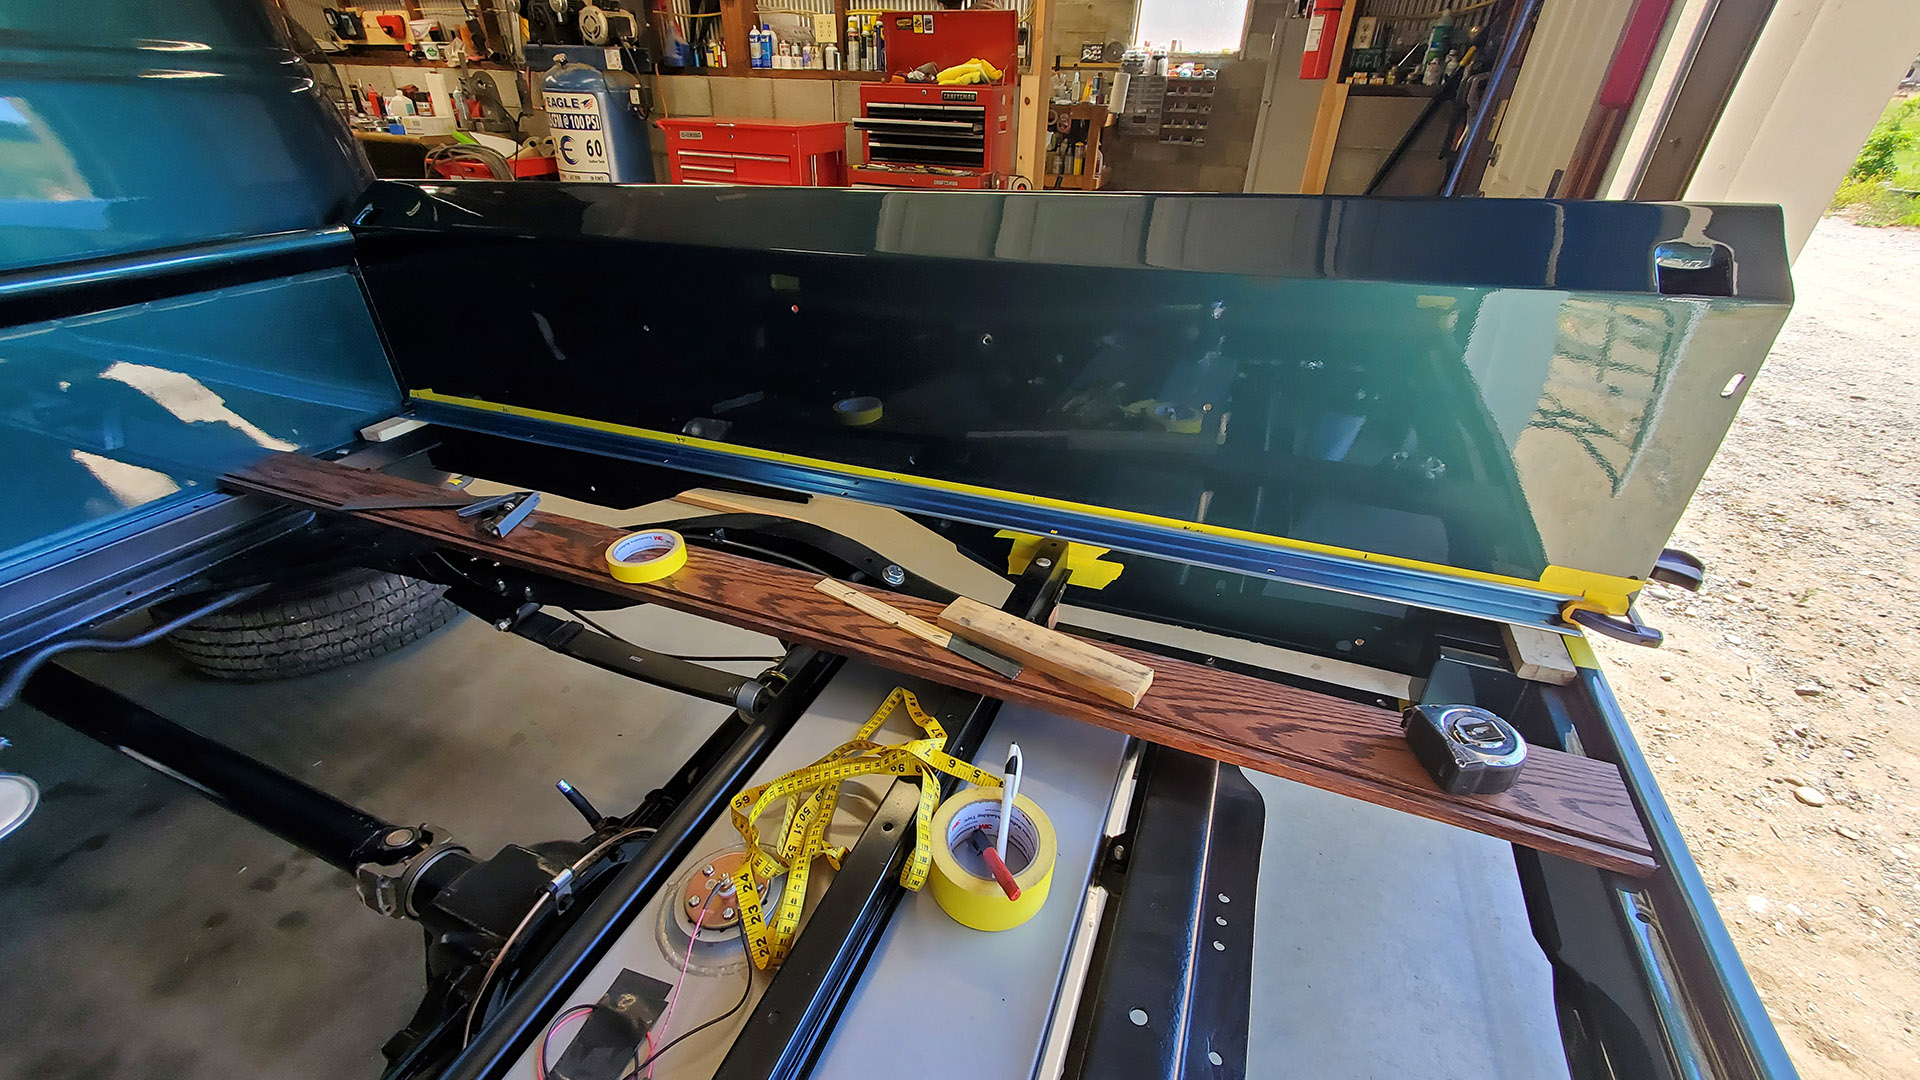
Once the brackets were drilled, it was time to drill new holes in the bed sides. Drilling through newly painted panels is always a little nerve wracking. I knew there had to be plastic body filler under this paint.
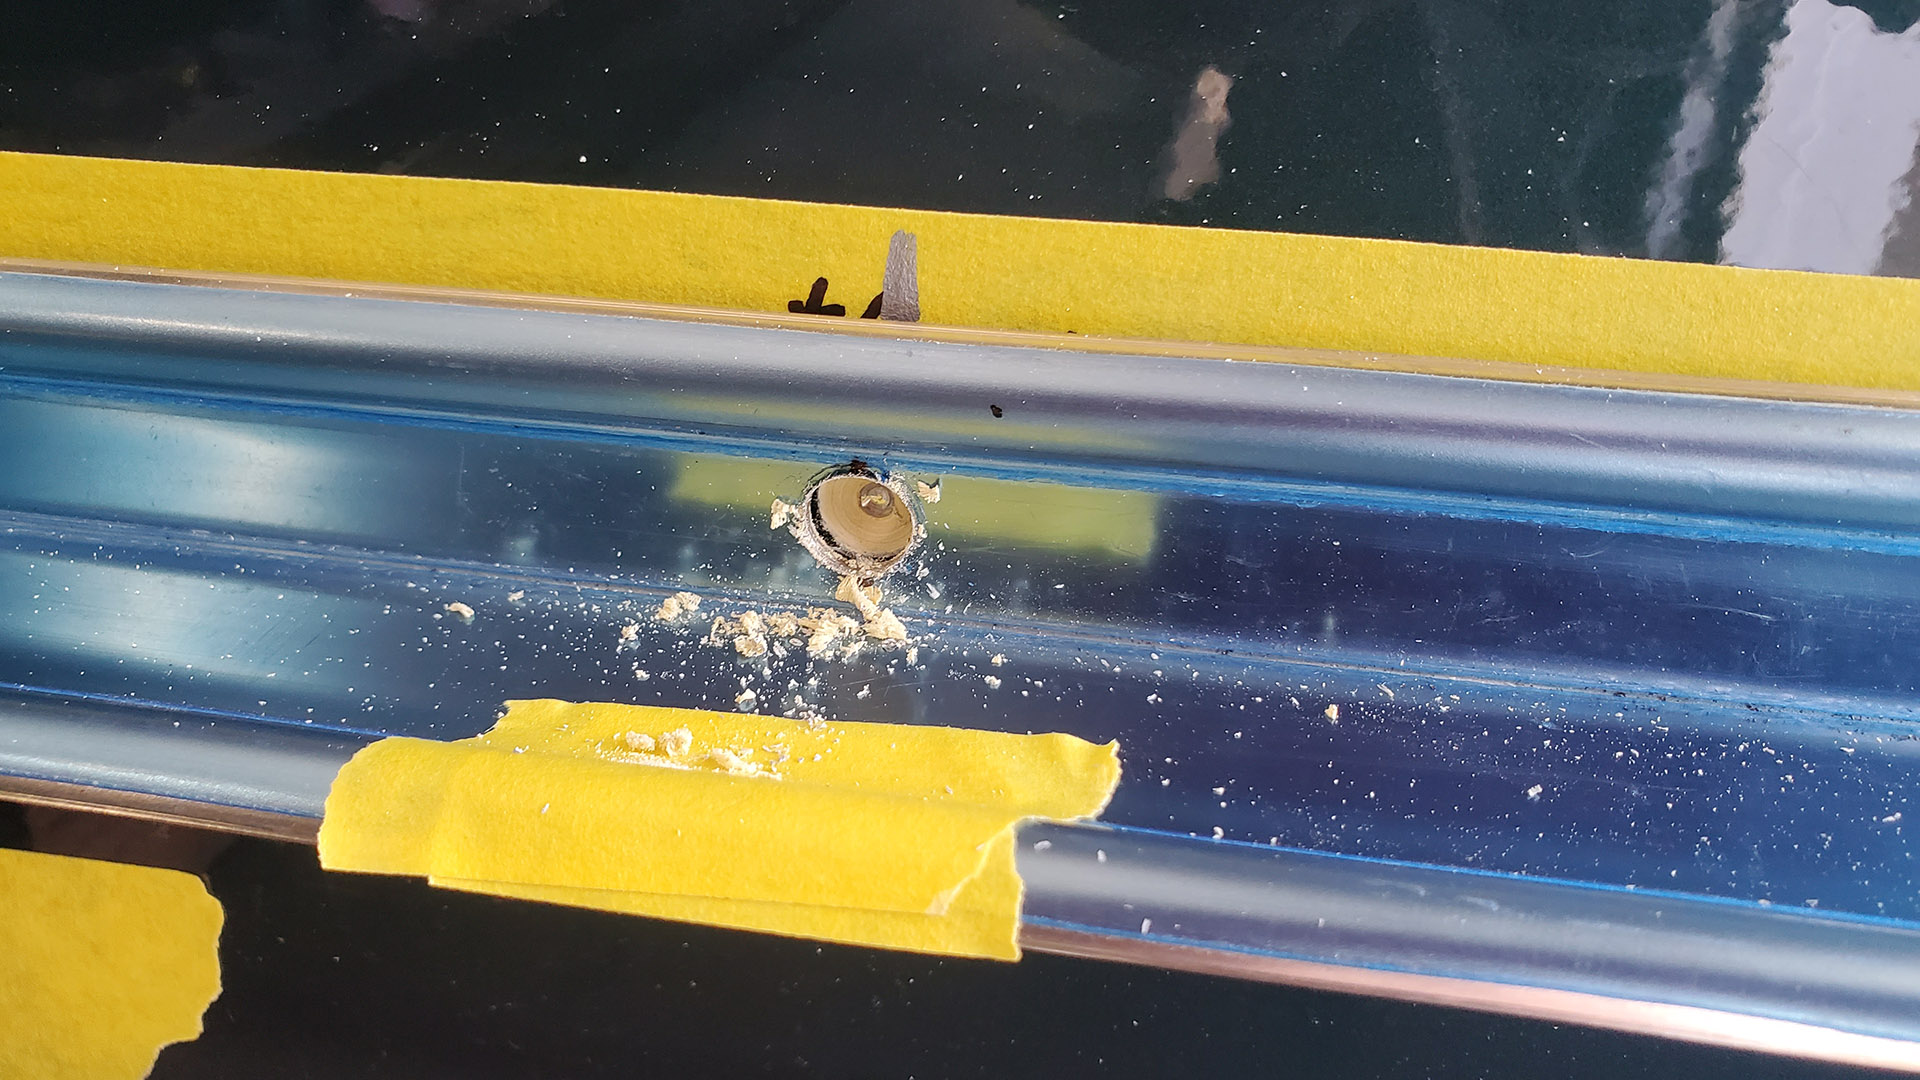
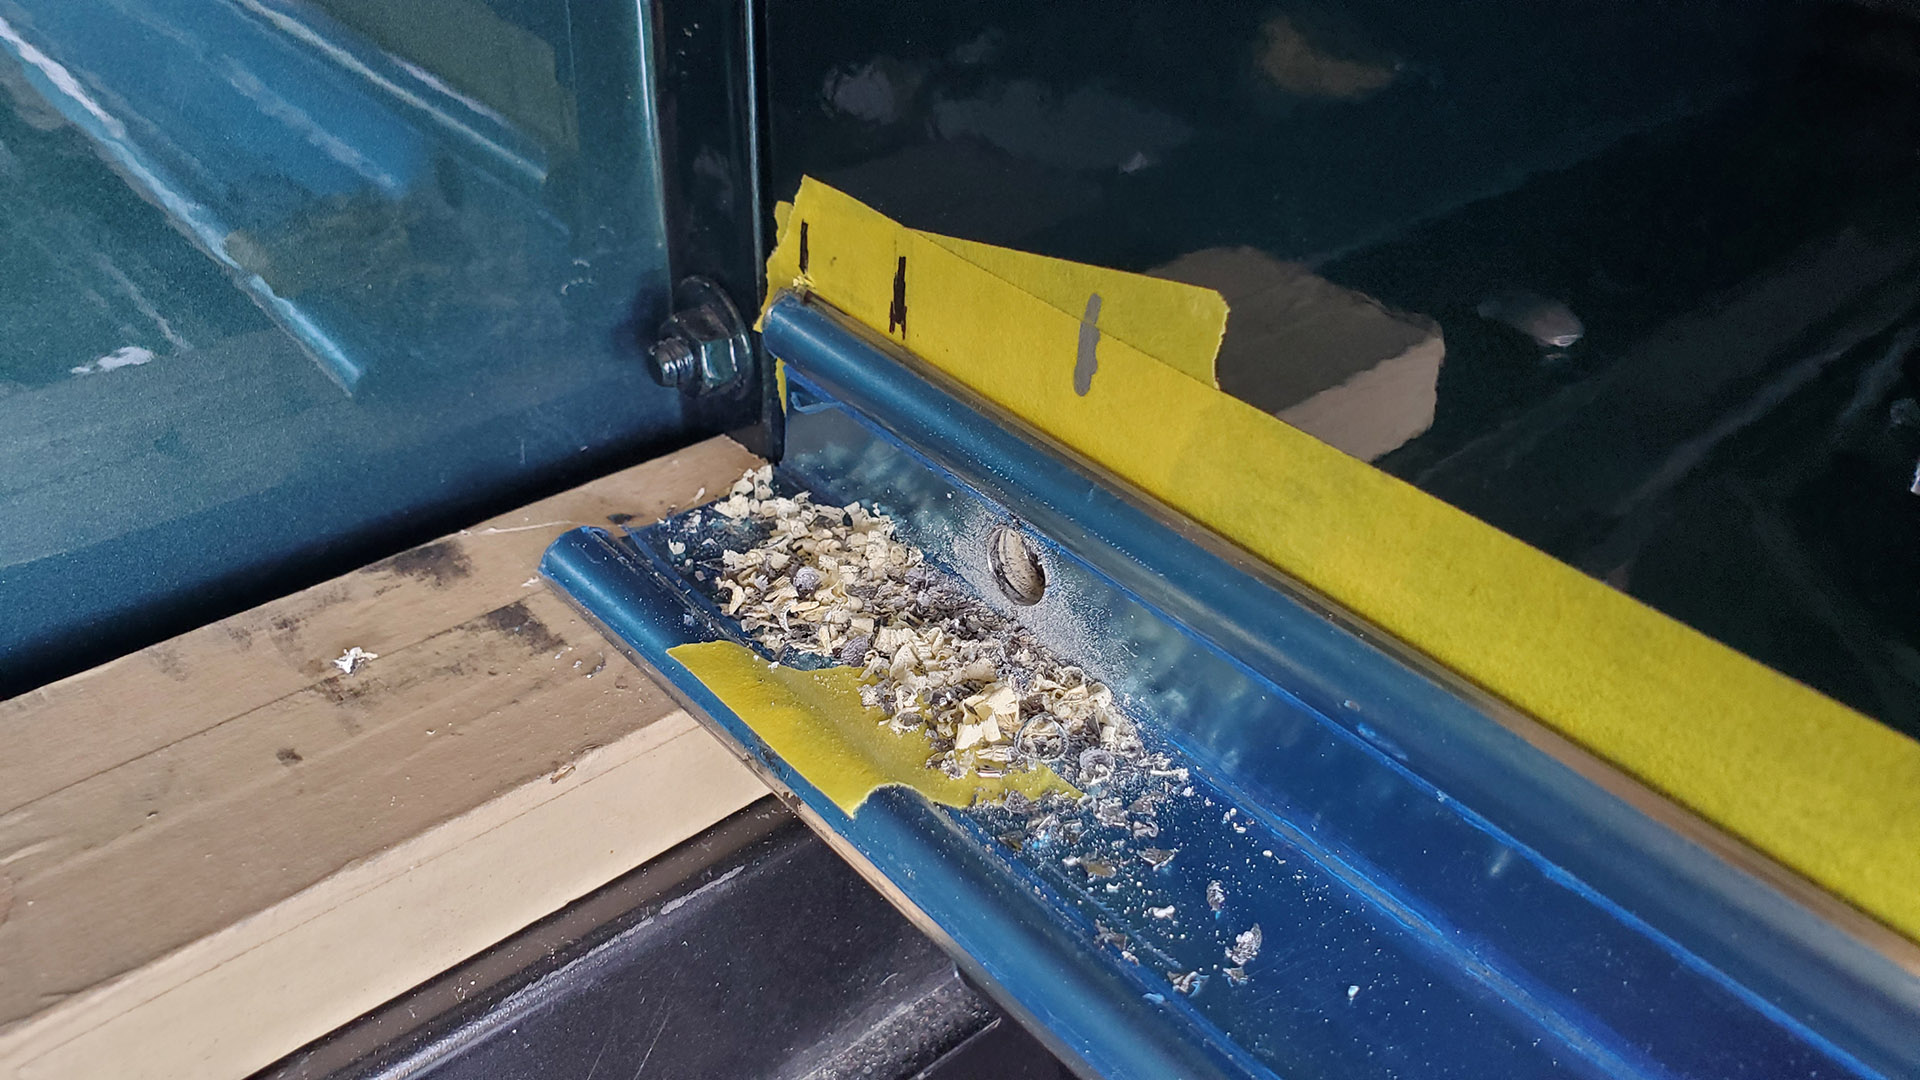
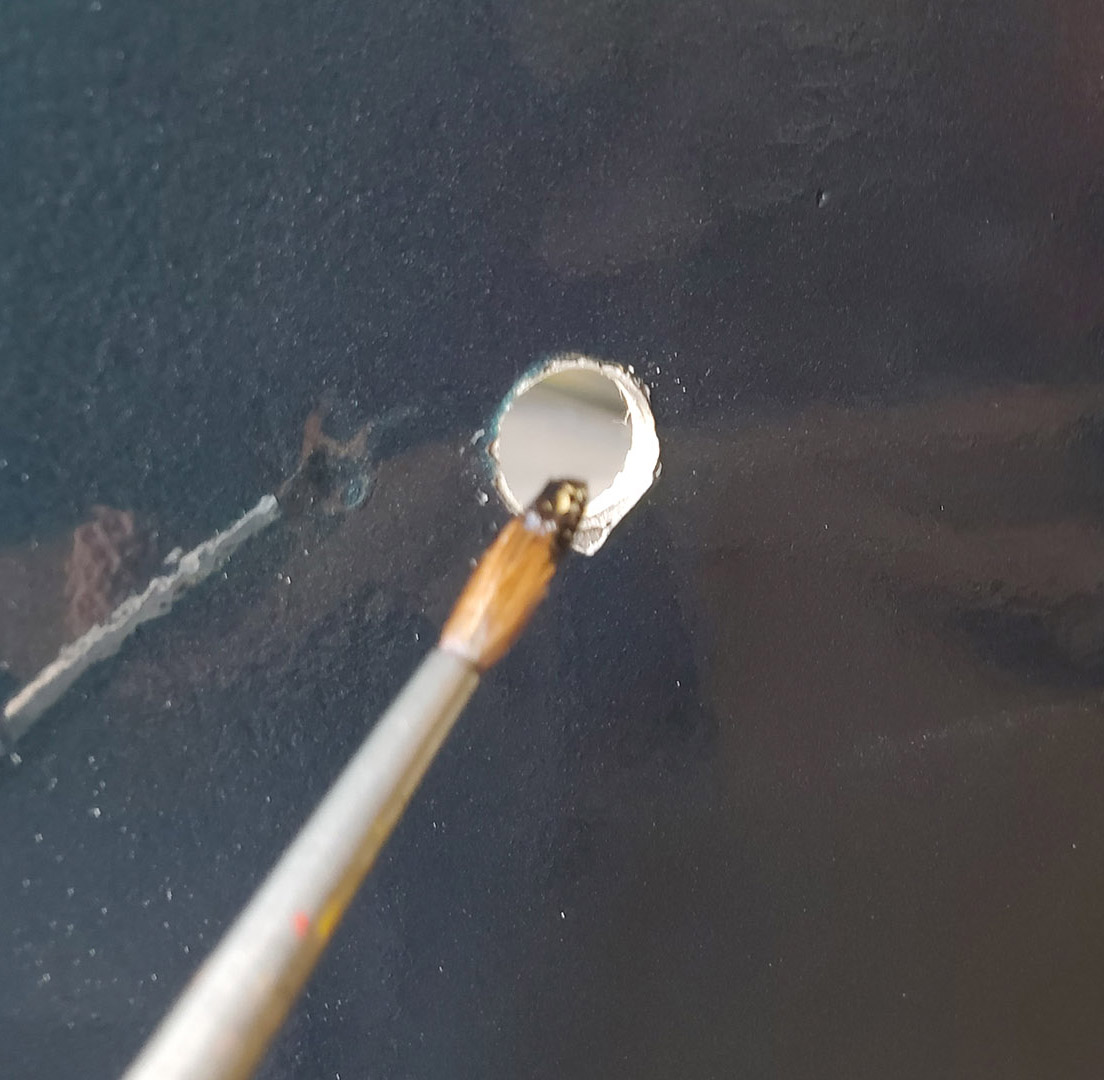
To slow down rust and seal up the body filler (which absorbs water) I touched up each new hole with some enamel paint.
If you watched the video in our last post you'll recall one spot on the driver side where the bed was bowed-in pretty badly. The metal did not want to push out. With all the body filler, I was a little nervous about forcing things - I did not want it all to crack and fail. That would create a huge mess. Nevertheless, it needs to be flat for things to fit!
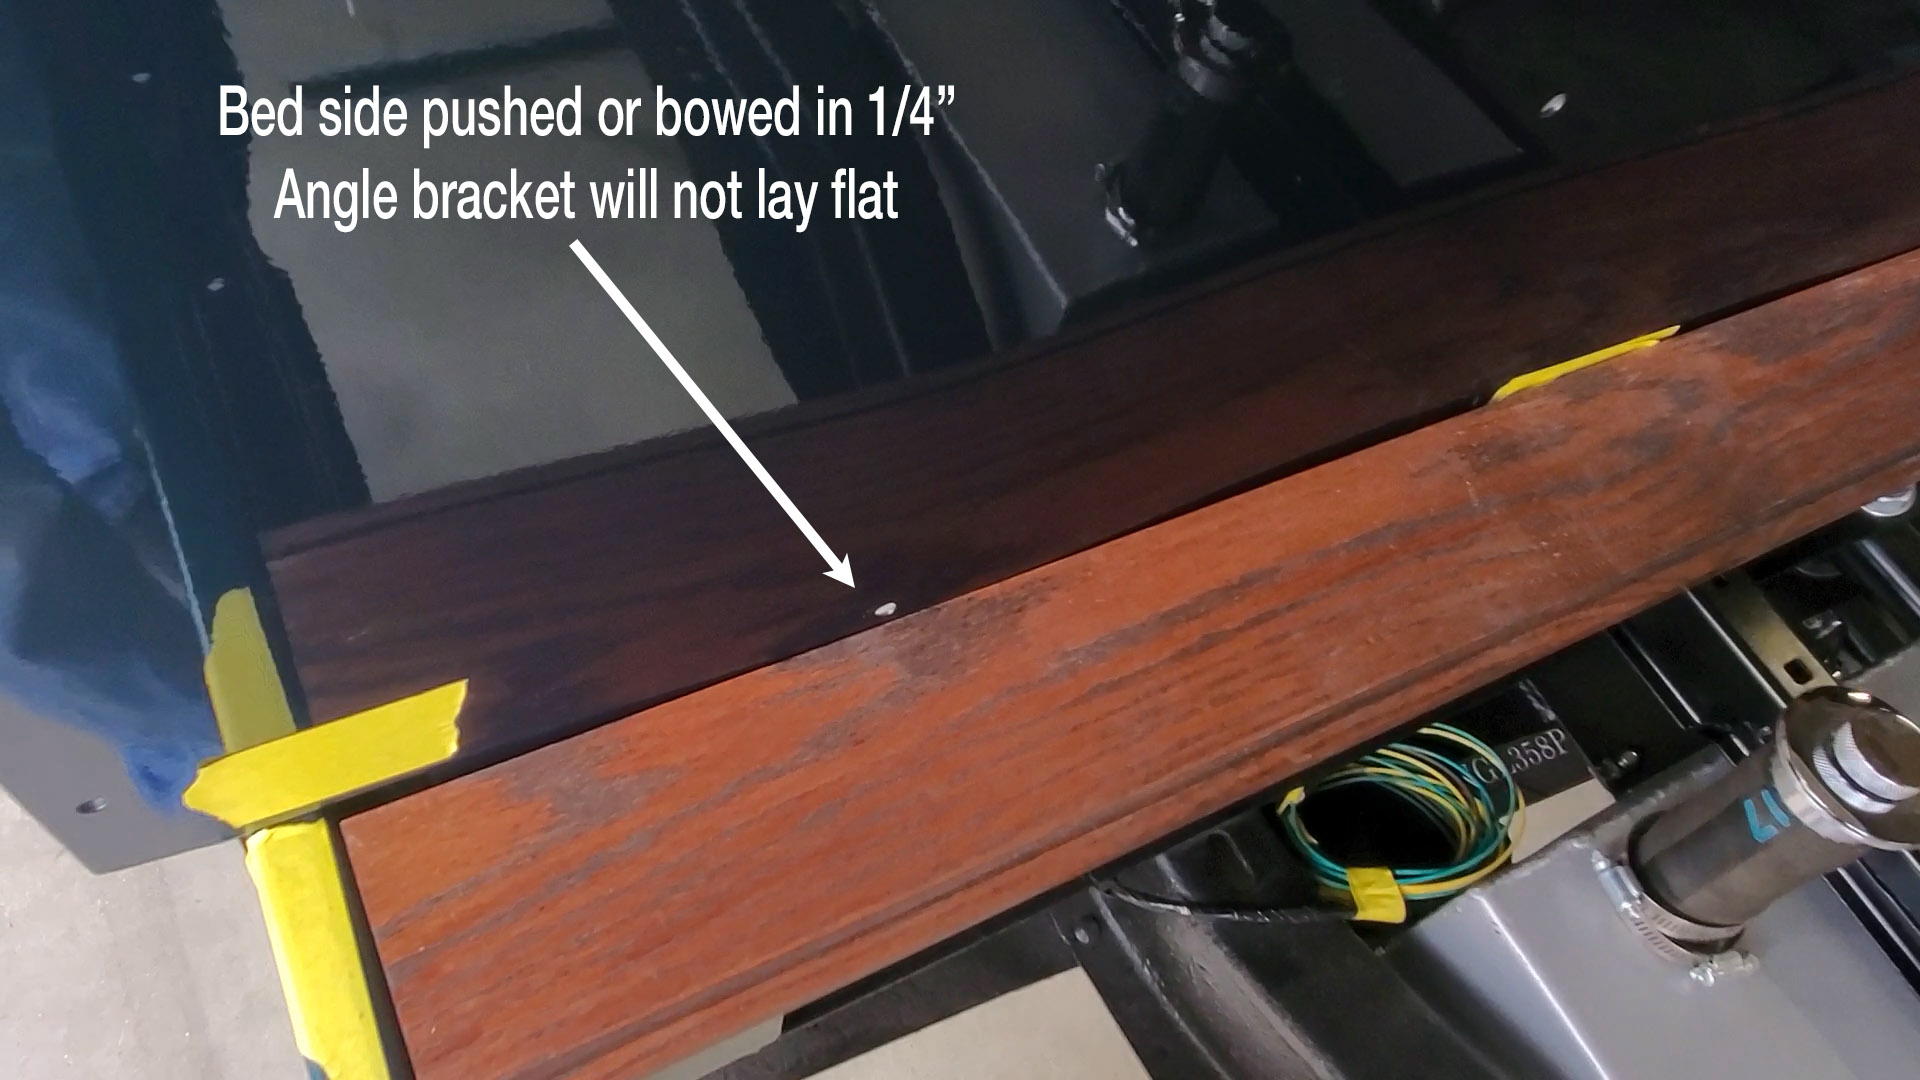
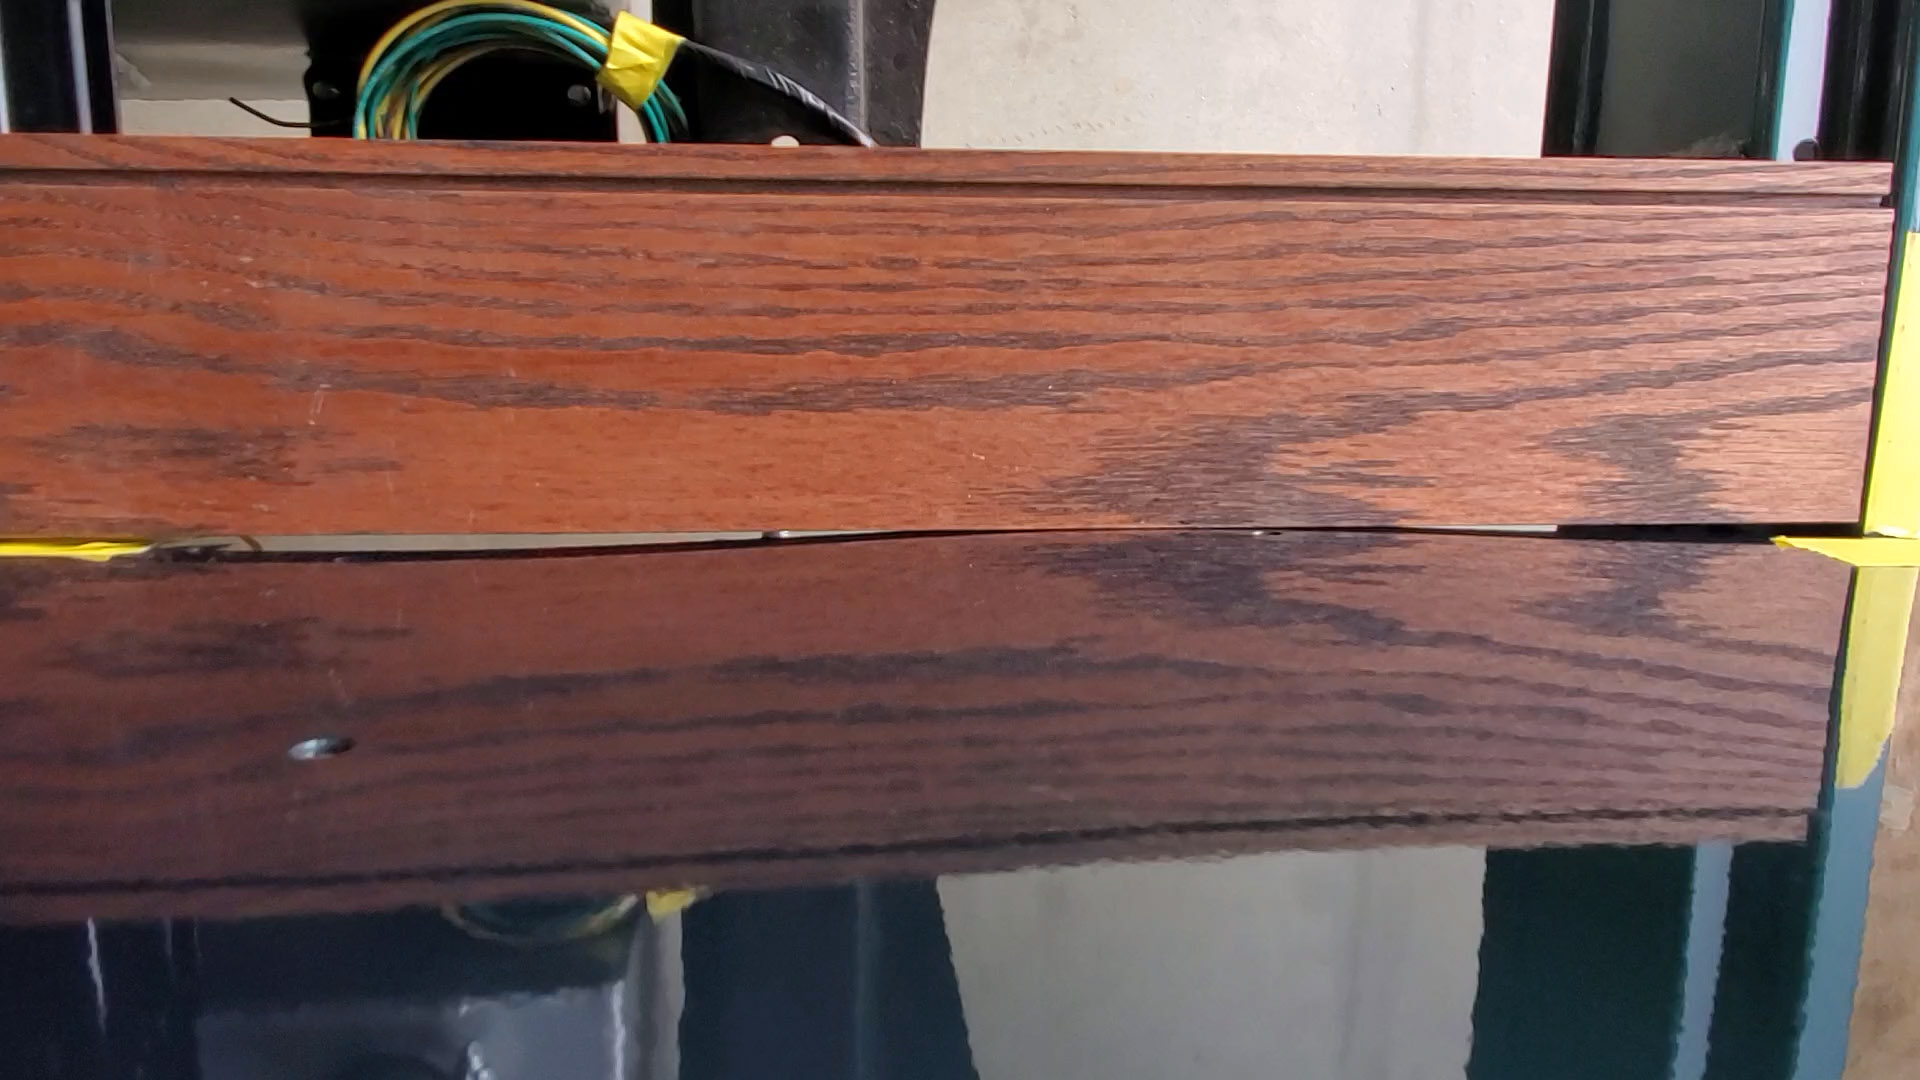
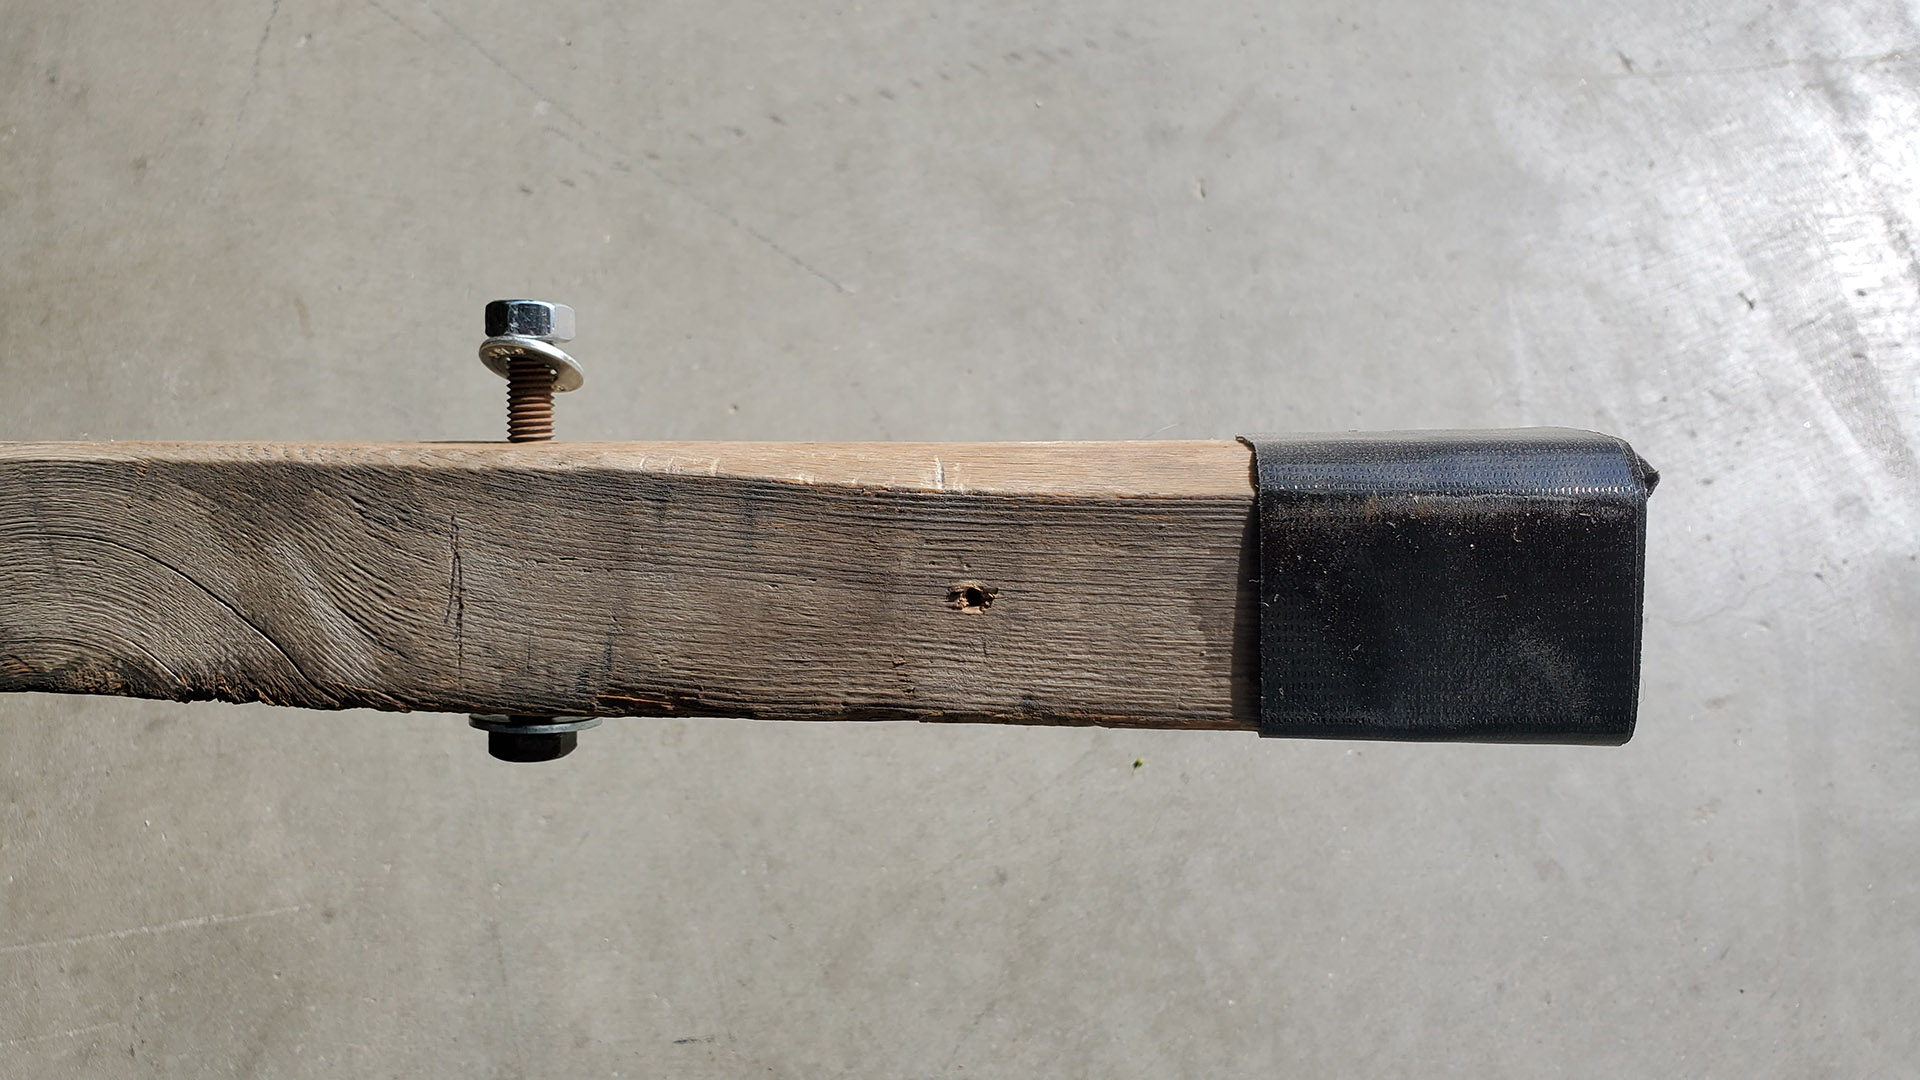
To persuade it to move I placed a long 'two-by' board on the outside of the bed, as a backer, with a hole that corresponded with the hole in the bed side. I ran a bolt through everything with washers and a nut on the inside of the bed.
I slowly tightened the nut which put pressure on the metal. All of a sudden it went POP! and oil-canned out the opposite direction. The metal here is under a lot of stress and pressure (stretched from collision damage) but fortunately, the paint and filler remained intact. Phew! I could now get the angle bracket installed.
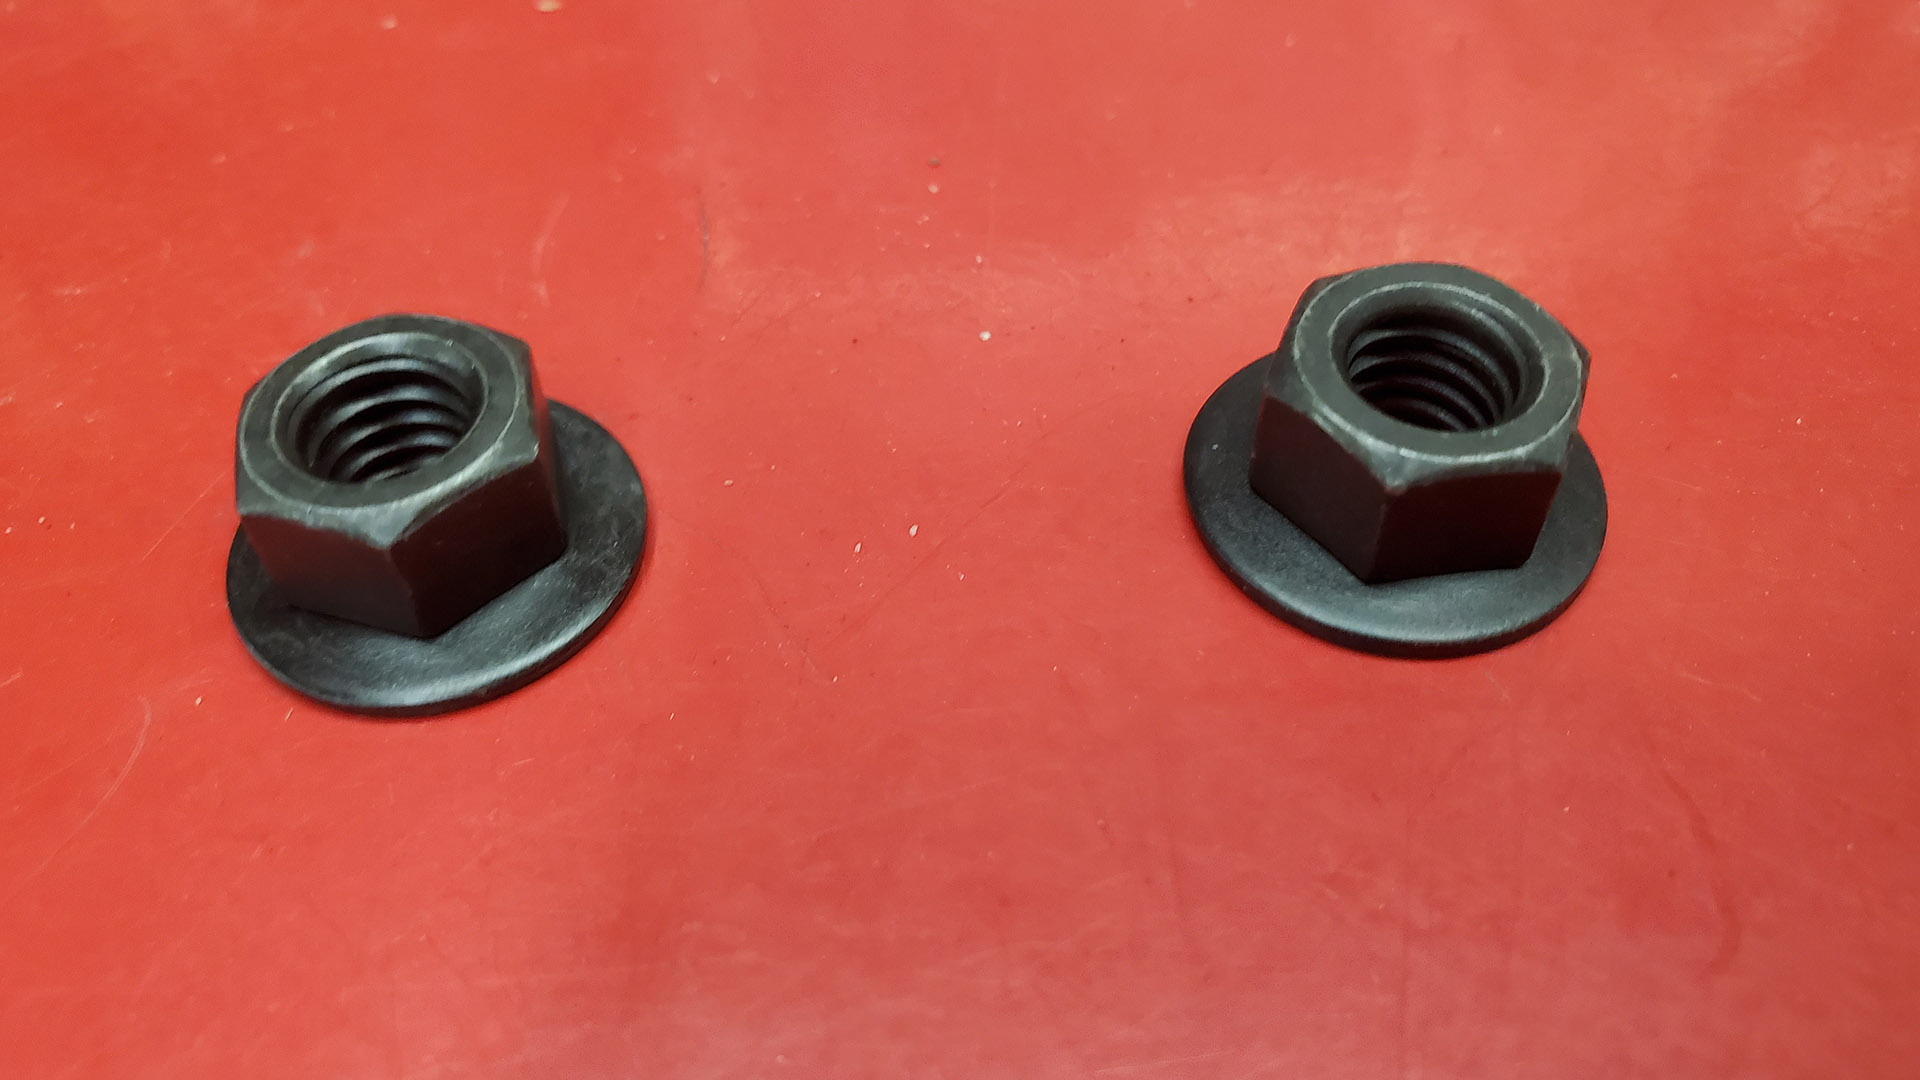
The very front and rear bolts go into stake pockets and they're difficult to reach to install a nut. Here I used a SEM style nut that has a spinning washer built-in. The washer is compressed as it's tightened. I love these things but they're not super plentiful to source locally. The nut for the bolt in the front stake pocket is fairly easy with a long box wrench from the bottom.
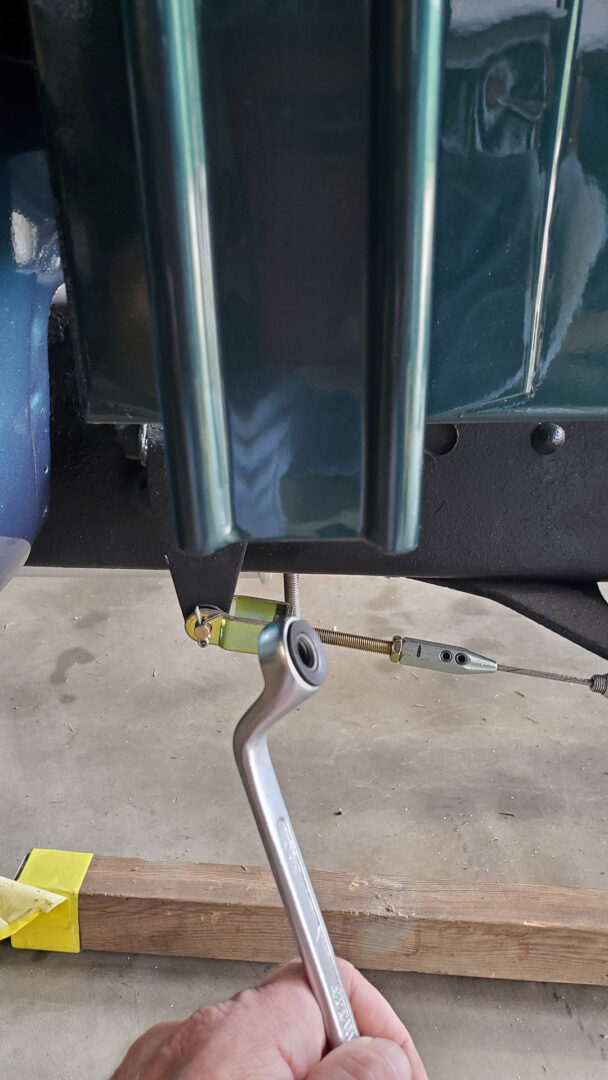
The nut for the rear bolt is trickier. The 'hole' lands on the edge of the sheet metal so there's not as much clamping surface. But the built-in washer on the nut should grab enough to hold. (If this wasn't already painted I would have welded a nut or threaded plate here). Also, there is no access from the back side - there's just the space below the hole to work through.
For this we have to get creative. I used an articulating ratcheting box wrench to hold the nut.
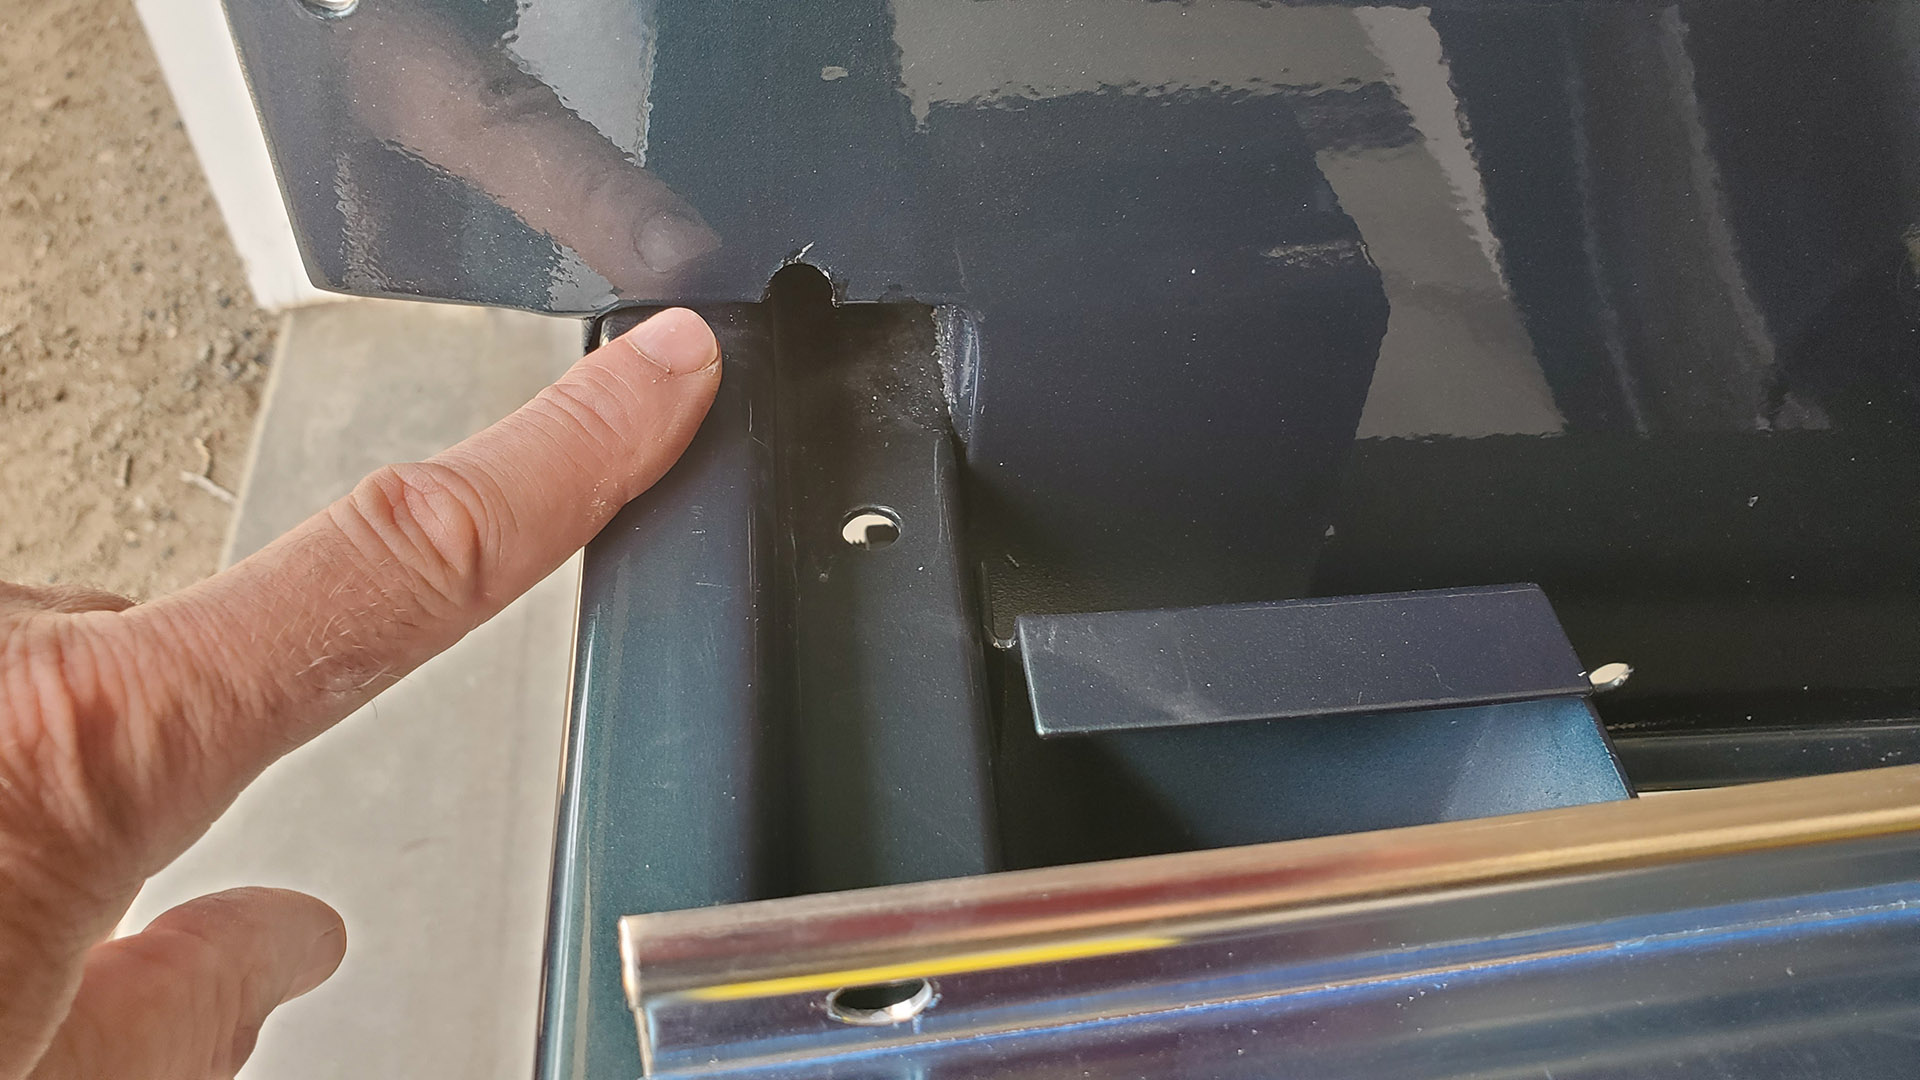
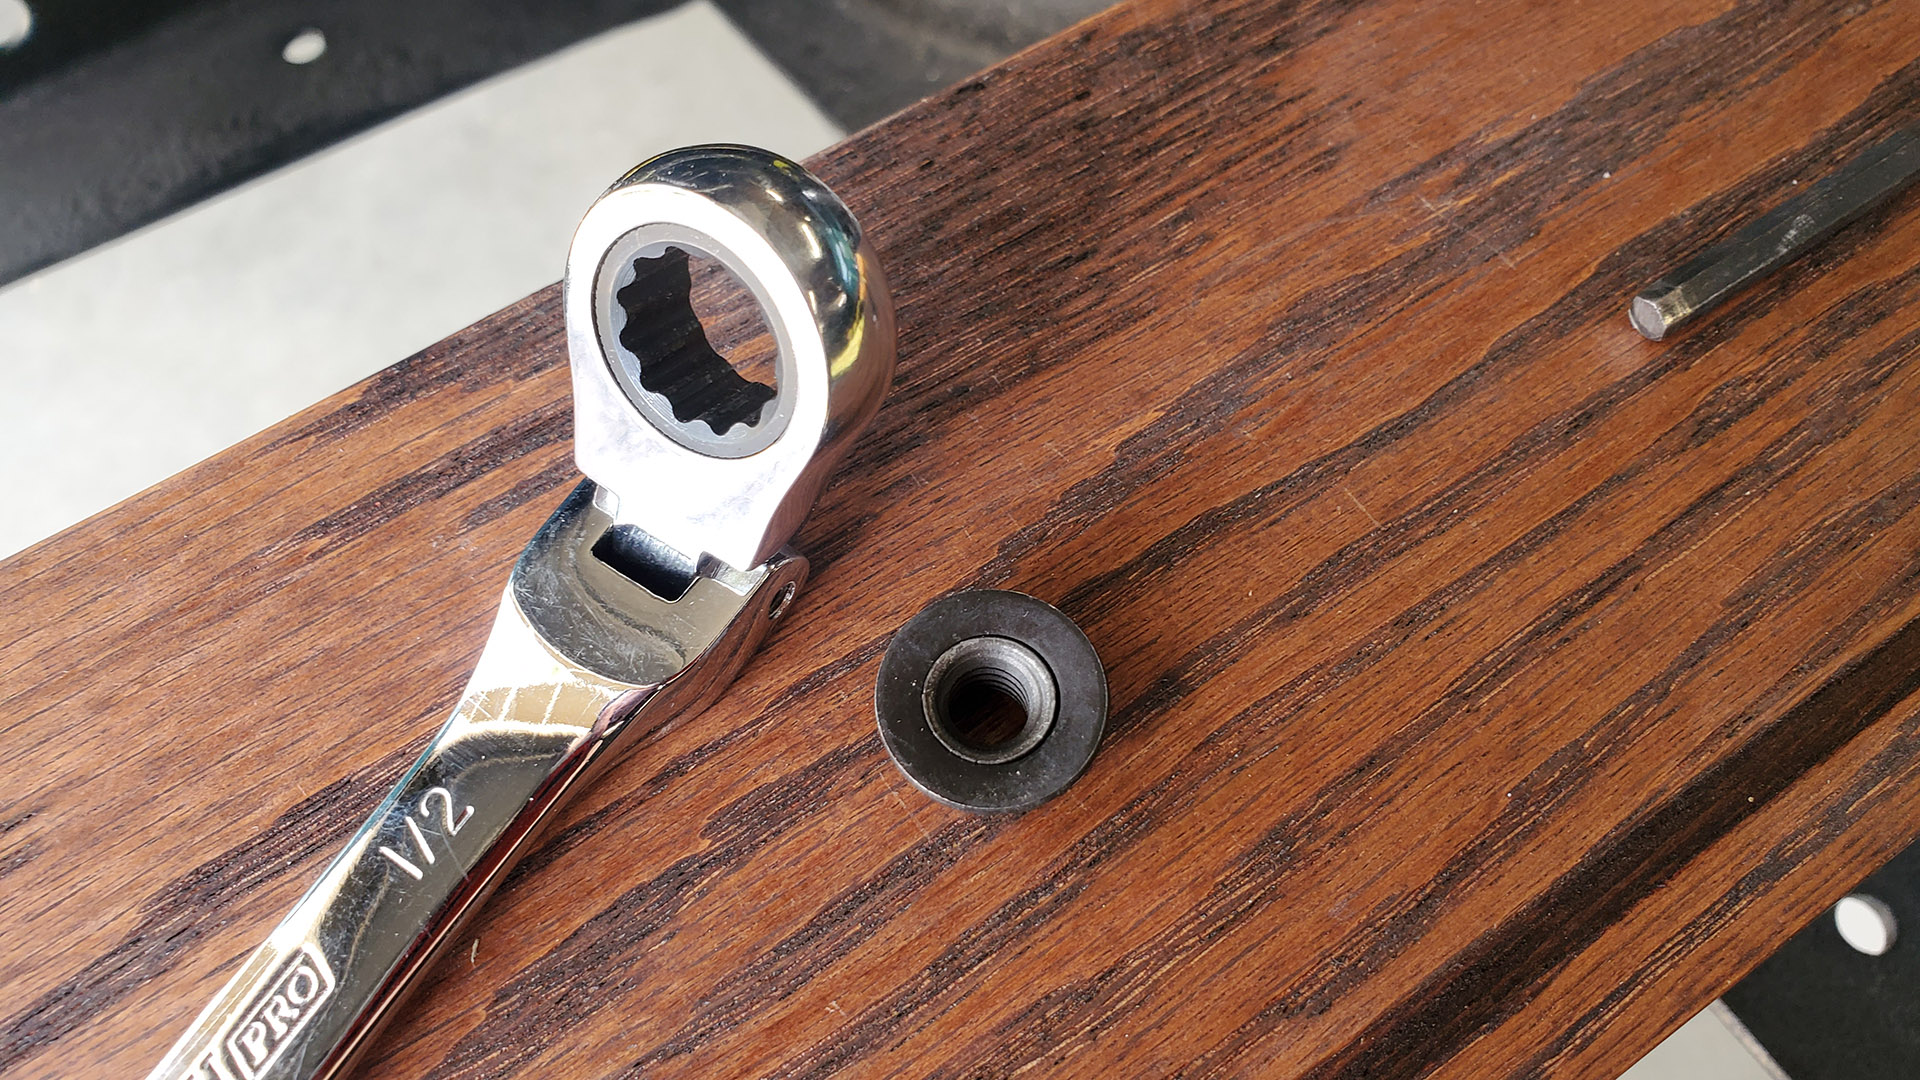
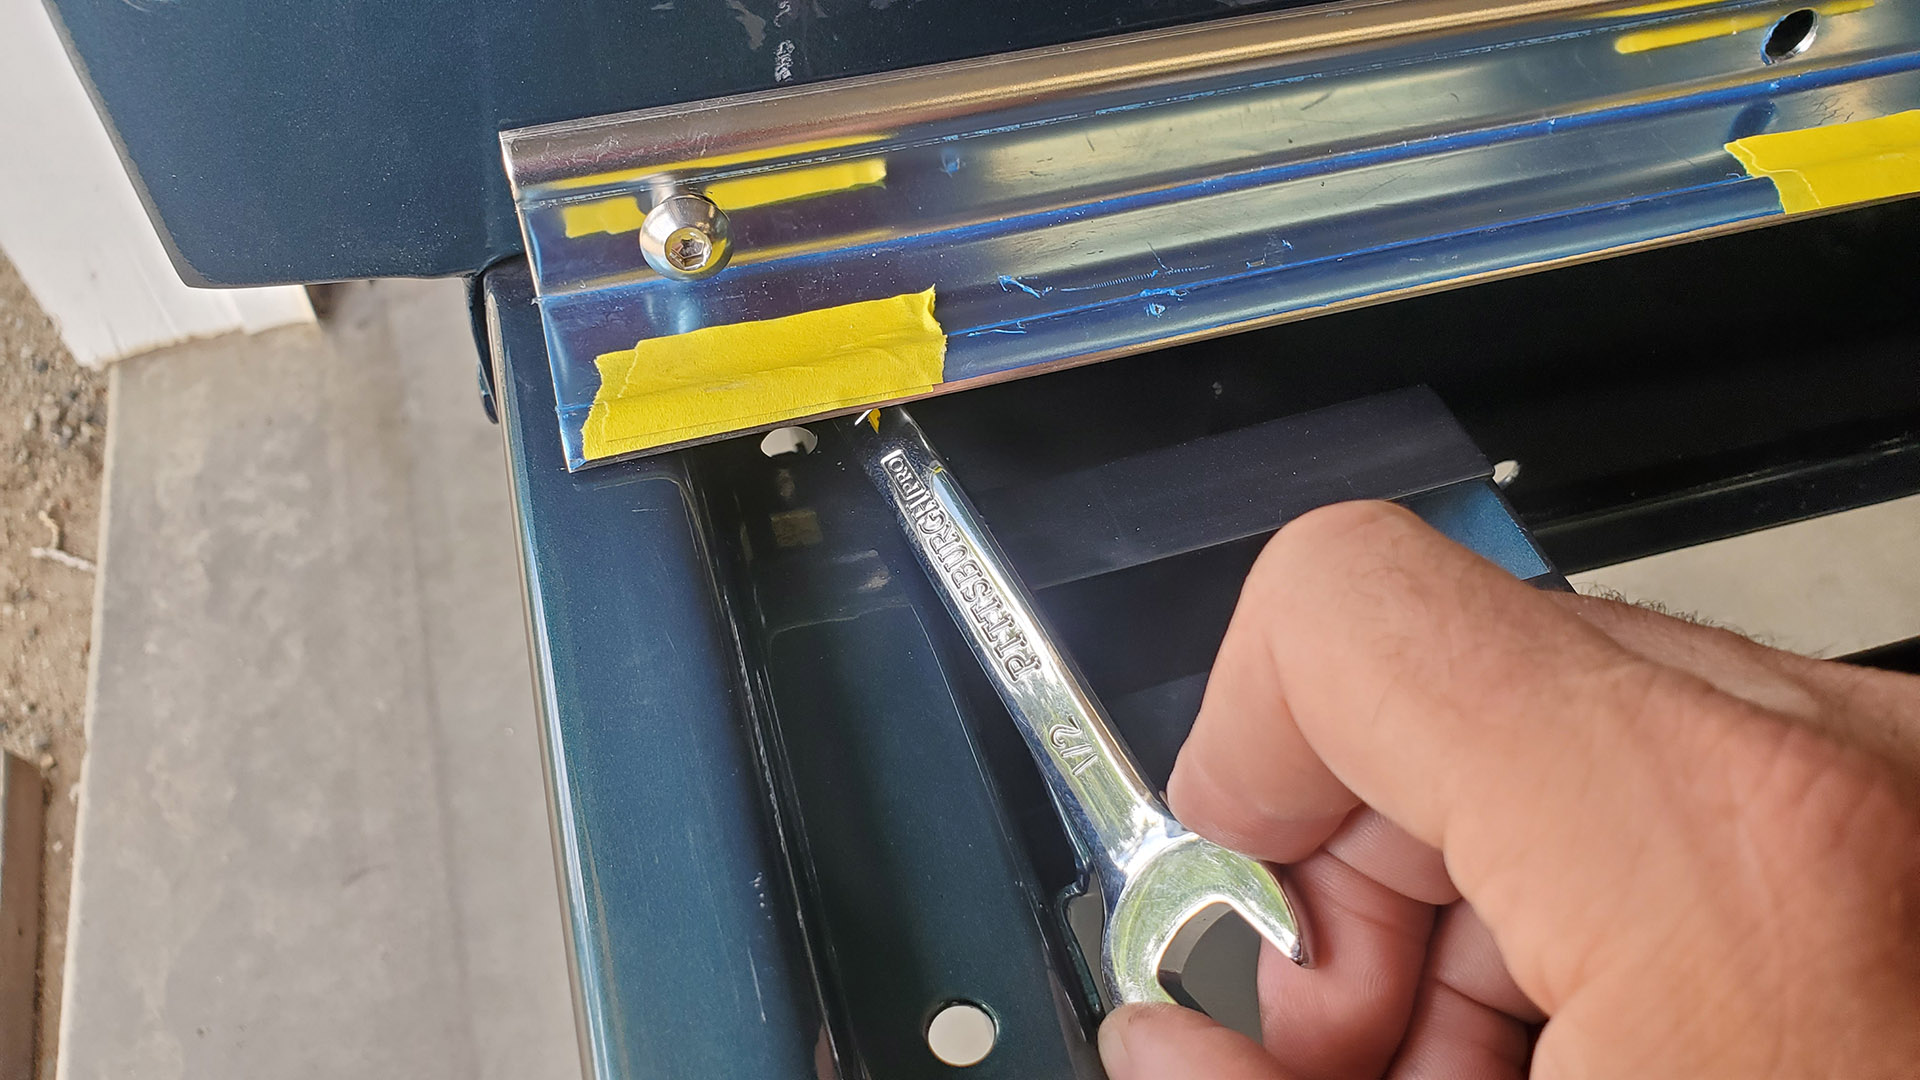
With the bracket in place, I fished the wrench and nut through the small opening to hold it on the inside while starting the bolt. It's a little fiddly. Helps to hold your tongue just right. Once the bolt is tight you can pull the wrench out.
Remember that spot that was oil-canned out and under pressure? I installed and tightened that bolt last. POP! It snapped back angrily against the angle bracket. No damage. There's still a small gap (bow out) between the bed side and angle strips near the front on either side. There's no way to hide a fastener here so we'll leave it be.
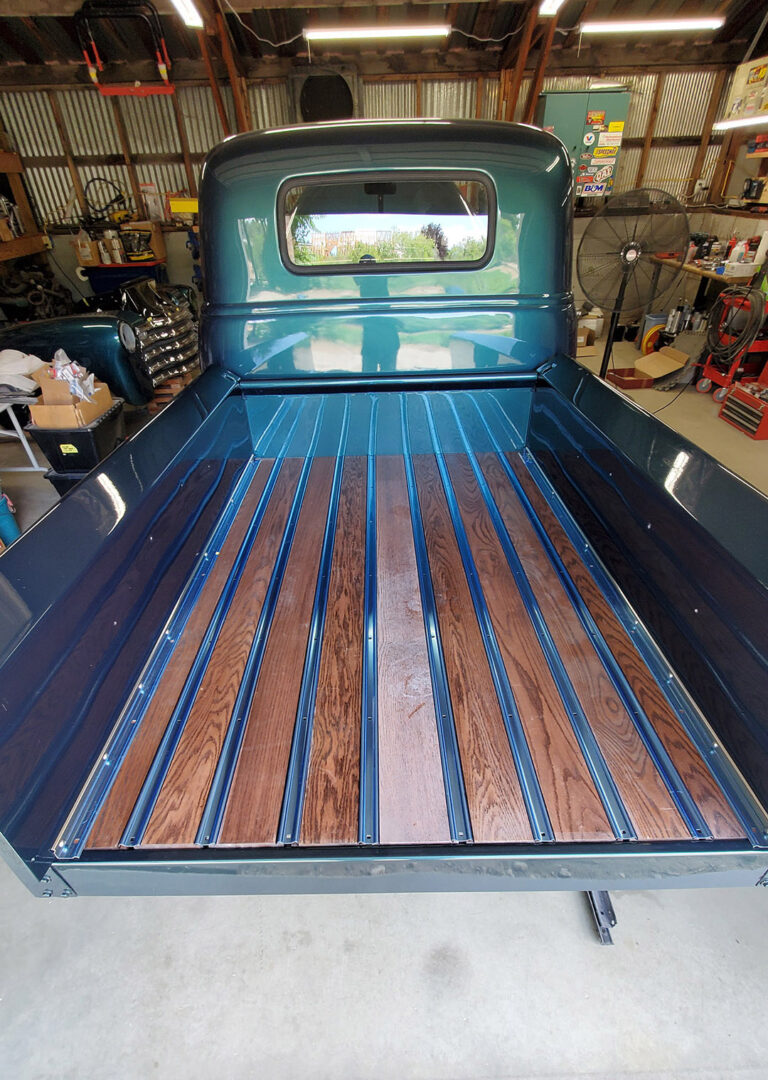
All of the wood bed boards and stainless strips were then test fit. (The strips appear blue in the photos because of a protective plastic film).
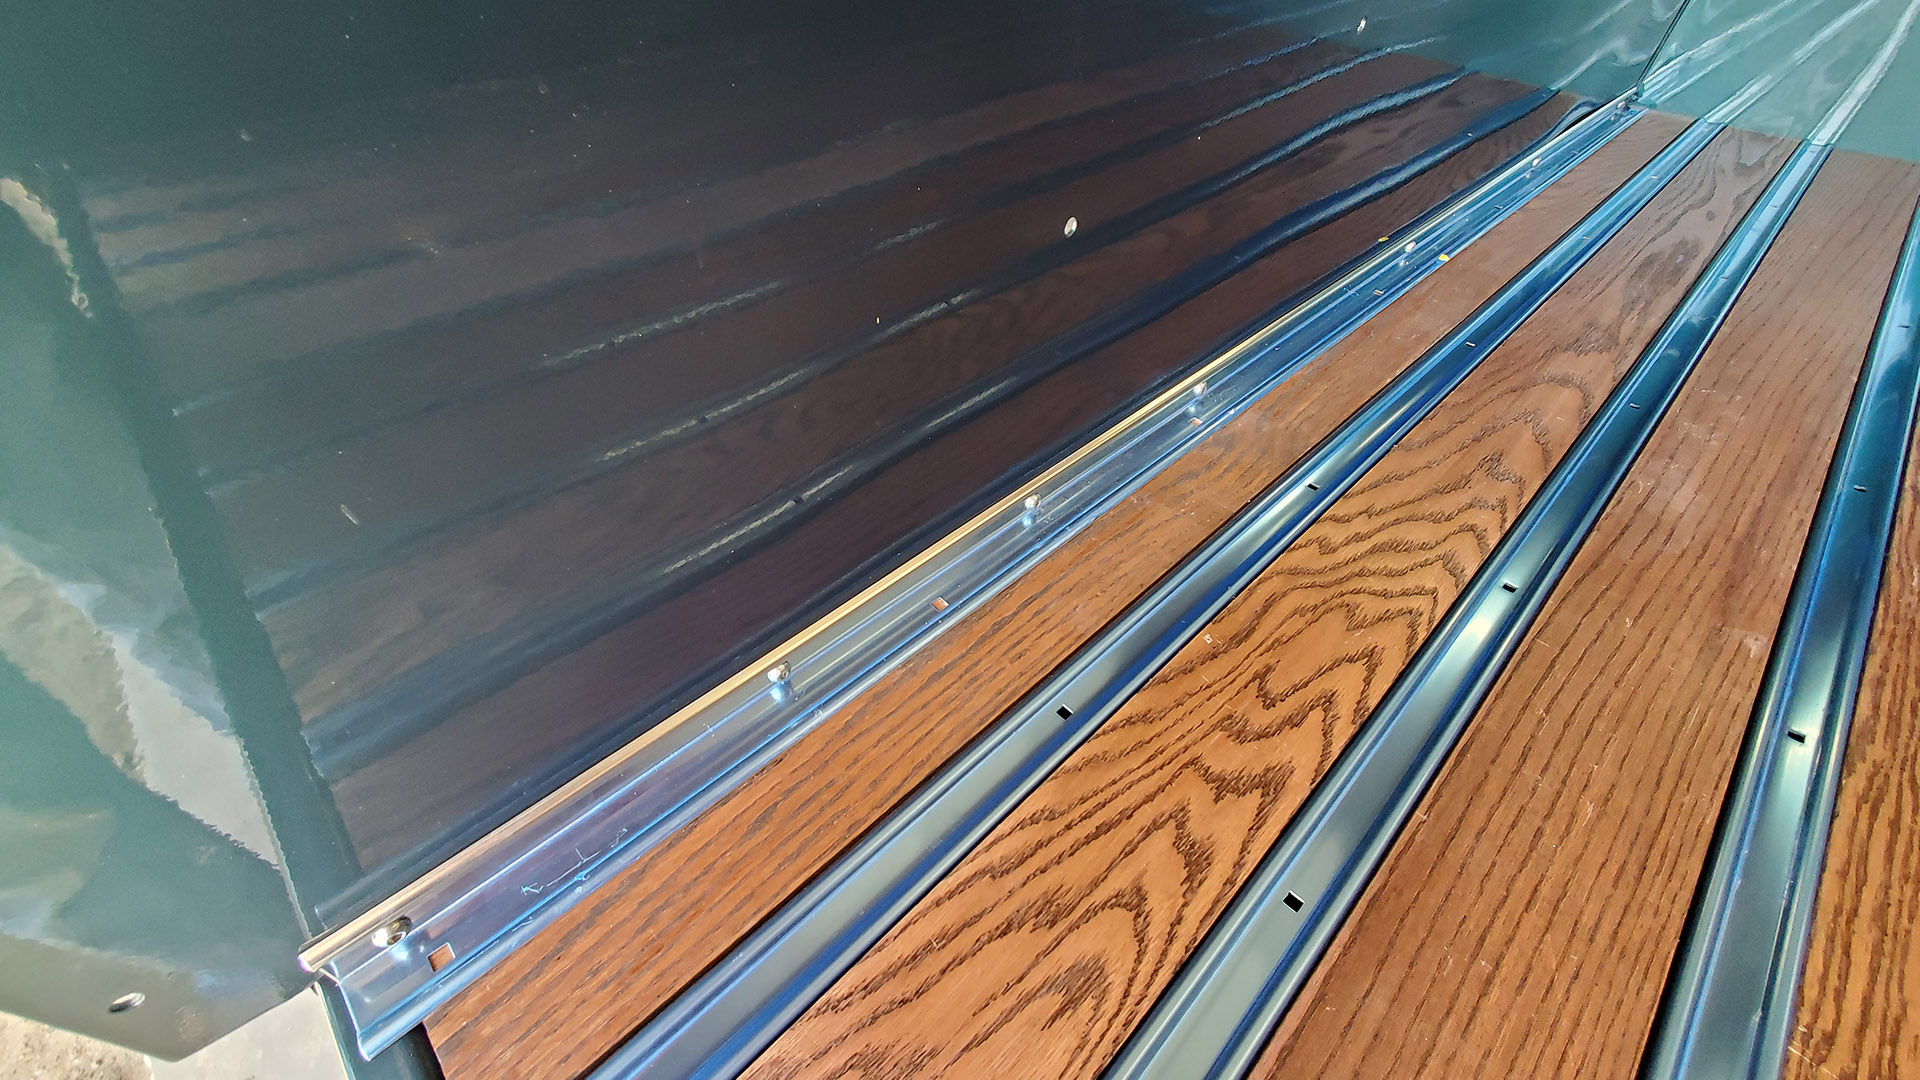
The boards and strips fit as they should. Some of the oak boards appear dusty or gray in places. That's because they sat in a body shop for a year and managed to get primer overspray on them.
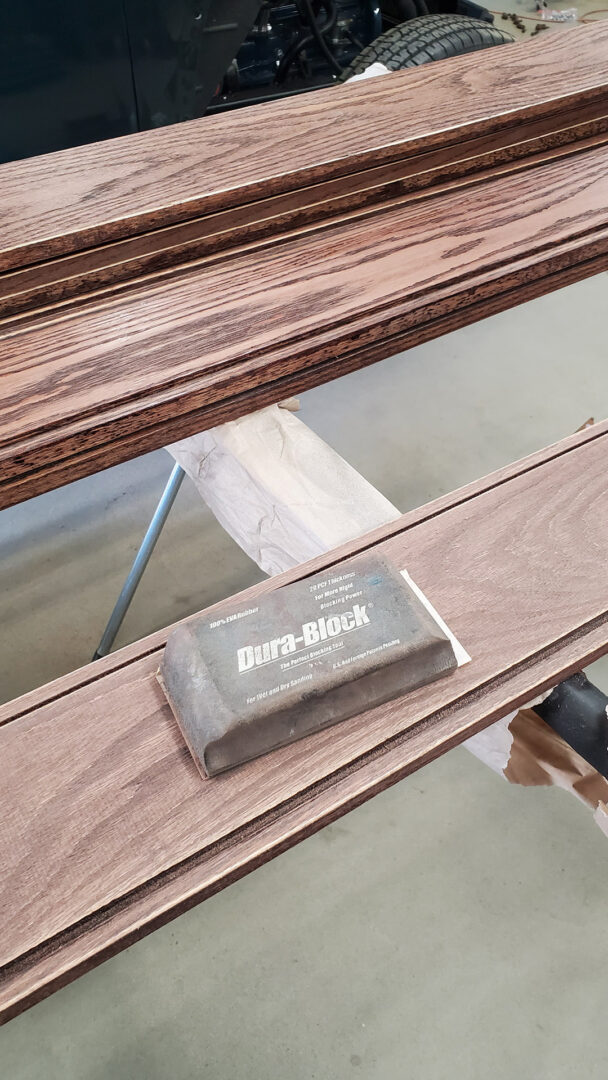
Someone put one coat of stain on them prior but because they now have paint and scratches, they get another sanding. We need to knock the sharp edges down and then apply more stain followed by a protective top coat of varnish.
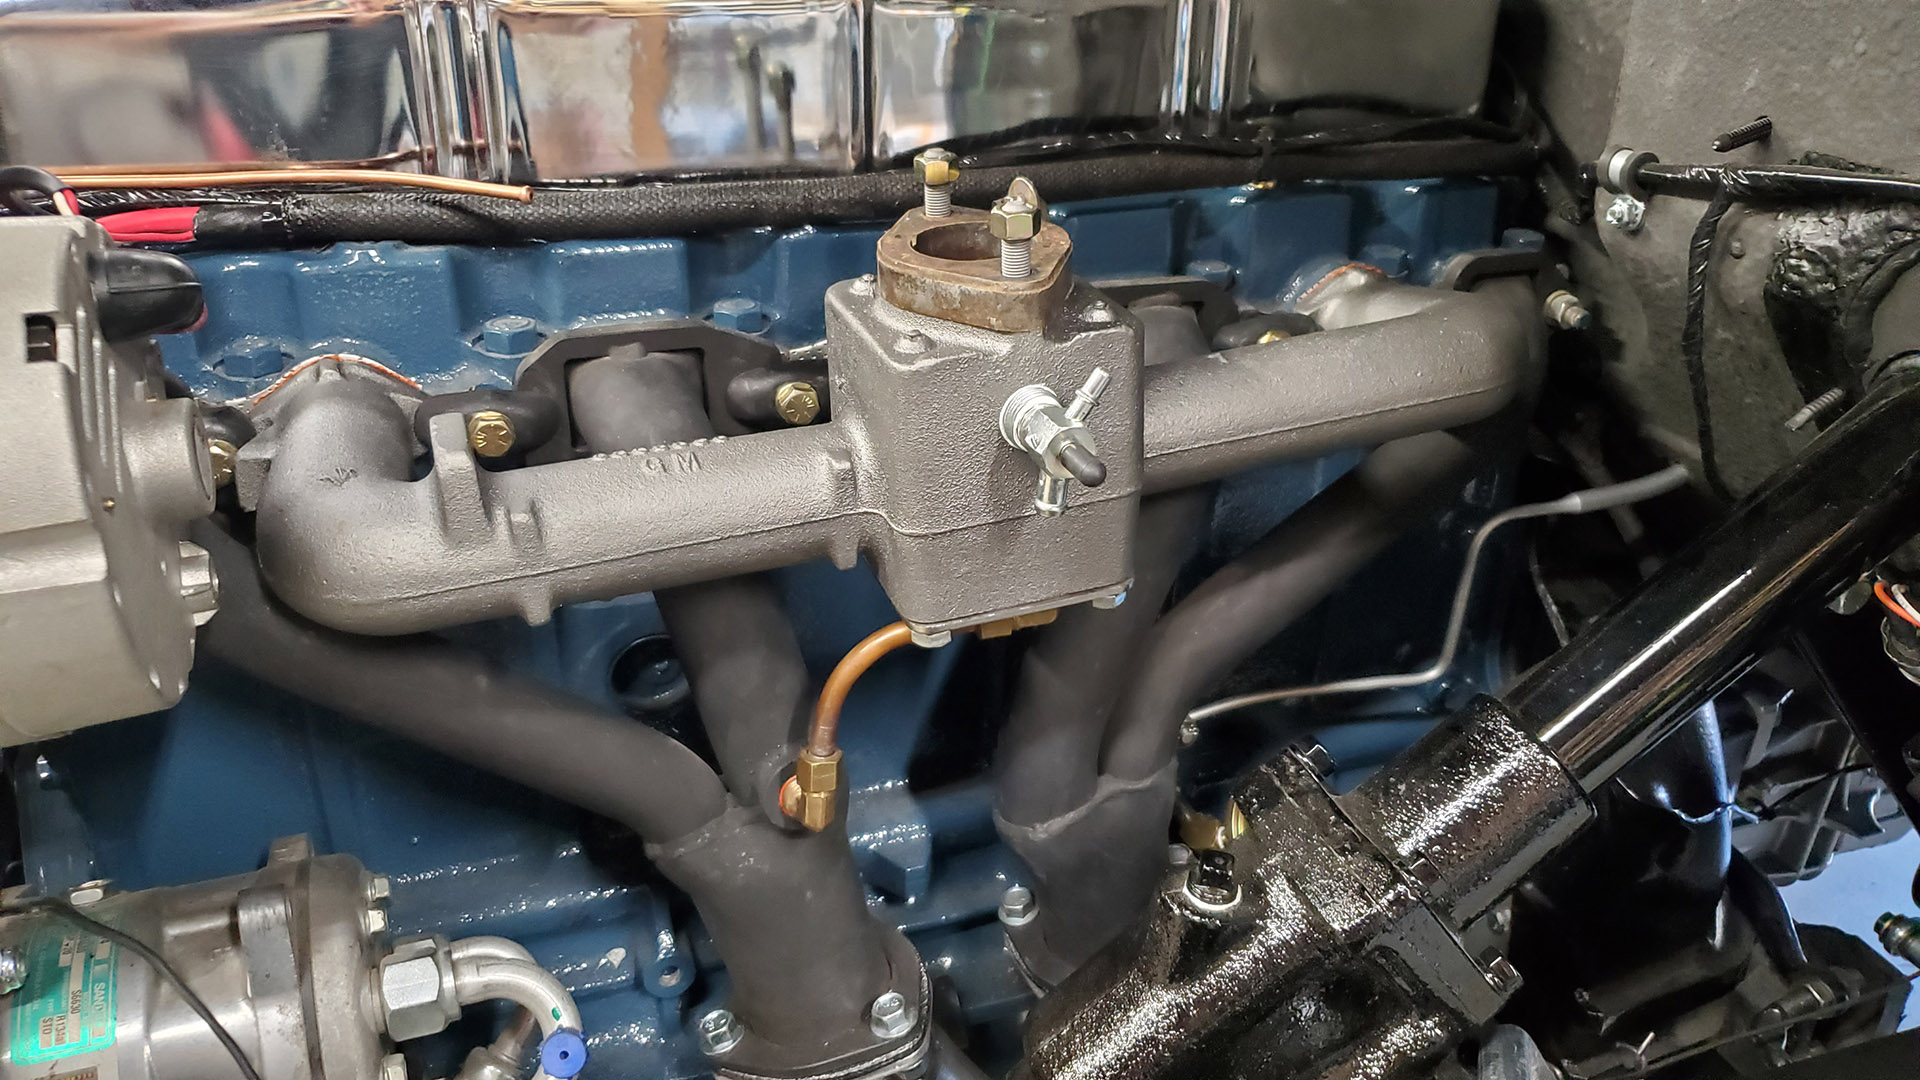
Meanwhile the one barrel carb intake from our donor chassis has come back from the sandblaster (our friends at Cascade Powder Coating) looking good as new.
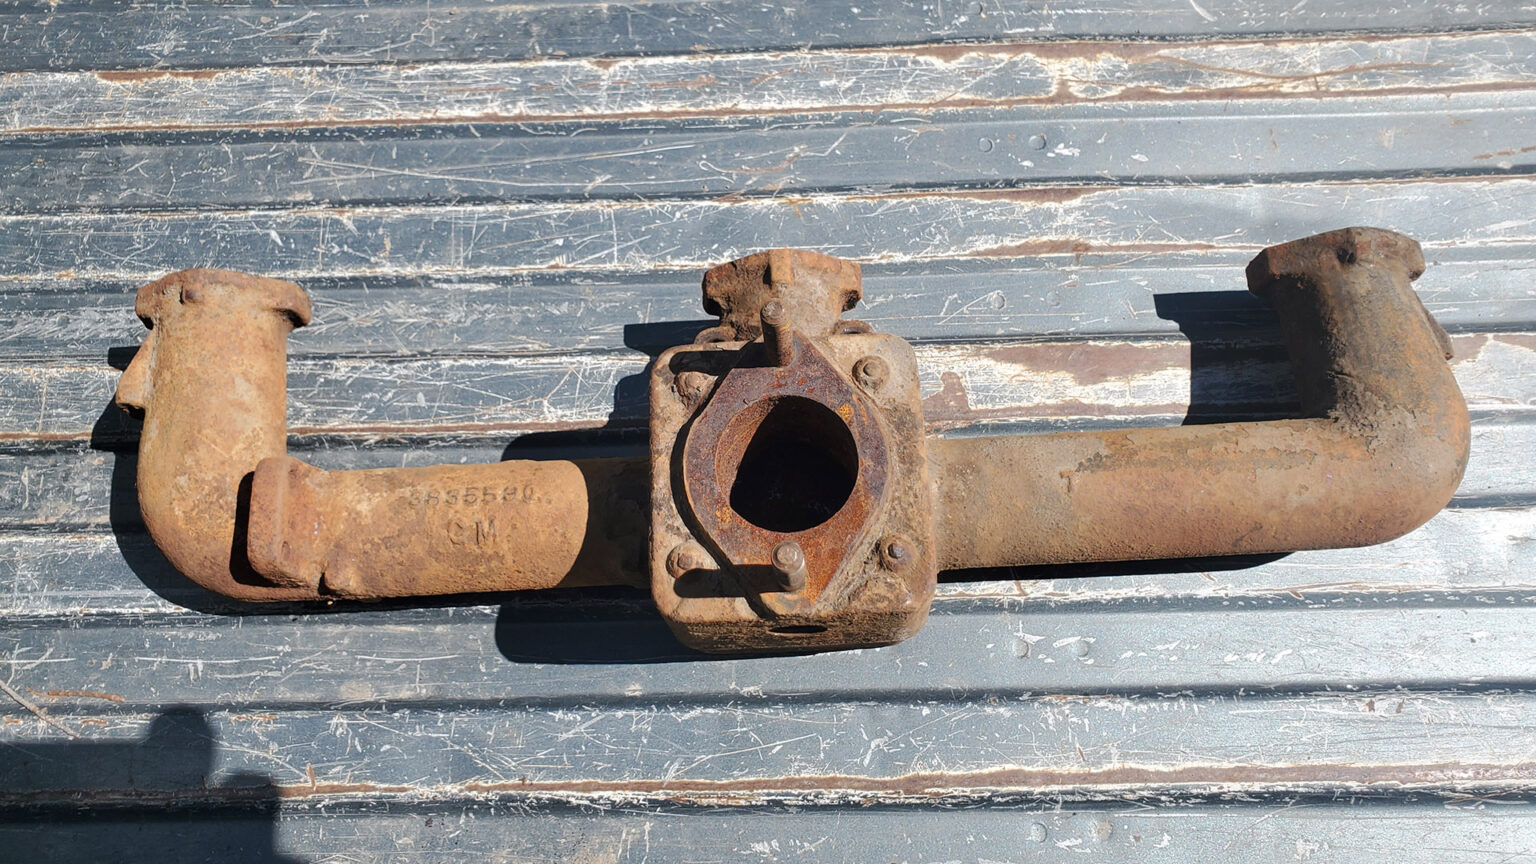
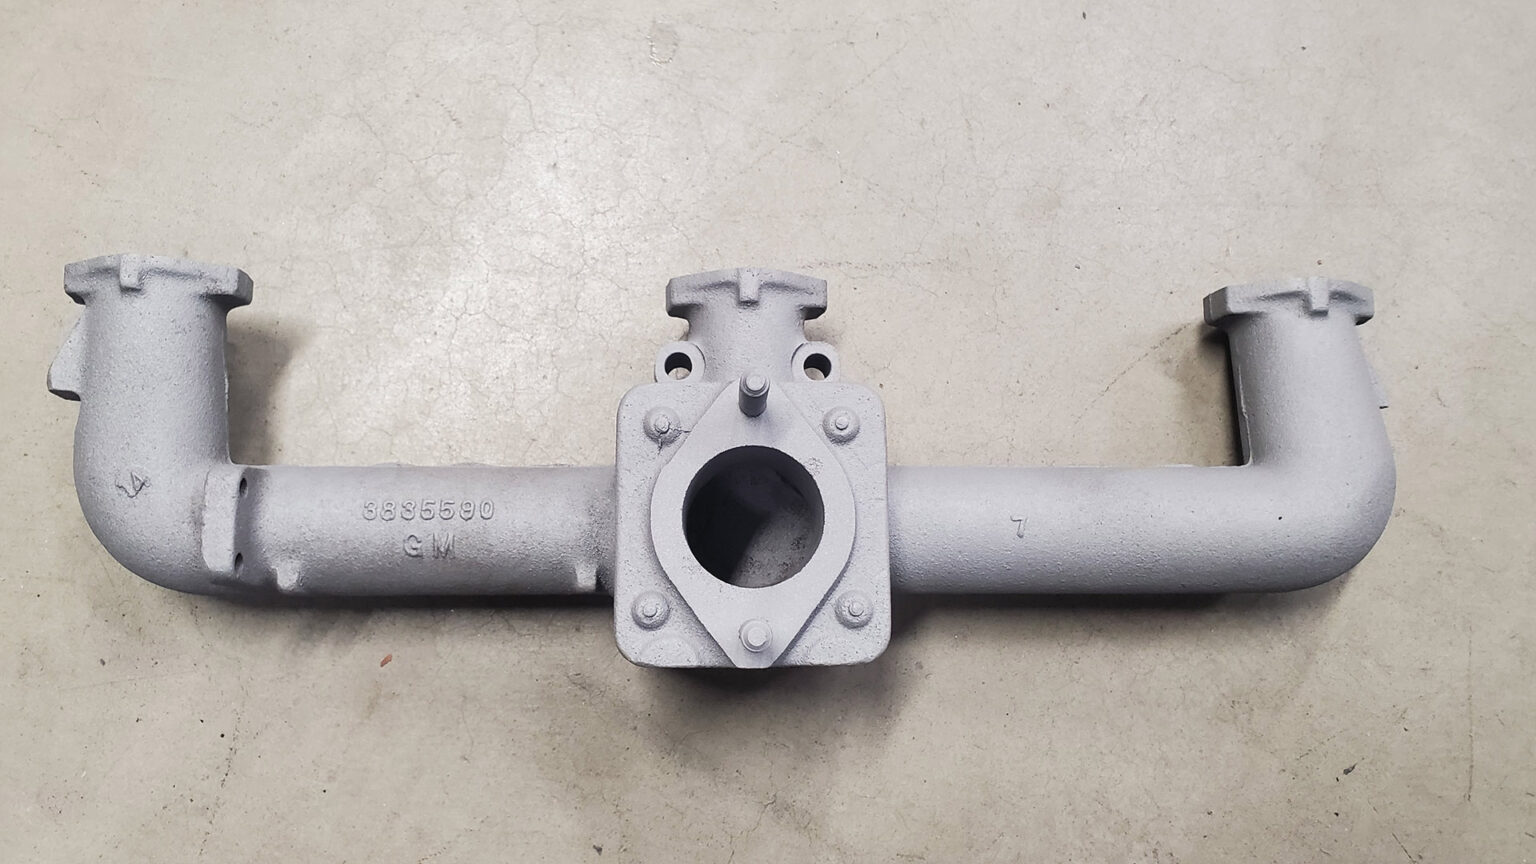
Some high temperature 'Cast Iron' color paint will protect it before it's clamped back to the head with fresh grade 8 bolts. The exhaust header stove pipe and plate are reused from the Fenton intake. It's looking good!
Now we just need the vintage Carter YF carburetor from National Carburetor to top it off.
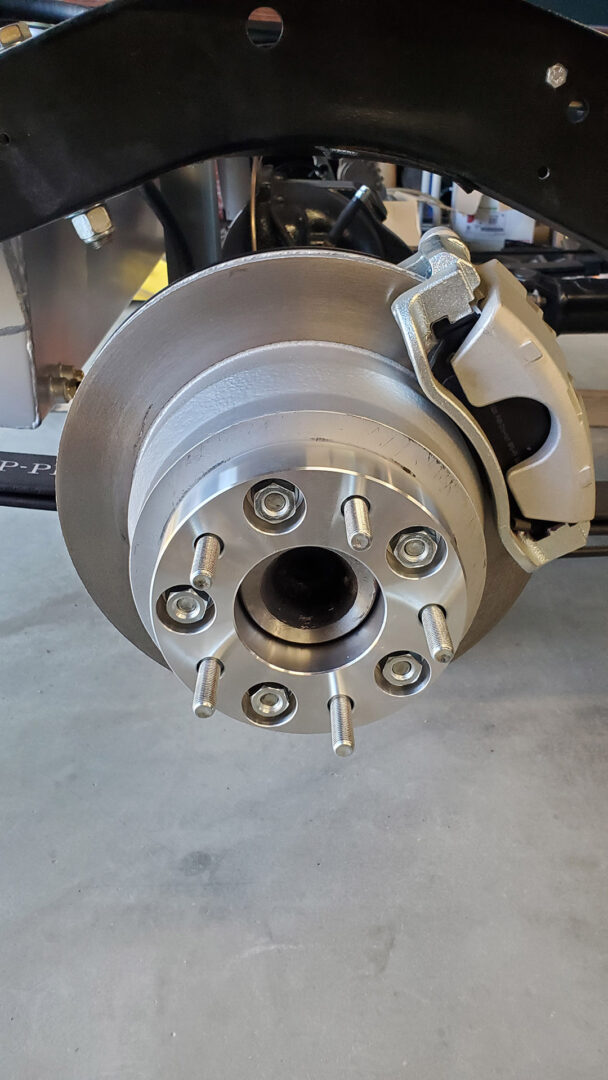
We also received the bolt-on wheel spacers that'll move our wheel/tire combo away from the bed sides. We don't want things rubbing anywhere.
The next step is to nail down and finalize the final and exact resting place for the bed. As you'll recall, when the truck came in, we found the frame was severely bent from a prior wreck. We had it straightened by a body shop. They we able to get it close but not quite close enough. The ends of the frame horns, where the back of the bed is secured, are still a little off.
Also, I'm finding the fuel filler neck is going to interfere with one of the stainless bed strips so, it's looking like it'll have to be relocated. Of course. Stay tuned!
